User:Cease/Hobbit Hospital
Hobbit Hospital is a Free Peoples strategy that appears in many ![]() Shire decks. It's an engine that uses
Shire decks. It's an engine that uses ![]() Shire allies to heal Frodo, Sam, Merry, and/or Pippin. Under ideal circumstances, it can heal five wounds a turn, with extra capacity for burst healing when needed. Along the way it can also choke, remove your opponent's support area conditions, and protect the hobbits from being overwhelmed in skirmishes.
Shire allies to heal Frodo, Sam, Merry, and/or Pippin. Under ideal circumstances, it can heal five wounds a turn, with extra capacity for burst healing when needed. Along the way it can also choke, remove your opponent's support area conditions, and protect the hobbits from being overwhelmed in skirmishes.
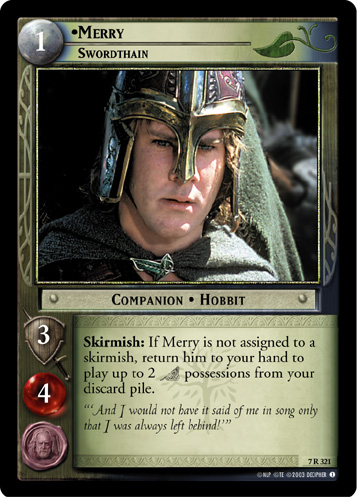
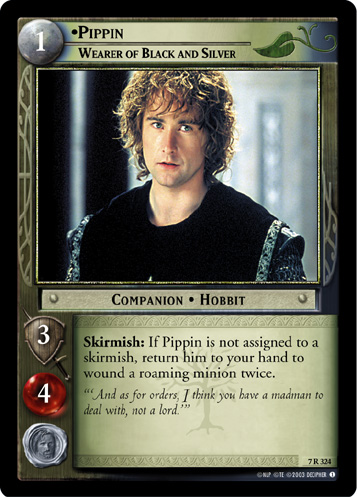
The strategy is most powerful and popular in Fellowship Block, but still appears in every later format where cards from that block are allowed. It falls off somewhat due to the addition of other strong ![]() Shire healing engines, like the "bouncing" hobbits Merry, Swordthain (7R321)
Shire healing engines, like the "bouncing" hobbits Merry, Swordthain (7R321)
 and Pippin, Wearer of Black and Silver (7R324)
 , the The Shire Countryside (3R113)
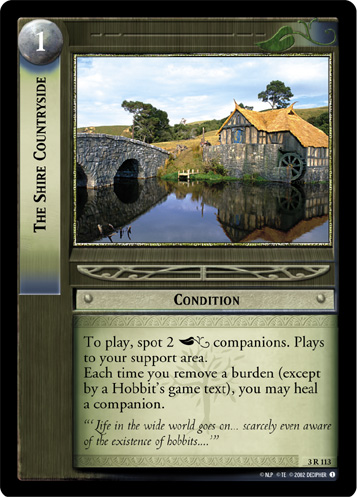 engine empowered by Nine-fingered Frodo and the Ring of Doom (10C112)
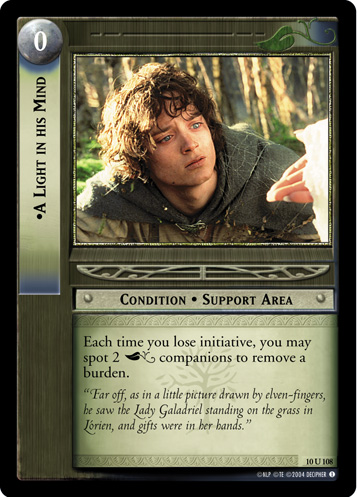
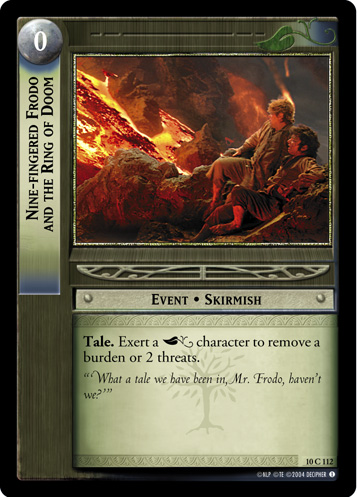 and A Light in His Mind (10U108)
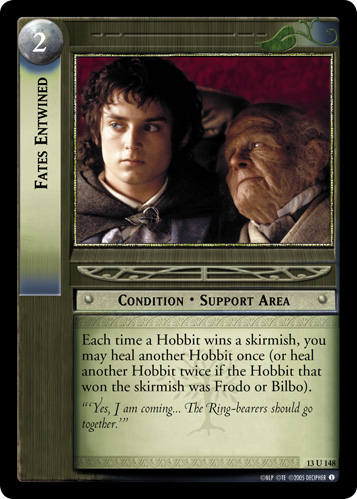
 , or Fates Entwined (13U148)
 .
.
The Hobbit Healing Pipeline[edit]
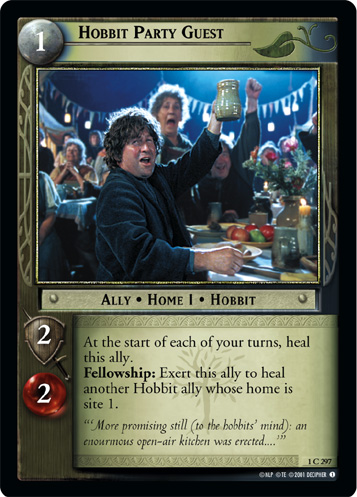
Unlike many engines in this game, Hobbit Hospital isn't a loop that gradually runs out of steam, but rather a pipeline that absorbs wounds on your Hobbits then disposes of them. The far end of this pipeline, the part that actually reduces the number of wounds in play, consists of Hobbit Party Guest (1C297)
 and (almost always) Frodo, Old Bilbo's Heir (1R289)
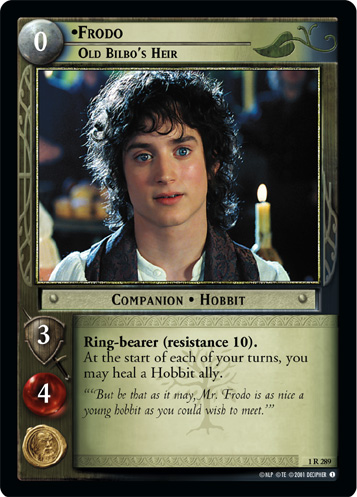 . (You can use some other version of Frodo; it just doesn't work as well.) Each of these cards remove one wound a turn: the Guests from themselves, and Frodo from a hobbit ally of your choice. But healing companions is much more useful than healing allies! So you use Farmer Maggot, Chaser of Rascals (1R288)
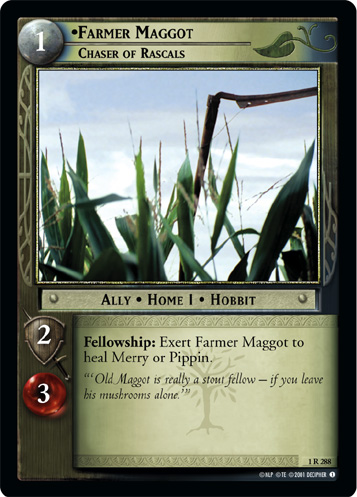 to heal Merry or Pippin, and The Gaffer, Sam's Father (1R291)
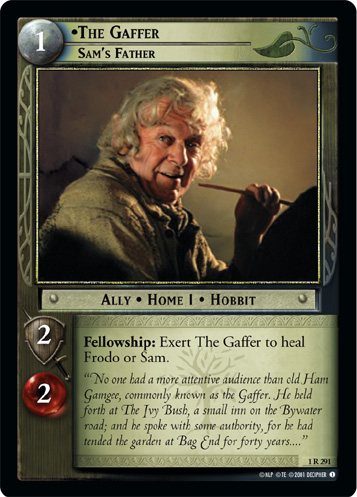 and Rosie Cotton, Hobbiton Lass (1U309)
 to heal Frodo or Sam. Those allies all exert to heal your companions, effectively transferring the wounds from your Fellowship to your support area. From there, the Guests and Frodo dispose of those support area wounds, freeing up those allies to keep healing your Fellowship.
That's already a significant amount of value. But, if you ever don't need to heal hobbit companions, you can use that healing other ways. The main beneficiary is Bilbo, Well-spoken Gentlehobbit (2U96)
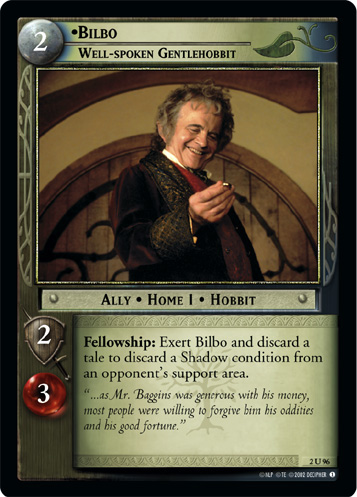 . He can consume your tale conditions to wipe out your opponent's Shadow support area conditions. More importantly, he can use Consorting With Wizards (2R97)
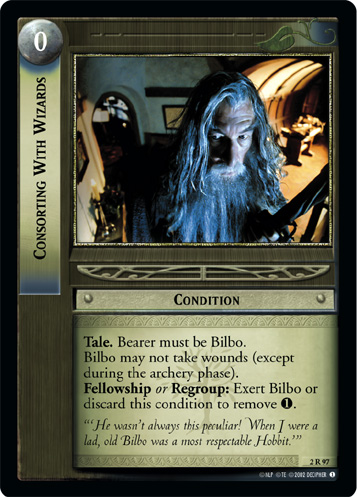 to choke out your opponent's twilight income, reducing the number of Shadow cards they can play at all. (It also protects him from most ally hate.) Bilbo also allows you to use Practically Everyone Was Invited (2U111)
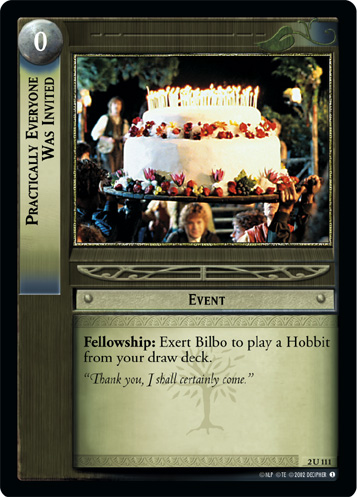 to set up your allies (or a straggler hobbit companion, even), and The Book of Westmarch
 to draw through your deck faster.
Support Cards[edit]
That's the core of the engine, but there are a few more additions that see some play. If you're using Frodo, Old Bilbo's Heir, you can also use Bounder (1C286)
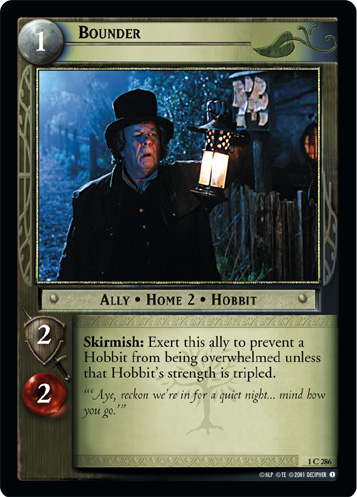 to help prevent your hobbit companions from being overwhelmed in a skirmish. (Guests can't heal Bounder, since his home site isn't site 1.) The only other Hobbit ally of consequence that isn't home site 1 is Bilbo, Retired Adventurer (1R284)
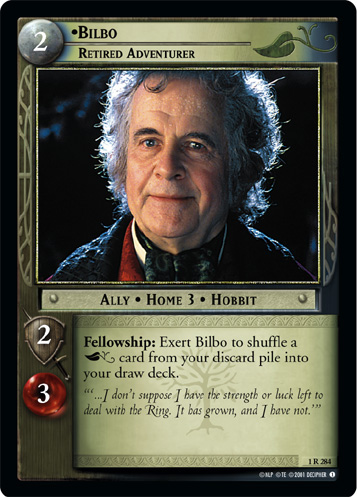 , but he's rarely played due to his weaker game text and inability to be healed by Hobbit Party Guest.
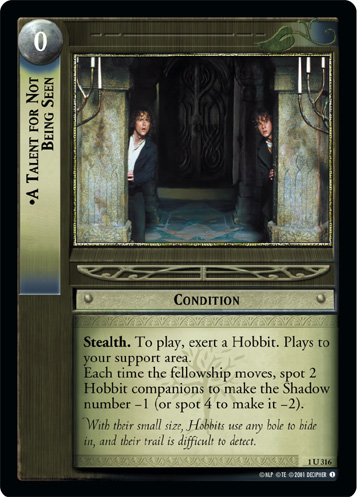
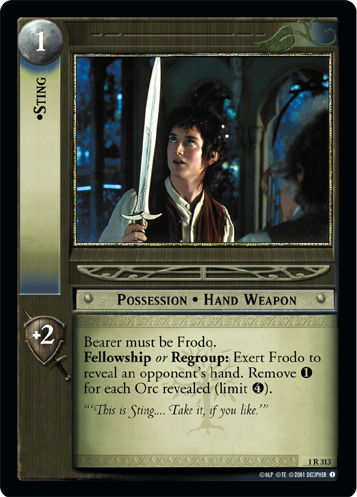
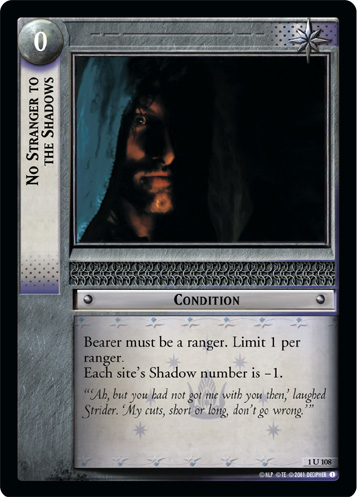
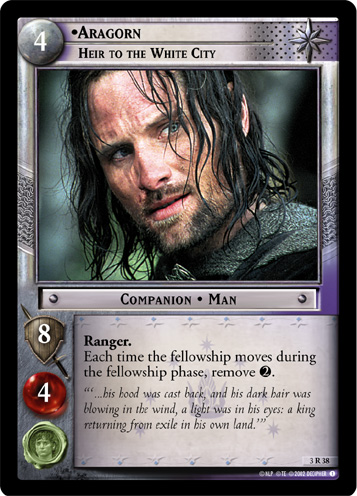
If you're choking with Consorting with Wizards, other choke cards, like A Talent for Not Being Seen (1U316)
 , Sting (1R313)
 , No Stranger to the Shadows (1U108)
 , Aragorn, Heir to the White City (3R38)
 , and Legolas, Dauntless Hunter (4R73)
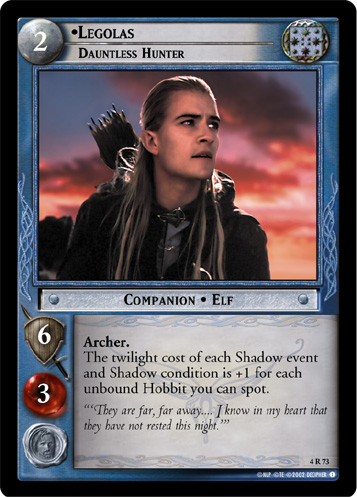 go along with that gameplan. This is most effective in earlier formats like Fellowship Block and Towers Standard, because those formats have site paths with lower twilight numbers, and many of these cards are banned in later formats. Plus, there's another fairly strong choke tool that only works in Fellowship Block.
Hobbit Farmer (1C295)
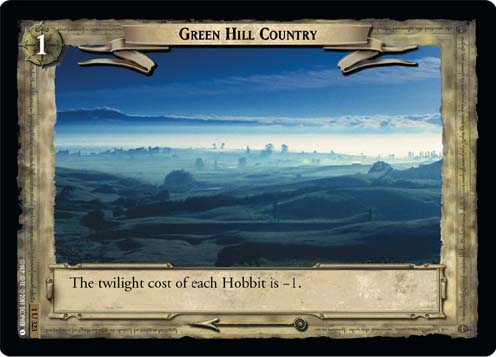
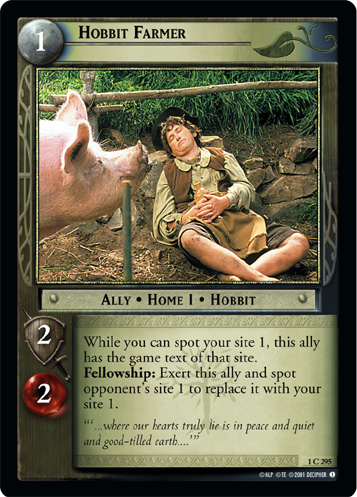 can set up Green Hill Country (1U323)
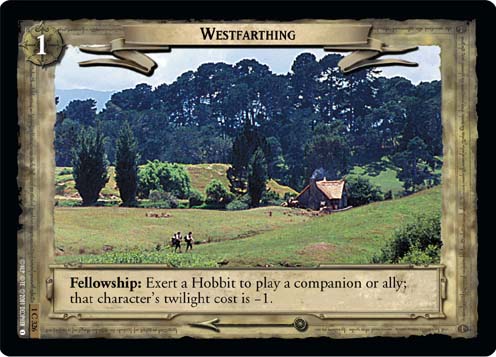
 or Westfarthing (1C326)
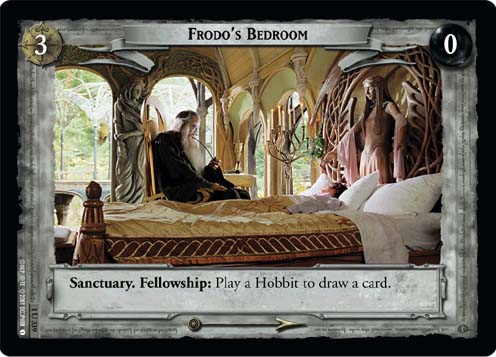
 to help you choke. Green Hill Country is better if you're playing mostly hobbits, since it discounts all of your hobbits with no exertion, and it's the only site that is also compatible with using the game text of Frodo's Bedroom (1U339)
 . Plus, you can stack a second Farmer to discount Bilbo or Sam down to zero. Westfarthing can help with non-hobbits, although it's less effective when playing a hand full of allies due to the exertions involved. Since Westfarthing can only reduce costs by -1, there's no need for a second Farmer. Town Center (2C117)
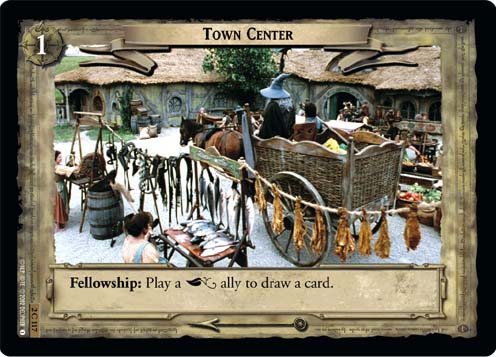 is a third option, if you feel your choke needs are well-handled, and it's another site that doesn't benefit from duplicate Farmers. Unfortunately, Hobbit Farmer only works with the sites from Fellowship Block, so he's only ever played in that format.
Since you've got a ton of healing, you can get a lot of use out of cards that exert hobbits for some productive effect. Merry, Friend to Sam (1R302)
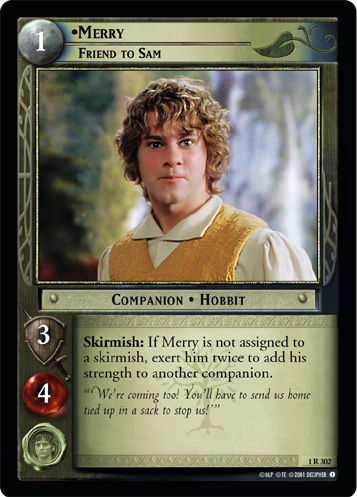 is versatile and powerful, and is popular in every format where he's available. Sting (1R313)
, Frying Pan (3C108)
is versatile and powerful, and is popular in every format where he's available. Sting (1R313)
, Frying Pan (3C108)
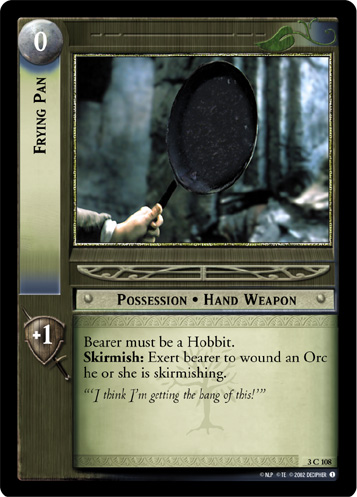 , and Filibert Bolger, Wily Rascal (2C101)
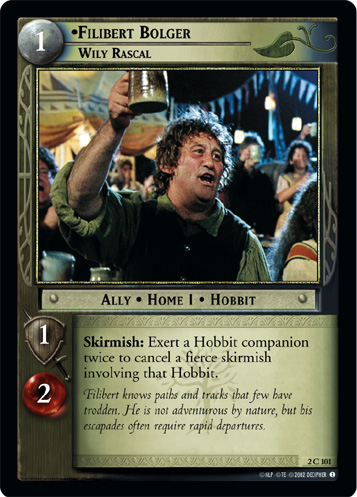 are all strong options in Fellowship Block, although they are also banned in some later formats. Later on, Escape (4R300)
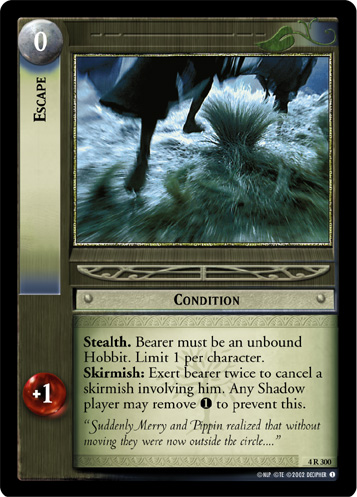 gives Merry or Pippin more room to exert and lets them dodge an occasional skirmish, and Unheeded (8R115)
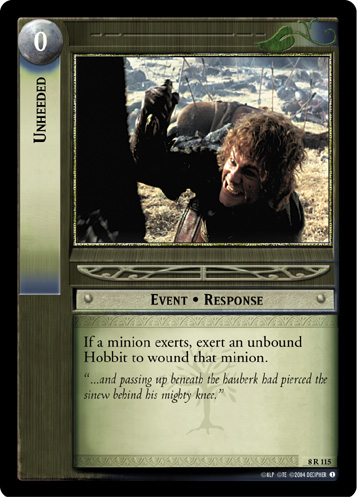 and Shadowplay (10U114)
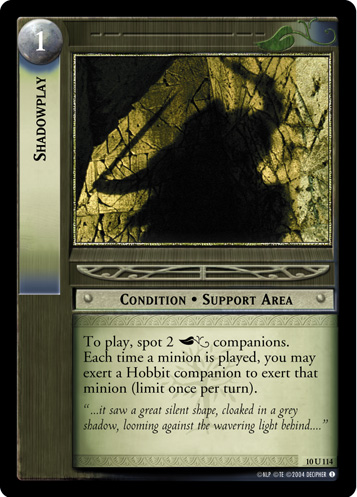 let hobbits exert to place wounds on minions directly. (Shadowplay/Unheeded is generally more popular with King Block healing engines like The Shire Countryside (3R113)
or bouncing hobbits, though.)
let hobbits exert to place wounds on minions directly. (Shadowplay/Unheeded is generally more popular with King Block healing engines like The Shire Countryside (3R113)
or bouncing hobbits, though.)
Mithlond Shadows Green Dragon Inn
Building a Deck[edit]
Counterplay[edit]
One of the main weaknesses of Hobbit Hospital are how slow it is to set up. While there are a number of things you can do to deal with its healing power, oftentimes the best counter is using a Shadow side that puts intense pressure on their Fellowship early in the game to kill off companions before they get all of their toys in play, or using an initially-stronger Free Peoples deck to outrun the hobbits in the early game, setting up an insurmountable lead. The hobbits generally can't heal more than one wound a turn total until they get both a healing ally (Farmer Maggot, Chaser of Rascals (1R288)
, The Gaffer, Sam's Father (1R291)
, or Rosie Cotton, Hobbiton Lass (1U309)
) and one or more copies of Hobbit Party Guest (1C297)
out. Early aggression can be difficult with how well hobbits choke, though, even when they aren't running choke cards.
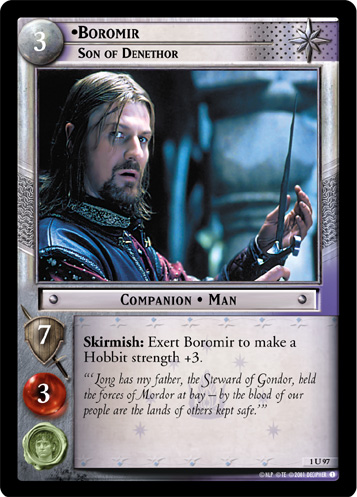
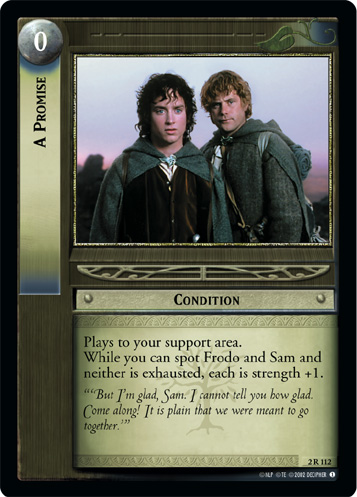
Another line of attack is to take advantage of the fact that the Hobbit Hospital only heals hobbits. (I guess Legolas doesn't have health insurance or something.) These decks will almost always have some support characters, either in non-hobbits (like Boromir, Son of Denethor (1U97)
 ) or hobbits that aren't protected with strength-boosting conditions like A Promise (2R112)
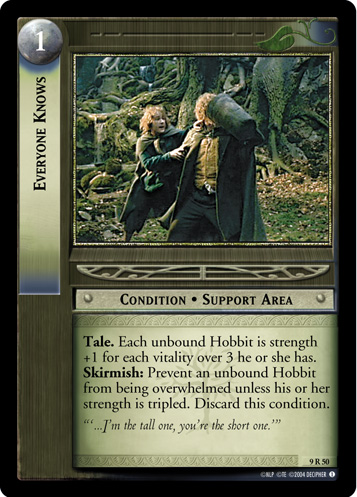
 or Everyone Knows (9R50)
 . Oftentimes they rely on Merry, Friend to Sam (1R302)
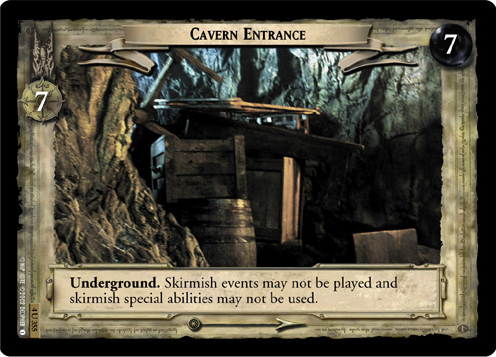
to stave off overwhelms in skirmishes, and he's very vulnerable when wounded. Hobbits are very reliant on skirmish events and abilities to survive in general, so they do very poorly at either version of Cavern Entrance (4U355)
. Oftentimes they rely on Merry, Friend to Sam (1R302)
to stave off overwhelms in skirmishes, and he's very vulnerable when wounded. Hobbits are very reliant on skirmish events and abilities to survive in general, so they do very poorly at either version of Cavern Entrance (4U355)
 . Exhausting Frodo or Sam with direct wounding can also unexpectedly shut off A Promise (2R112)
. Clearing out their conditions or possessions can often reduce their ability to skirmish, although bear in mind that Pippin, Friend to Frodo (1C306)
. Exhausting Frodo or Sam with direct wounding can also unexpectedly shut off A Promise (2R112)
. Clearing out their conditions or possessions can often reduce their ability to skirmish, although bear in mind that Pippin, Friend to Frodo (1C306)
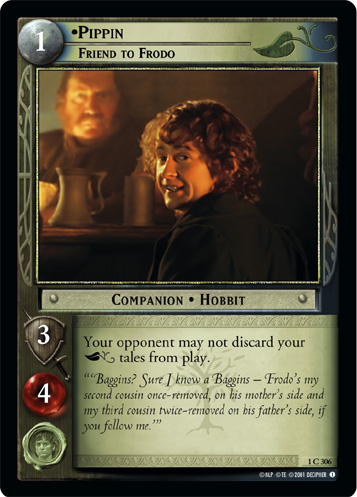 can protect tales and Scouring of the Shire (18R112)
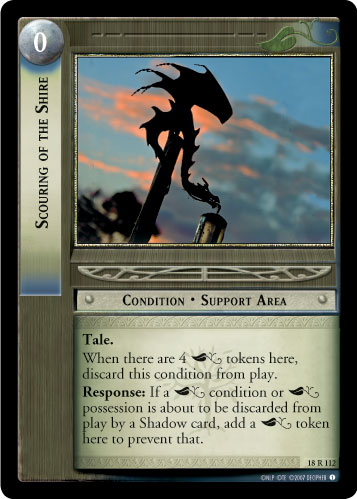 can protect everything in Expanded and Standard. Oftentimes these strategies only force a stop rather than killing anyone, but hobbits are already quite bad at making double moves without help from cards like Narrow Escape (10U111)
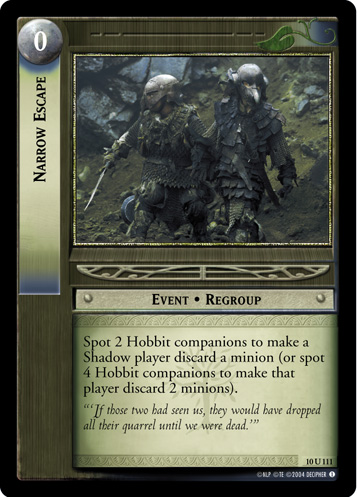 or Aragorn, Wingfoot (4P364)
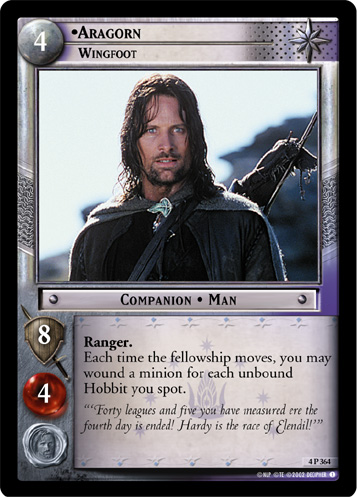 .
.
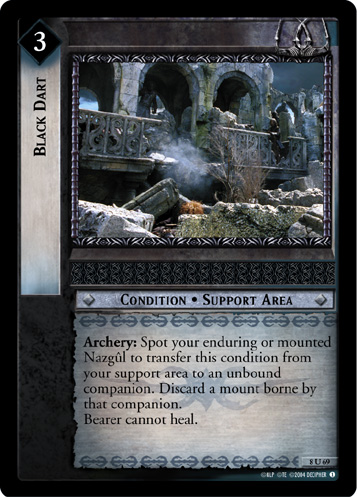
There are a few cards that simply shut off healing entirely. Black Breath (1U207)
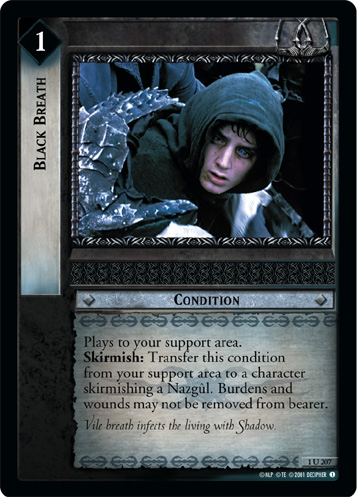 , Black Dart (8U69)
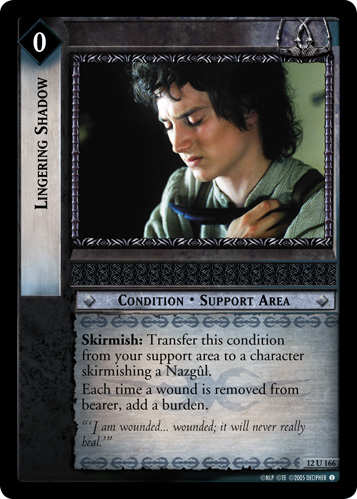
 , Lingering Shadow (12U166)
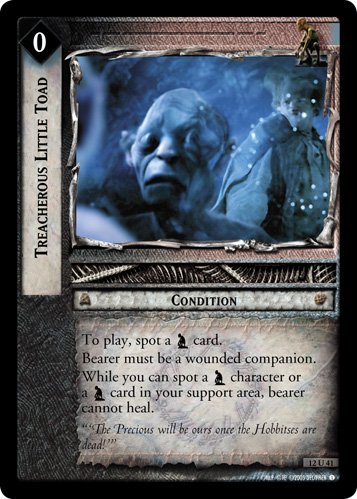
 , and Treacherous Little Toad (12U41)
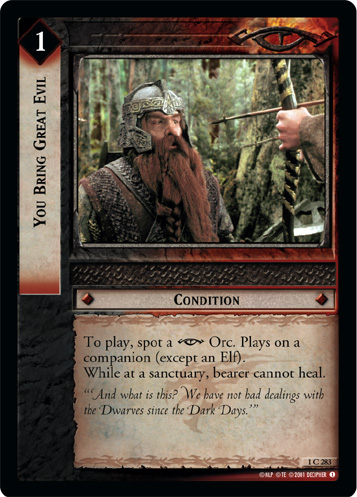
 all shut down or harshly punish healing until they're removed. You Bring Great Evil (1C283)
 applies to all healing at sanctuaries, even if it's from a hobbit ally. Both versions of Steward's Tomb (10U119)
 stop all healing. These won't usually be the core of your gameplan, but they can slow down the hobbit healing a bit to let you do some permanent damage in the meantime.
Shadow decks with a grinder gameplan like Sauron Grind or most archery decks have the weakest matchup against Hobbit Hospital. If the opponent can heal five wounds a turn, what good is dealing a bunch of undirected wounds? It can be miserable, but there are ways to get around it. The main strategy is simply to swamp the hobbits with wounds, generally by bombing too many wounds to handle on a single turn. If you have a card that adds multiple points to the archery total, you can save it and play multiple copies at once in the hopes of overwhelming the hobbits' healing potential. Examples include Moria Archer Troop (2U67)
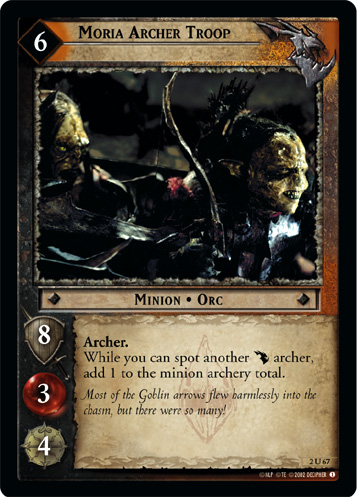 , Southron Archer (4R245)
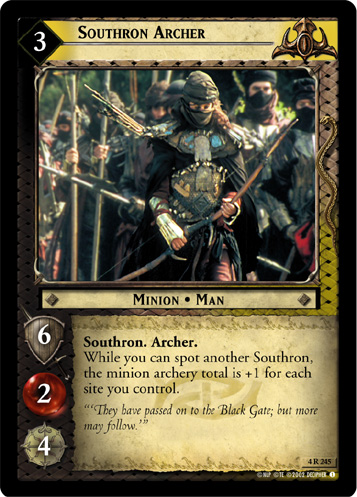 , Weapons of Isengard (4R211)
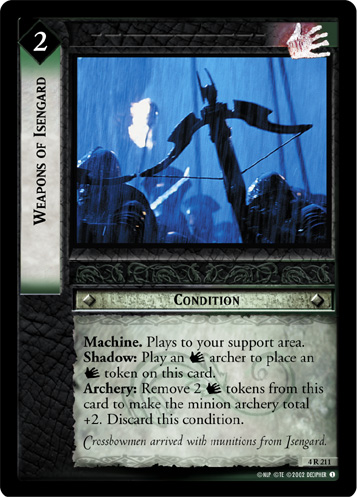 , Morgul Ambusher (8C74)
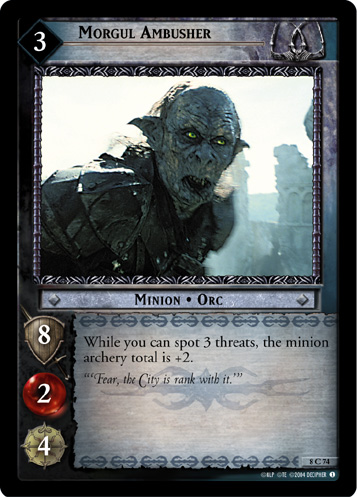 (and the other Morgul Orc archery minions), Howdah (13U94)
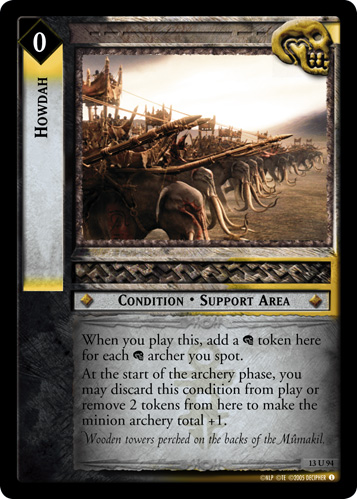 , and Elevated Fire (11R78)
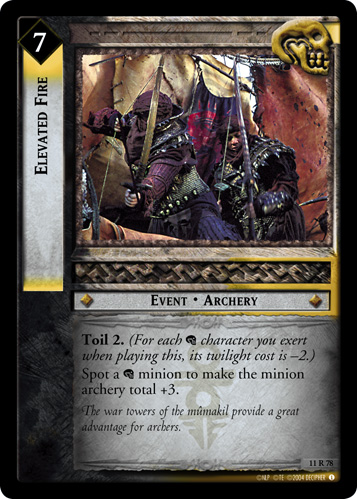 . A large pile of threats can help to finish things off, since grind decks generally don't kill companions until every companion is at least close to being exhausted. If you don't think you can pull that off, don't fret: Hobbit Hospital allies only heal in the Fellowship Phase, so if you can weaken a hobbit enough to at least threaten to negate A Promise (2R112)
or Everyone Knows (9R50)
, that can be enough to force a stop to let your Free Peoples deck get a lead. Hopefully your Free Peoples deck can capitalize on it!
. A large pile of threats can help to finish things off, since grind decks generally don't kill companions until every companion is at least close to being exhausted. If you don't think you can pull that off, don't fret: Hobbit Hospital allies only heal in the Fellowship Phase, so if you can weaken a hobbit enough to at least threaten to negate A Promise (2R112)
or Everyone Knows (9R50)
, that can be enough to force a stop to let your Free Peoples deck get a lead. Hopefully your Free Peoples deck can capitalize on it!
There are a couple rarely-played cards which simply prevent Hobbit Hospital decks from choking out your twilight income. Demands of the Sackville-Bagginses (2C40)
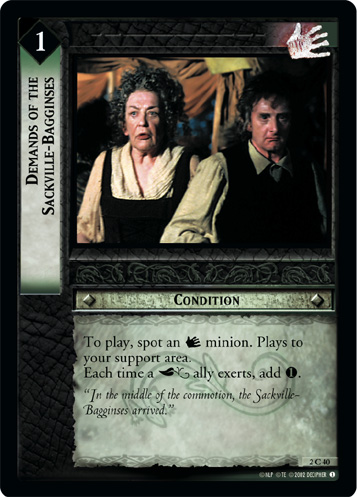 only affects Hobbit allies, so it's very rarely played. Our List of Allies Grows Thin (3R102)
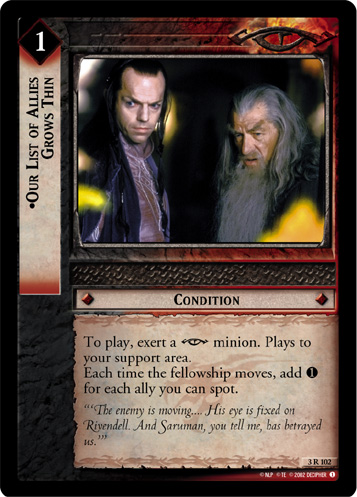 is more broadly applicable but scarcely more popular. These cards are noteworthy chiefly as curiosities.
But all of these strategies are predicated on leaving the hobbit allies alone. You don't have to do that.
Attacking the Hospital directly[edit]
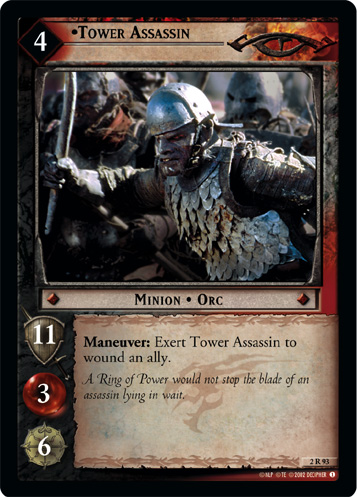
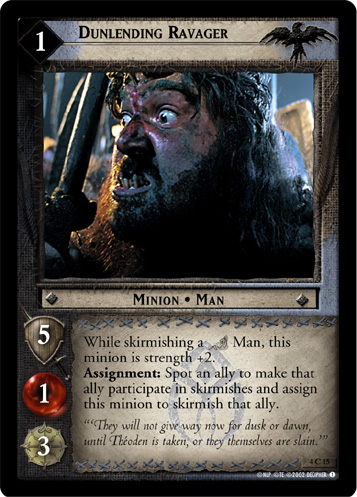
There are plenty of options for cards to deal with the hobbit allies directly. Some of the strongest options are splashable into any Shadow deck. Tower Assassin (2R93)
 , Dunlending Ravager (4C15)
 , and Dunlending Warrior (4C18)
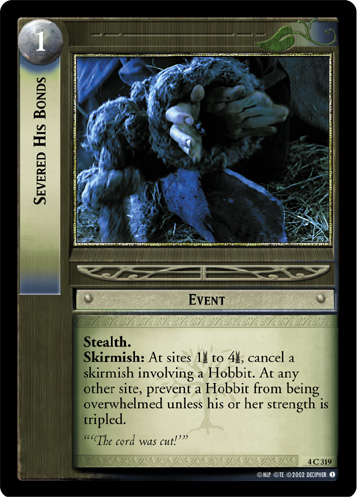
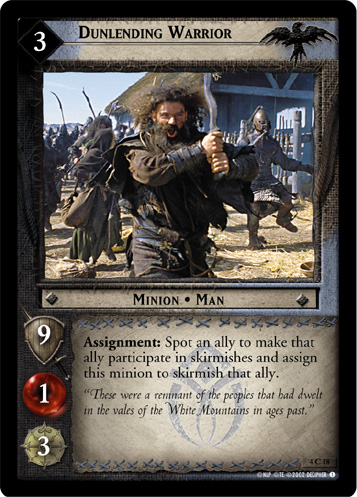 will almost certainly kill at least one hobbit ally each turn you play them (although be wary of Severed His Bonds (4C319)
 with the Dunlendings). Anduin Confluence (1U353)
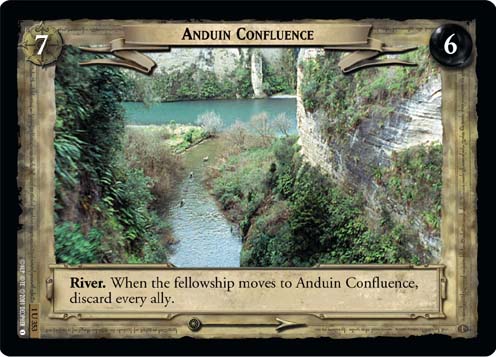 (also available as a Shadows sitepath site) can wipe all allies for both players. (So can Valley of Saruman (6U119)
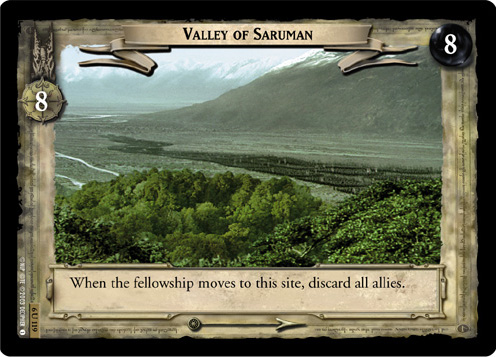 , but it usually comes too late in the game to matter for Hobbit Hospital.)
You can also often find some ally hate in your particular Shadow culture. ![]() Ringwraith decks have Their Power Is in Terror (1U226)
Ringwraith decks have Their Power Is in Terror (1U226)
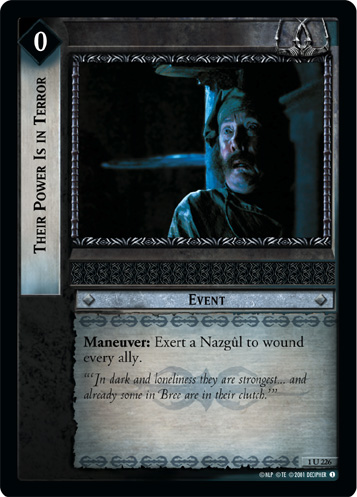 , which can wipe out many exhausted hobbit allies at once, and Fear (1R212)
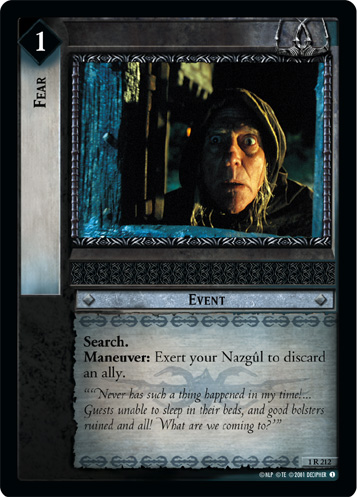 , which is one of the few tools that can pick off Bilbo despite Consorting With Wizards (2R97)
. (Úlairë Attëa, The Easterling (2U82)
, which is one of the few tools that can pick off Bilbo despite Consorting With Wizards (2R97)
. (Úlairë Attëa, The Easterling (2U82)
 is an overpriced, underpowered option.)
 ![]() Sauron decks can use Memory of Many Things (2C88)
Sauron decks can use Memory of Many Things (2C88)
 to pick off any hobbit ally, Bilbo included, although generally Tower Assassin is more useful. In later formats, Grond, Hammer of the Underworld (8R103)
 efficiently cleans up allies. Uruk Archery can use Come Down (4R146)
 to sometimes kill some allies, although you don't get to pick which ones and it may not work if they have many unwounded allies (or Tom Bombadil, The Master (9R+52)
 ). Uruk Machines can run Berserk Rager (5U45)
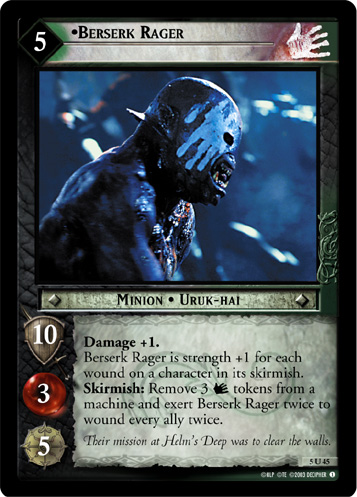 to wipe out your opponent's allies all at once. However, it requires support from cards that are vulnerable to being removed by Bilbo, Well-spoken Gentlehobbit (2U96)
, so it's rarely played. In Corsair decks, Corsair Lookout (8U56)
to wipe out your opponent's allies all at once. However, it requires support from cards that are vulnerable to being removed by Bilbo, Well-spoken Gentlehobbit (2U96)
, so it's rarely played. In Corsair decks, Corsair Lookout (8U56)
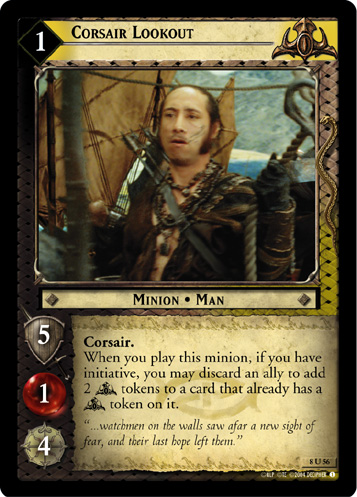 can remove allies once Corsair War Galley (8U59)
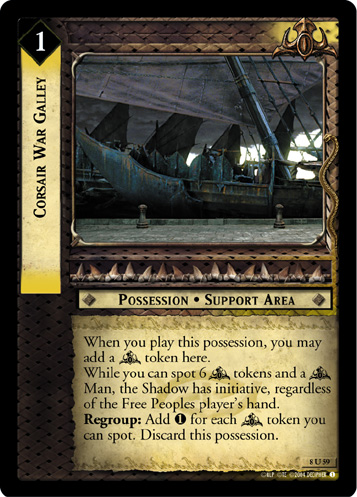 is activated. He can be replayed over and over with Ships of Great Draught (8R65)
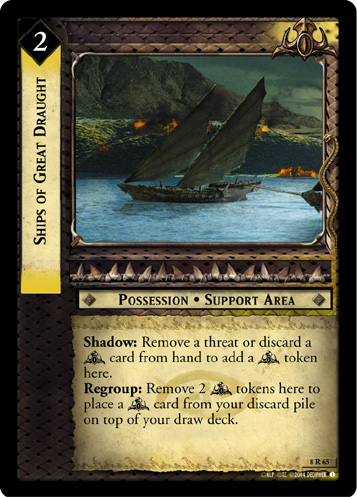 , or simply cycled with that card if the opponent has no allies.
If you do target your opponent's allies, it's helpful to know which ones to target. Unfortunately, that's a fairly complex question, determined by the current board state, including what kind of card you're using, what your overall Shadow strategy is, what companions you want to kill, and what ![]() Shire cards are in play. If you've got Tower Assassin (2R93)
or Fear (1R212)
in your hand, which hobbit allies do you want to target? To determine this, split the hobbit allies into three main groups: Engine, Healers, and Utility.
Shire cards are in play. If you've got Tower Assassin (2R93)
or Fear (1R212)
in your hand, which hobbit allies do you want to target? To determine this, split the hobbit allies into three main groups: Engine, Healers, and Utility.
The Engine consists of Hobbit Party Guest (1C297)
and Frodo, Old Bilbo's Heir (1R289)
. If there are no Engine cards in play, the other hobbit allies can stop doing anything once they're exhausted. If your deck is focused on grinding the opponent down with gradual wounds adding up over time, it's best to pick off the engine cards. Similarly, because unique allies can simply be replayed if you discard them, a card like Fear (1R212)
might be just as effective on the Engine long-term. You can't really do anything about Frodo; it's just good to keep in mind that if they're playing Old Bilbo's Heir, you can't totally shut down their ability to heal the allies. Note that removing the Guests doesn't do anything until the other allies are exhausted: they can sometimes go a turn or two without the Guests, especially if you're not actually putting any pressure on the Fellowship.
The Healers consist of Farmer Maggot, Chaser of Rascals (1R288)
, The Gaffer, Sam's Father (1R291)
, and Rosie Cotton, Hobbiton Lass (1U309)
. Notably, they are all unique, so if you kill one, they can't be replayed. If you want to stop a particular companion from being healed next turn no matter what, this is where you choke that off: killing Farmer Maggot prevents healing Merry or Pippin, killing the Gaffer prevents healing Frodo, and you have to kill both the Gaffer and Rosie to prevent healing Sam. Discarding these is somewhat less effective, since they can singly be replayed if the opponent has multiple copies. (This is a bit less likely if they are using Practically Everyone Was Invited (2U111)
or Merry, Horticulturalist (2C104)
 .) This is usually the main place to pressure unless your deck is very grindy or you need to pick off one of the Utility cards right now to win or prevent your deck from being dismantled.
The Utility allies are everyone else. Bounder (1C286)
and Filibert Bolger, Wily Rascal (2C101)
stymie high-strength and Fierce minions respectively. (Note that neither of these two benefit from Hobbit Party Guests: the Bounder can only be healed by Frodo, Old Bilbo's Heir, and Filibert generally doesn't exert at all.) These are generally only priority targets if you plan to overwhelm hobbits in skirmishes and Merry, Friend to Sam (1R302)
isn't your main obstacle in doing so. Bilbo, Well-spoken Gentlehobbit (2U96)
removes your support area conditions and chokes out your twilight income, but is immune to wounds if Consorting With Wizards (2R97)
is in play. Sauron Grind really likes to pick him off with Tower Assassin (2R93)
before Consorting With Wizards comes into play, and occasionally even runs Memory of Many Things (2C88)
to help with him. Nazgul Beatdown tends to run Fear (1R212)
over Their Power Is in Terror (1U226)
in large part because it's better for picking off Bilbo and Filibert. The only other ![]() Shire ally of note is Tom Bombadil, The Master (9R+52)
, who serves basically the same role as the Bounder but usually isn't practically killable. Be careful about discarding Tom Bombadil, too: it means your opponent can replay him in a later turn, resetting his large wound pool. If he's heavily wounded, it's generally best to just leave him alone, unless your opponent is using One Whom Men Would Follow (1U109)
Shire ally of note is Tom Bombadil, The Master (9R+52)
, who serves basically the same role as the Bounder but usually isn't practically killable. Be careful about discarding Tom Bombadil, too: it means your opponent can replay him in a later turn, resetting his large wound pool. If he's heavily wounded, it's generally best to just leave him alone, unless your opponent is using One Whom Men Would Follow (1U109)
 to skirmish with him.