Moria Culture: Difference between revisions
m (→Tentacles: fix redlink) |
(→Variants: the example is no longer necessary since that has its own article now) |
||
| (19 intermediate revisions by the same user not shown) | |||
| Line 1: | Line 1: | ||
{{CultureIcon|Moria}} '''Moria''' is the abandoned dwarven underground city of Khazad-dûm, now dominated by stunted [[Orc|goblin]]s and [[Balrog|a nameless fear]]. In this game, it is a [[Shadow Alignment|Shadow]] [[culture]] that focuses on [[swarming]] the opponent with many small [[orc]] minions, plus the occasional larger minion that dwells in Moria, such as the {{Card|Cave Troll of Moria, Scourge of the Black Pit}}, {{Card|Watcher in the Water, Keeper of Westgate}} and its [[tentacle]]s, and the [[Balrog]]. {{C|Moria}} was one of the first [[culture]]s introduced to this game, and unlike most of the original cultures, it's always been focused tightly on one strategy: using the faction's [[Hand Extension|hand extension]] and [[Recursion|recursion]] tools to set up an | {{CultureIcon|Moria}} '''Moria''' is the abandoned dwarven underground city of Khazad-dûm, now dominated by stunted [[Orc|goblin]]s and [[Balrog|a nameless fear]]. In this game, it is a [[Shadow Alignment|Shadow]] [[culture]] that focuses on [[swarming]] the opponent with many small [[orc]] minions, plus the occasional larger minion that dwells in Moria, such as the {{Card|Cave Troll of Moria, Scourge of the Black Pit}}, {{Card|Watcher in the Water, Keeper of Westgate}} and its [[tentacle]]s, and the [[Balrog]]. {{C|Moria}} was one of the first [[culture]]s introduced to this game, and unlike most of the original cultures, it's always been focused tightly on one strategy: using the faction's [[Hand Extension|hand extension]] and [[Recursion|recursion]] tools to set up an engine to play many more minions than you'd otherwise be able to play at once. | ||
Part of why {{C|Moria}} is so tightly focused is because the bulk of the culture's cards came out in [[Fellowship Block]]. Only a handful of new cards came out for the culture after that, most of them focused on the [[Balrog]]. The [[Shadows]] set basically retired {{C|Moria}} as part of its culture reorganization, merging most of it into {{C|Orc}} culture. The only {{C|Moria}} cards in the post-Shadows sets are the Balrog and cards to support the Balrog, as well as the {{Card|Watcher in the Water, Many-Tentacled Creature}} and its various [[tentacle]]s. In those later sets, the teeming goblins of Moria are [[Lurker]]s, and they and the {{Card|Cave Troll of Moria, Savage Menace}} are part of the {{C|Orc}} culture. | Part of why {{C|Moria}} is so tightly focused is because the bulk of the culture's cards came out in [[Fellowship Block]]. Only a handful of new cards came out for the culture after that, most of them focused on the [[Balrog]]. The [[Shadows]] set basically retired {{C|Moria}} as part of its culture reorganization, merging most of it into {{C|Orc}} culture. The only {{C|Moria}} cards in the post-Shadows sets are the Balrog and cards to support the Balrog, as well as the {{Card|Watcher in the Water, Many-Tentacled Creature}} and its various [[tentacle]]s. In those later sets, the teeming goblins of Moria are [[Lurker]]s, and they and the {{Card|Cave Troll of Moria, Savage Menace}} are part of the {{C|Orc}} culture. | ||
{{C|Moria}} is one of the premiere Shadow [[side]]s of [[Fellowship Block]], particularly because its strong [[Matchup|matchup]] against [[choke]]. After that, historically it fell off. Few cards were added to the culture in later sets, limiting its versatility and leaving it vulnerable to [[Power Creep|power creep]]. The [[site]] path in later [[format]]s generates more [[Twilight]], weakening the [[choke]] decks it preyed upon. A key card, {{Card|Relics of Moria}}, was [[R-List|restricted]] or [[X-List|banned]] in some formats. Despite all this, on [[GEMP]] in 2021, it remains reasonably popular in later formats where Fellowship Block cards are allowed (save possibly [[Expanded (Format)|Expanded]]), because of familiarity and strong [[cycling]]. | {{C|Moria}} is one of the premiere Shadow [[side]]s of [[Fellowship Block]], particularly because of its strong [[Matchup|matchup]] against [[choke]]. After that, historically it fell off. Few cards were added to the culture in later sets, limiting its versatility and leaving it vulnerable to [[Power Creep|power creep]]. The [[site]] path in later [[format]]s generates more [[Twilight]], weakening the [[choke]] decks it preyed upon. A key card, {{Card|Relics of Moria}}, was [[R-List|restricted]] or [[X-List|banned]] in some formats. Despite all this, on [[GEMP]] in 2021, it remains reasonably popular in later formats where Fellowship Block cards are allowed (save possibly [[Expanded (Format)|Expanded]]), because of familiarity and strong [[cycling]]. | ||
== The Moria Swarm Engine == | == The Moria Swarm Engine == | ||
The vast majority of {{C|Moria}} culture decks use a variation of this engine. When someone mentions a "Moria deck", they probably mean a swarm deck using this engine. It even appears in most hybrid decks, like [[Moria Navy]]. (The main exception is [[Stupid Swarm]], which is a [[rainbow]] strategy with too few {{C|Moria}} minions to make this work.) | |||
The core cards of the | The core cards of the engine are multiple copies of both {{Card|Goblin Scimitar}} and {{Card|Goblin Armory}}. Each scimitar replaces itself in your hand by drawing an additional card, and generates up to four additional [[Twilight]], allowing you to pay for more minions even against [[choke]] decks. Every other key card plugs into this engine. | ||
{{Card|Goblin Runner}} and {{Card|Moria Scout}} generate as much or more Twilight than they cost, helping you play every single minion in your hand. {{Card|Goblin Scavengers}} and {{Card|Relics of Moria}} allow you to replay your scimitars from the discard pile, drawing even more cards. With enough copies of Goblin Armory out, they even generate more Twilight than they cost. Then, to replay your various goblins, you have {{Card|Host of Thousands}} and {{Card|Goblin Swarms}}. If any useless cards are clogging up your hand, they can be turned into useful goblins with {{Card|They Are Coming}}. | {{Card|Goblin Runner}} and {{Card|Moria Scout}} generate as much or more Twilight than they cost, helping you play every single minion in your hand. {{Card|Goblin Scavengers}} and {{Card|Relics of Moria}} allow you to replay your scimitars from the discard pile, drawing even more cards. With enough copies of Goblin Armory out, they even generate more Twilight than they cost. Then, to replay your various goblins, you have {{Card|Host of Thousands}} and {{Card|Goblin Swarms}}. If any useless cards are clogging up your hand, they can be turned into useful goblins with {{Card|They Are Coming}}. | ||
| Line 15: | Line 15: | ||
There are a few weaker, less-popular additions to the engine. {{Card|Threat of the Unknown}} and {{Card|The Underdeeps of Moria}} can draw more cards. {{Card|Plundered Armories}} can prevent your weapons from going to waste, as well as draw some extra cards for your next turn. {{Card|Foul Things}} can be played as a fifth or sixth copy of Host of Thousands and also works on the Balrog or Cave Troll, but it is expensive. | There are a few weaker, less-popular additions to the engine. {{Card|Threat of the Unknown}} and {{Card|The Underdeeps of Moria}} can draw more cards. {{Card|Plundered Armories}} can prevent your weapons from going to waste, as well as draw some extra cards for your next turn. {{Card|Foul Things}} can be played as a fifth or sixth copy of Host of Thousands and also works on the Balrog or Cave Troll, but it is expensive. | ||
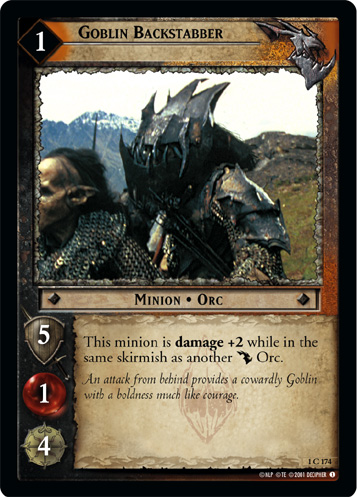
The rest of the deck consists of the rest of your minions, as well as occasional utility cards. Besides the minions above, popular minions in the traditional | The rest of the deck consists of the rest of your minions, as well as occasional utility cards. Besides the minions above, popular minions in the traditional swarm deck include {{Card|Goblin Backstabber}}, {{Card|Goblin Sneak}}, {{Card|Goblin Wallcrawler}}, and {{Card|Goblin Pursuer}}. Also somewhat common as one- or two-ofs are {{Card|Ancient Chieftain}}, {{Card|Goblin Scrabbler}}, {{Card|Goblin Warrior}}, {{Card|Guard Commander}}, {{Card|Goblin Flankers}}, {{Card|Troll's Keyward}}, {{Card|Ulaire Enquea, Lieutenant of Morgul}}, and {{Card|Ulaire Nertea, Messenger of Dol Guldur}}. Some decks include utility cards like {{Card|Such a Little Thing}}, {{Card|Goblin Domain}}, or {{Card|Relentless}}, but all three are chiefly useful exclusively in Fellowship Block. | ||
Some decks also include a few larger minions, to use up any remaining Twilight and put some pressure on higher-strength skirmishers. Be careful about running too many of these, because they can [[Hand Clog|clog up your hand]] if you can't afford them. The most popular big breakers are the two {{C|Moria}} monsters, {{Card|The Balrog, Flame of Udun}} (always a one-of, and almost exclusively in [[Fellowship Block]], and occasionally in conjunction with {{Card|Goblin Spear}}), {{Card|Cave Troll of Moria, Scourge of the Black Pit}} (generally in conjunction with {{Card|Troll's Keyward}}), although any of the [[Moria Beatdown]] minions can also serve this role. | Some decks also include a few larger minions, to use up any remaining Twilight and put some pressure on higher-strength skirmishers. Be careful about running too many of these, because they can [[Hand Clog|clog up your hand]] if you can't afford them. The most popular big breakers are the two {{C|Moria}} monsters, {{Card|The Balrog, Flame of Udun}} (always a one-of, and almost exclusively in [[Fellowship Block]], and occasionally in conjunction with {{Card|Goblin Spear}}), {{Card|Cave Troll of Moria, Scourge of the Black Pit}} (generally in conjunction with {{Card|Troll's Keyward}}), although any of the [[Moria Beatdown]] minions can also serve this role. | ||
| Line 22: | Line 22: | ||
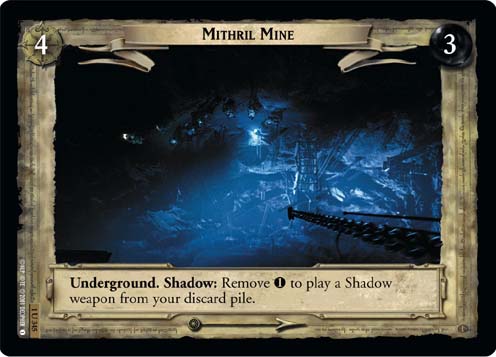
* Site 4 - {{Card|Mithril Mine}} is very strong, feeding the main engine, but it requires you to have pre-seeded your discard with weapons. {{Card|Moria Stairway}} is weaker, but more consistently useful. | * Site 4 - {{Card|Mithril Mine}} is very strong, feeding the main engine, but it requires you to have pre-seeded your discard with weapons. {{Card|Moria Stairway}} is weaker, but more consistently useful. | ||
* Site 5 - It's not like you can choose anything but {{Card|The Bridge of Khazad-dum}}, but the Bridge can be a good reason to include one copy of {{Card|The Balrog, Flame of Udun}}. | * Site 5 - It's not like you can choose anything but {{Card|The Bridge of Khazad-dum}}, but the Bridge can be a good reason to include one copy of {{Card|The Balrog, Flame of Udun}}. | ||
* Site 6 - {{Card|Dimrill Dale}} is a reasonably strong effect at a relatively weak site. Try to avoid getting stuck at {{Card|Caras Galadhon}}. | * Site 6 - {{Card|Dimrill Dale}} is a reasonably strong effect at a relatively weak site number. Try to avoid getting stuck at {{Card|Caras Galadhon}}. | ||
* Site 7 - This deck has few good tools to deal with allies and archery, so pick your favorite of {{Card|Anduin Confluence}} and {{Card|Anduin Wilderland}}. Try to avoid {{Card|The Great River}}. | * Site 7 - This deck has few good tools to deal with allies and archery, so pick your favorite of {{Card|Anduin Confluence}} and {{Card|Anduin Wilderland}}. Try to avoid {{Card|The Great River}}. | ||
* Site 8 - {{Card|Shores of Nen Hithoel}} can stop a [[Double Move|double move]], while {{Card|Anduin Banks}} helps whittle down overly large [[Fellowship]]s. | * Site 8 - {{Card|Shores of Nen Hithoel}} can stop a [[Double Move|double move]], while {{Card|Anduin Banks}} helps whittle down overly large [[Fellowship]]s (but helps small Fellowships [[choke]]). | ||
This deck was more or less unchanged after [[Fellowship Block]], due to a lack of new cards. The only relevant {{C|Moria}} orc-focused cards introduced after that block are {{Card|Host of Moria, Legion of the Underdeeps}}, a minion that makes use of the higher [[Twilight]] income in later formats to replace one of your conditions or bring along a weapon or a friend, and {{Card|Durin's Tower}}, a [[pump]] that applies to so few minions that it's rarely useful. The main new additions after that block involve incorporating new cultures. | This deck was more or less unchanged after [[Fellowship Block]], due to a lack of new cards. The only relevant {{C|Moria}} orc-focused cards introduced after that block are {{Card|Host of Moria, Legion of the Underdeeps}}, a minion that makes use of the higher [[Twilight]] income in later formats to replace one of your conditions or bring along a weapon or a friend, and {{Card|Durin's Tower}}, a [[pump]] that applies to so few minions that it's rarely useful. The main new additions after that block involve incorporating new cultures. | ||
{{C|Moria}} swarm is a traditional [[swarm]] deck, so it has the traditional swarm weaknesses. Depending on the format, these can include '''[[Defender]] +1''' abilities, versions of [[The One Ring]] that give the Ring-bearer strength or '''[[Hunter]]''' bonuses like {{Card|The One Ring, Such a Weight to Carry}}, cards that protect characters from being overwhelmed like {{Card|The Tale of the Great Ring}}, alternate Ring-bearers with higher strength scores like {{Card|Isildur, Bearer of Heirlooms}}, and enough [[direct wounding]] or [[archery]] to thin out the swarm. There are also specific anti-swarm cards like {{Card|Caras Galadhon}} and {{Card|Power According To His Stature}}. {{C|Moria}} swarm is also reliant on its [[condition]]s, so [[Condition Removal|condition removal]] from cards like {{Card|Secret Sentinels}}, {{Card|Bilbo, Well-spoken Gentlehobbit}}, and {{Card|Sleep, Caradhras}} can wipe out your [[support area]] and limit the power of the engine. | {{C|Moria}} swarm is a traditional [[swarm]] deck, so it has the traditional swarm weaknesses. Depending on the format, these can include '''[[Defender]] +1''' abilities, versions of [[The One Ring]] that give the Ring-bearer strength or '''[[Hunter]]''' bonuses like {{Card|The One Ring, Such a Weight to Carry}}, [[Skirmish Cancellation|skirmish cancellation]] from cards like {{Card|Hobbit Stealth}} or {{Card|Gandalf's Staff}}, cards that protect characters from being overwhelmed like {{Card|Bounder}} or {{Card|The Tale of the Great Ring}}, alternate Ring-bearers with higher strength scores like {{Card|Isildur, Bearer of Heirlooms}}, and enough [[direct wounding]] or [[archery]] to thin out the swarm. There are also specific anti-swarm cards like {{Card|Caras Galadhon}} and {{Card|Power According To His Stature}}. {{C|Moria}} swarm is also reliant on its [[condition]]s, so [[Condition Removal|condition removal]] from cards like {{Card|Secret Sentinels}}, {{Card|Bilbo, Well-spoken Gentlehobbit}}, and {{Card|Sleep, Caradhras}} can wipe out your [[support area]] and limit the power of the engine. | ||
=== Variants === | === Variants === | ||
{{Card|Lost to the Goblins}} is a | {{Card|Lost to the Goblins}} is a variation of the swarm deck that includes four copies of {{Card|Lost to the Goblins}}. After you've [[filter]]ed out all of the Free Peoples cards from your deck, you can drop a few minions then slam down all four copies at once, placing up to 12 burdens if you've filtered your deck well. {{Card|Goblin Scout}} and a Free Peoples side that helps you filter or place cards on the bottom of your deck (possibly with {{Card|Gimli, Dwarf of Erebor}} or {{Card|Gloin, Son of Groin}}) can help you set up your deck perfectly. It's an all-or-nothing strategy, because {{C|Moria}} has no other worthwhile cards that place burdens, and it comes at a cost, because those copies of LTTG [[Hand Clog|clog up your hand]]. But it can serve as a backup plan for winning games you'd otherwise lose. | ||
{{Card|Fool of a Took!}} is a poor card in most formats, but in [[Expanded | {{Card|Fool of a Took!}} is a poor card in most formats, but in [[Expanded Format|Expanded]] you can use it in a [[bomb]] deck similar to Lost to the Goblins. FOAT can spot {{Card|Ted Sandyman, Chief's Men's Ally}}. Just like the LTTG deck, you filter the Free Peoples cards out of your deck, drop down Ted, drop multiple copies of FOAT, and draw a huge number of {{C|Moria}} minions all at once. Unfortunately, this strategy is not very compatible with the usual {{C|Moria}} engine, because all of the scimitars, conditions, and events will stop your FOAT draw. As a result, it's a gimmicky deck that is not very effective when the bomb doesn't go off. | ||
[[Moria Beatdown]] uses the core engine but marries it to larger minions, often equipped with a copy or two of {{Card|Moria Axe}} and/or {{Card|Goblin Spear}}. This deck is less concerned with swarming and overwhelming the Ring-bearer, and just wants to win skirmishes, | [[Moria Beatdown]] uses the core engine but marries it to larger minions, often equipped with a copy or two of {{Card|Moria Axe}} and/or {{Card|Goblin Spear}}. This deck is less concerned with swarming and overwhelming the Ring-bearer, and just wants to win skirmishes, often aiming to overwhelm key companions with a single large minion. A beatdown deck is, of course, going to run the Cave Troll and Balrog, and is more likely to run their weapons, like {{Card|Cave Troll's Hammer}} and {{Card|Whip of Many Thongs}}. It's more prone to run {{Card|Guard Commander}}, {{Card|Goblin Flankers}}, {{Card|Troll's Keyward}}, {{Card|Host of Moria, Legion of the Underdeeps}}, and the utility [[Nazgul]] {{Card|Ulaire Enquea, Lieutenant of Morgul}} and {{Card|Ulaire Nertea, Messenger of Dol Guldur}}. Because you're using higher-vitality minions, {{Card|Moria Axe}} and {{Card|Threat of the Unknown}} are more viable, and because you're running more non-orc minions, {{Card|Goblin Spear}} is more useful. Moria Beatdown benefits more than most {{C|Moria}} decks from {{Card|Dark Places}}, {{Card|Plundered Armories}}, and {{Card|Durin's Tower}}. It's hard to say whether Moria Beatdown is a separate deck per se: there's nothing stopping you from running a few of these cards in a regular swarm deck to give it a little extra muscle at the cost of worse swarming and cycling. | ||
[[Moria Archery]] is another pure {{C|Moria}} variant. This deck still uses the scimitar/armories engine, but supplements the swarm with [[Archer]] minions. This bypasses some of the [[swarm]] weaknesses, but gives you worse [[cycling]], a slightly worse matchup against [[choke]], and leaves you vulnerable to strong archery [[hate]] cards like {{Card|Hosts of the Last Alliance}} or {{Card|Mithril-coat}}. The end result is a slightly weaker deck overall, but with different [[Matchup|matchups]]. Instead of the usual cheap efficient skirmishers, it uses cheap efficient archer minions, like {{Card|Goblin Bowman}}, {{Card|Goblin Marksman}}, {{Card|Archer Commander}}, and {{Card|Moria Archer Troop}}. ({{Card|Goblin Archer}} is rarely used due to its high cost and low efficiency.) It can also make use of {{Card|Bitter Hatred}} and {{Card|Pinned Down}}. It also likes some different sites than regular swarm: {{Card|Great Chasm}} is fine (about on par with the Mithril Mine) | [[Moria Archery]] is another pure {{C|Moria}} variant. This deck still uses the scimitar/armories engine, but supplements the swarm with [[Archer]] minions. This bypasses some of the [[swarm]] weaknesses, but gives you worse [[cycling]], a slightly worse matchup against [[choke]], and leaves you vulnerable to strong archery [[hate]] cards like {{Card|Hosts of the Last Alliance}} or {{Card|Mithril-coat}}. The end result is a slightly weaker deck overall, but with different [[Matchup|matchups]]. Instead of the usual cheap efficient skirmishers, it uses cheap efficient archer minions, like {{Card|Goblin Bowman}}, {{Card|Goblin Marksman}}, {{Card|Archer Commander}}, and {{Card|Moria Archer Troop}}. ({{Card|Goblin Archer}} is rarely used due to its high cost and low efficiency.) It can also make use of {{Card|Bitter Hatred}} and {{Card|Pinned Down}}. It also likes some different sites than regular swarm: {{Card|Great Chasm}} is fine (about on par with the Mithril Mine) and {{Card|Brown Lands}} are great, but {{Card|Anduin Wilderland}} is miserable. | ||
[[Moria Navy]] combines the {{C|Moria}} engine above with cheap [[Corsair]] {{C|Raider}}s to make a different kind of swarm. [[Cultural enforcement]] means this deck is a little less reliable than vanilla {{C|Moria}}, but the stronger and more versatile Corsairs make the deck more potent when it goes off. | [[Moria Navy]] combines the {{C|Moria}} engine above with cheap [[Corsair]] {{C|Raider}}s and {{Card|Under Foot}} to make a different kind of swarm. [[Cultural enforcement]] means this deck is a little less reliable than vanilla {{C|Moria}}, but the stronger and more versatile Corsairs make the deck more potent when it goes off. | ||
Any {{C|Moria}} deck in later [[format]]s can add a {{C|Gollum}} splash, sometimes consisting of no more than one copy of Gollum, three or four copies of {{Card|Captured By The Ring}}, and possibly a few copies of {{Card|Evil-Smelling Fens}} and/or {{Card|Fat One Wants It}}. A handful of [[threat]]s and an extra [[body]] are always welcome. | Any {{C|Moria}} deck in later [[format]]s can add a {{C|Gollum}} splash, sometimes consisting of no more than one copy of [[Gollum]], three or four copies of {{Card|Captured By The Ring}}, and possibly a few copies of {{Card|Evil-Smelling Fens}} and/or {{Card|Fat One Wants It}}. A handful of [[threat]]s and an extra [[body]] are always welcome. | ||
== The Balrog == | == The Balrog == | ||
| Line 58: | Line 58: | ||
The original [[tentacle]] cards -- and the basis of a really quite terrible Shadow deck -- are {{Card|Foul Tentacle}}, {{Card|Huge Tentacle}}, {{Card|Watcher in the Water, Keeper of Westgate}}, and {{Card|Foul Things}}. Most other {{C|Moria}} cards aren't worth playing, or don't work on tentacles. The deck seems attractive at first: Foul Tentacle [[download]]s Huge Tentacle, which downloads the Watcher, which [[Buff|buff]]s all your tentacles, and you play down any extras to enjoy the buffs. Giant squid fun is had by all (except for your opponents' Fellowship). | The original [[tentacle]] cards -- and the basis of a really quite terrible Shadow deck -- are {{Card|Foul Tentacle}}, {{Card|Huge Tentacle}}, {{Card|Watcher in the Water, Keeper of Westgate}}, and {{Card|Foul Things}}. Most other {{C|Moria}} cards aren't worth playing, or don't work on tentacles. The deck seems attractive at first: Foul Tentacle [[download]]s Huge Tentacle, which downloads the Watcher, which [[Buff|buff]]s all your tentacles, and you play down any extras to enjoy the buffs. Giant squid fun is had by all (except for your opponents' Fellowship). | ||
The first problem is that that's not enough cards for a Shadow deck, but it's too many incompatible cards to fit into some other Shadow deck comfortably. The second problem: these minions kind of suck, actually. Even when the bomb goes off, it's not really that scary. The third, and most pressing, problem is that all of these minions are discarded harmlessly if you play them at a site that isn't a [[marsh]], and there are only two marshes in [[Fellowship Block]]: {{Card|Midgewater Marshes}} and {{Card|Moria Lake}}. This means that all of your calamari is useless less than halfway through the game! | The first problem is that that's not enough cards for a Shadow deck, but it's too many incompatible cards to fit into some other Shadow deck comfortably. You can't play the Watcher at the same time as any other minions besides tentacles. The second problem: these minions kind of suck, actually. Even when the bomb goes off, it's not really that scary. The third, and most pressing, problem is that all of these minions are discarded harmlessly if you play them at a site that isn't a [[marsh]], and there are only two marshes in [[Fellowship Block]]: {{Card|Midgewater Marshes}} and {{Card|Moria Lake}}. This means that all of your calamari is useless less than halfway through the game! | ||
{{Card|Evil-smelling Fens}} attempted to solve the last problem by making every site a marsh, but once your opponent realizes what you're doing, it's going to be a prime target for [[Condition Removal|condition removal]]. And [[Power Creep|power creep]] meant the tentacles, which were never great to begin with, only got worse over time. | {{Card|Evil-smelling Fens}} attempted to solve the last problem by making every site a marsh, but once your opponent realizes what you're doing, it's going to be a prime target for [[Condition Removal|condition removal]]. And [[Power Creep|power creep]] meant the tentacles, which were never great to begin with, only got worse over time. | ||
{{Card|Watcher in the Water, Keeper of Westgate}} does see some play in a [[Movie Block]] [[corruption]] [[bomb]] [[Combo|combo]] using {{Card|Northern Ithilien}}. Play {{Card|Evil-Smelling Fens}} | {{Card|Watcher in the Water, Keeper of Westgate}} does see some play in a [[Movie Block]] [[corruption]] [[bomb]] [[Combo|combo]] using {{Card|Northern Ithilien}}. Play {{Card|Evil-Smelling Fens}} and stack up [[threat]]s, either beforehand or on the turn you go off. Once you get to {{Card|Northern Ithilien}}, play Gollum, ideally using the site's gametext. (If you don't already have threats stacked beforehand, playing {{Card|Plotting}} on the turn you plan to go off can help.) Then, play the Watcher, which will discard Gollum. (A second copy of Evil-Smelling Fens can help pull the Watcher out of your discard pile.) At this point, play Gollum over and over using the site's text, placing two [[burden]]s and immediately discarding Gollum each time. This combo can stack up as many burdens as you can get threats, usually up to the size of the [[Fellowship]]. This combo is generally a secondary strategy in a {{C|Gollum}}-focused deck, since all of the cards are generally useful for other things except for the Watcher itself. However, the combo is not especially reliable, so it's usually not the main focus of a deck. | ||
Tentacles remained a punchline or occasional combo piece until the very last set, [[Age's End]], which introduced {{Card|Watcher in the Water, Many-Tentacled Creature}}, {{Card|Reaching Tentacle}}, and {{Card|Strong Tentacle}}. This new Watcher is a [[bomb]] all on its lonesome: you can discard or waste any tentacles you draw until you | Tentacles remained a punchline or occasional combo piece until the very last set, [[Age's End]], which introduced {{Card|Watcher in the Water, Many-Tentacled Creature}}, {{Card|Reaching Tentacle}}, and {{Card|Strong Tentacle}}. This new Watcher is a [[bomb]] all on its lonesome: you can discard or waste any tentacles you draw until you are ready to drop the bomb. At that point you play the Watcher and use its gametext to play all of those tentacles out of discard. Instant [[swarm]], just add octopus. This deck still benefits from {{Card|Evil-smelling Fens}} and the old tentacles like {{Card|Foul Tentacle}} and {{Card|Huge Tentacle}}, to help you set up, [[filter]] your deck, pull even more tentacles out of your deck, or just add [[Body|bodies]] to the swarm. It's not an especially strong Shadow side, but the fact that you're discarding tentacles all over the place can intimidate your opponent into skipping [[double move]]s even when you didn't have the Watcher in hand. You can freely discard your tentacles to pay other costs or just as part of [[Reconcile|reconciling]], giving the deck strong [[cycling]]. It's not a dominant [[meta]] force, but you'd be a sucker not to try it at least once. | ||
---- | ---- | ||
Latest revision as of 07:30, 14 April 2022
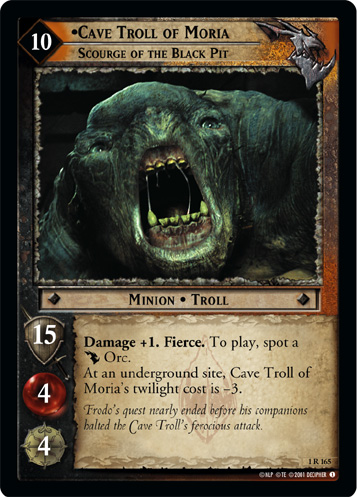
![]() Moria is the abandoned dwarven underground city of Khazad-dûm, now dominated by stunted goblins and a nameless fear. In this game, it is a Shadow culture that focuses on swarming the opponent with many small orc minions, plus the occasional larger minion that dwells in Moria, such as the Cave Troll of Moria, Scourge of the Black Pit (1R165)
Moria is the abandoned dwarven underground city of Khazad-dûm, now dominated by stunted goblins and a nameless fear. In this game, it is a Shadow culture that focuses on swarming the opponent with many small orc minions, plus the occasional larger minion that dwells in Moria, such as the Cave Troll of Moria, Scourge of the Black Pit (1R165)
 , Watcher in the Water, Keeper of Westgate (2R73)
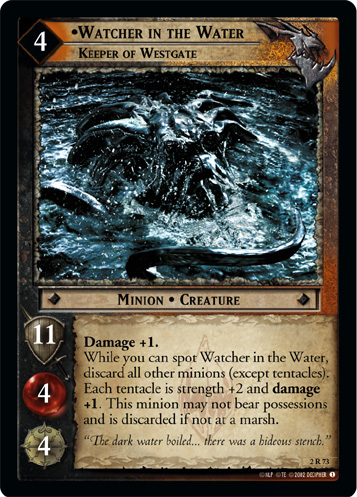 and its tentacles, and the Balrog.
 ![]() Moria was one of the first cultures introduced to this game, and unlike most of the original cultures, it's always been focused tightly on one strategy: using the faction's hand extension and recursion tools to set up an engine to play many more minions than you'd otherwise be able to play at once.
Moria was one of the first cultures introduced to this game, and unlike most of the original cultures, it's always been focused tightly on one strategy: using the faction's hand extension and recursion tools to set up an engine to play many more minions than you'd otherwise be able to play at once.
Part of why ![]() Moria is so tightly focused is because the bulk of the culture's cards came out in Fellowship Block. Only a handful of new cards came out for the culture after that, most of them focused on the Balrog. The Shadows set basically retired
Moria is so tightly focused is because the bulk of the culture's cards came out in Fellowship Block. Only a handful of new cards came out for the culture after that, most of them focused on the Balrog. The Shadows set basically retired ![]() Moria as part of its culture reorganization, merging most of it into
Moria as part of its culture reorganization, merging most of it into ![]() Orc culture. The only
Orc culture. The only ![]() Moria cards in the post-Shadows sets are the Balrog and cards to support the Balrog, as well as the Watcher in the Water, Many-tentacled Creature (19P21)
Moria cards in the post-Shadows sets are the Balrog and cards to support the Balrog, as well as the Watcher in the Water, Many-tentacled Creature (19P21)
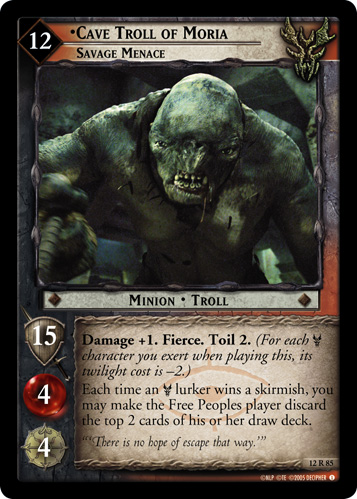
 and its various tentacles. In those later sets, the teeming goblins of Moria are Lurkers, and they and the Cave Troll of Moria, Savage Menace (12R85)
 are part of the
 ![]() Orc culture.
Orc culture.
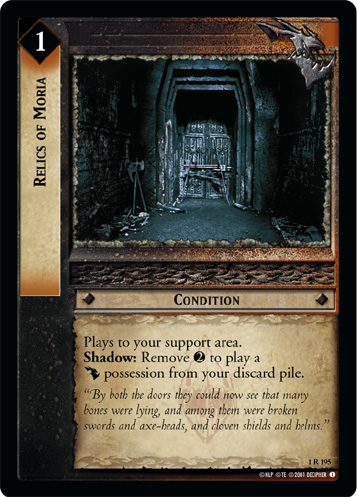
![]() Moria is one of the premiere Shadow sides of Fellowship Block, particularly because of its strong matchup against choke. After that, historically it fell off. Few cards were added to the culture in later sets, limiting its versatility and leaving it vulnerable to power creep. The site path in later formats generates more Twilight, weakening the choke decks it preyed upon. A key card, Relics of Moria (1R195)
Moria is one of the premiere Shadow sides of Fellowship Block, particularly because of its strong matchup against choke. After that, historically it fell off. Few cards were added to the culture in later sets, limiting its versatility and leaving it vulnerable to power creep. The site path in later formats generates more Twilight, weakening the choke decks it preyed upon. A key card, Relics of Moria (1R195)
 , was restricted or banned in some formats. Despite all this, on GEMP in 2021, it remains reasonably popular in later formats where Fellowship Block cards are allowed (save possibly Expanded), because of familiarity and strong cycling.
The Moria Swarm Engine[edit]
The vast majority of ![]() Moria culture decks use a variation of this engine. When someone mentions a "Moria deck", they probably mean a swarm deck using this engine. It even appears in most hybrid decks, like Moria Navy. (The main exception is Stupid Swarm, which is a rainbow strategy with too few
Moria culture decks use a variation of this engine. When someone mentions a "Moria deck", they probably mean a swarm deck using this engine. It even appears in most hybrid decks, like Moria Navy. (The main exception is Stupid Swarm, which is a rainbow strategy with too few ![]() Moria minions to make this work.)
Moria minions to make this work.)
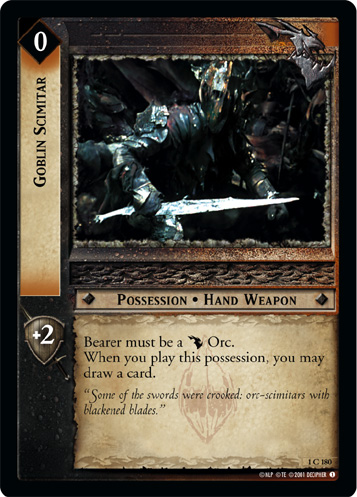
The core cards of the engine are multiple copies of both Goblin Scimitar (1C180)
 and Goblin Armory (1R173)
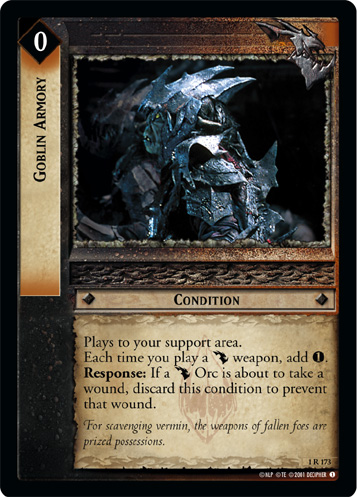 . Each scimitar replaces itself in your hand by drawing an additional card, and generates up to four additional Twilight, allowing you to pay for more minions even against choke decks. Every other key card plugs into this engine.
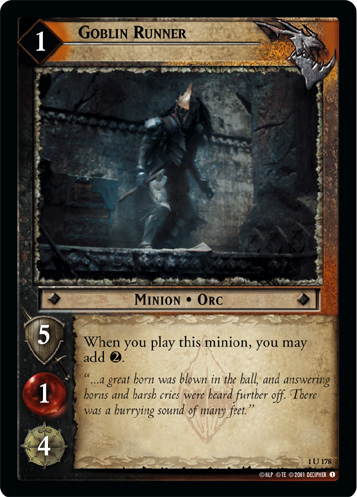
Goblin Runner (1U178)
 and Moria Scout (1C191)
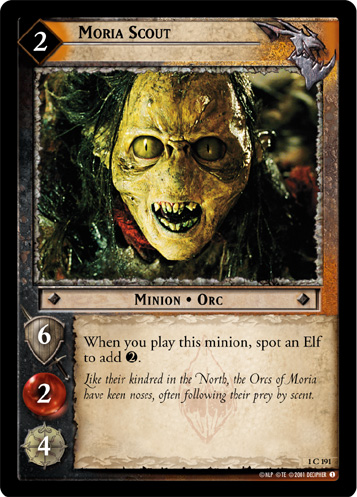 generate as much or more Twilight than they cost, helping you play every single minion in your hand. Goblin Scavengers (1C179)
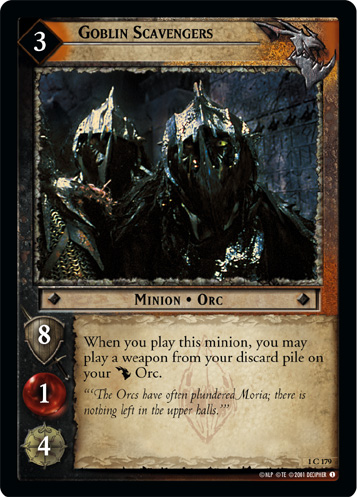 and Relics of Moria (1R195)
allow you to replay your scimitars from the discard pile, drawing even more cards. With enough copies of Goblin Armory out, they even generate more Twilight than they cost. Then, to replay your various goblins, you have Host of Thousands (1C187)
and Relics of Moria (1R195)
allow you to replay your scimitars from the discard pile, drawing even more cards. With enough copies of Goblin Armory out, they even generate more Twilight than they cost. Then, to replay your various goblins, you have Host of Thousands (1C187)
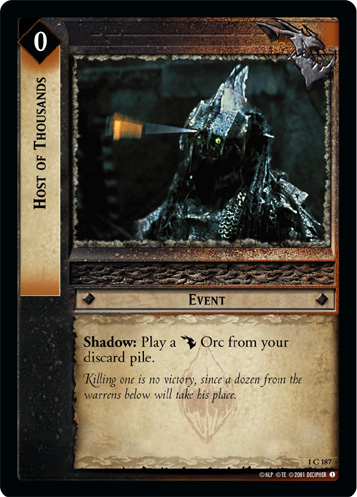 and Goblin Swarms (1R183)
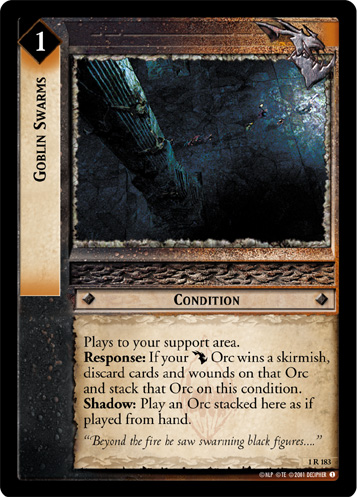 . If any useless cards are clogging up your hand, they can be turned into useful goblins with They Are Coming (1C196)
 .
.
There are a few weaker, less-popular additions to the engine. Threat of the Unknown (1C197)
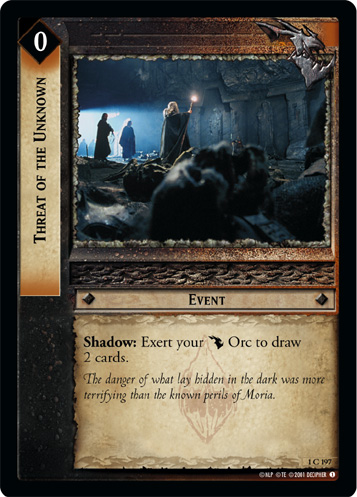 and The Underdeeps of Moria (1R200)
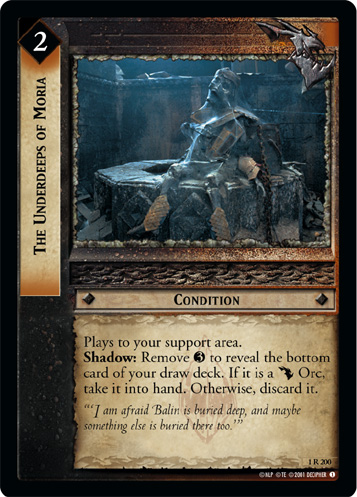 can draw more cards. Plundered Armories (1C193)
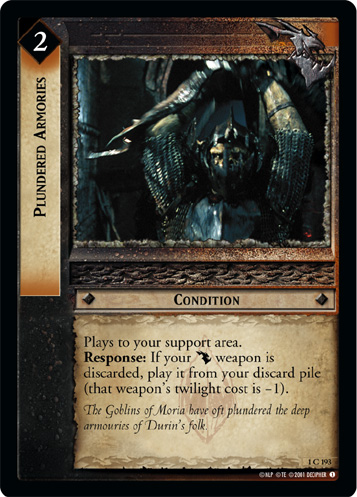 can prevent your weapons from going to waste, as well as draw some extra cards for your next turn. Foul Things (2U59)
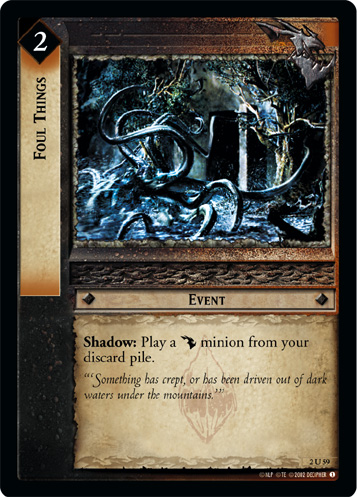 can be played as a fifth or sixth copy of Host of Thousands and also works on the Balrog or Cave Troll, but it is expensive.
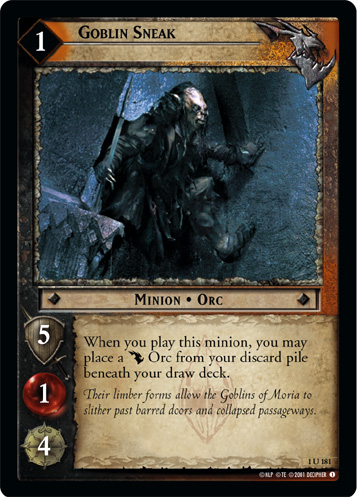
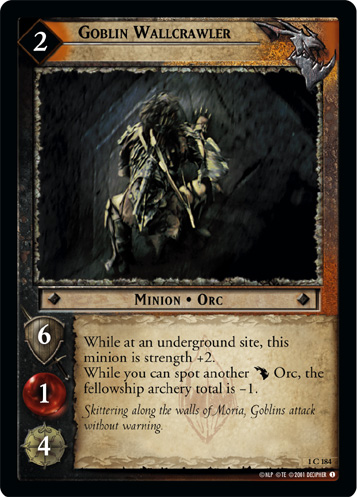
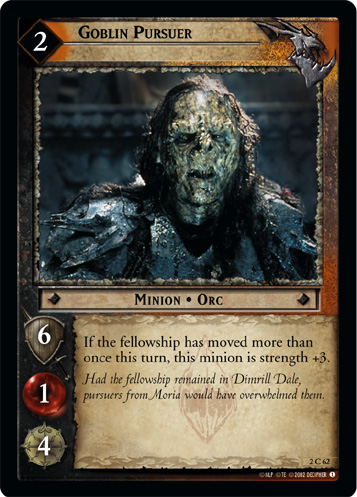
The rest of the deck consists of the rest of your minions, as well as occasional utility cards. Besides the minions above, popular minions in the traditional swarm deck include Goblin Backstabber (1C174)
 , Goblin Sneak (1U181)
 , Goblin Wallcrawler (1C184)
 , and Goblin Pursuer (2C62)
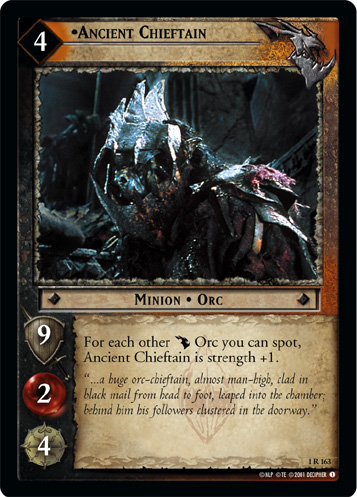
 . Also somewhat common as one- or two-ofs are Ancient Chieftain (1R163)
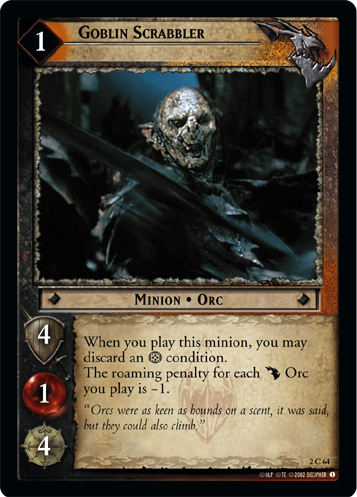
 , Goblin Scrabbler (2C64)
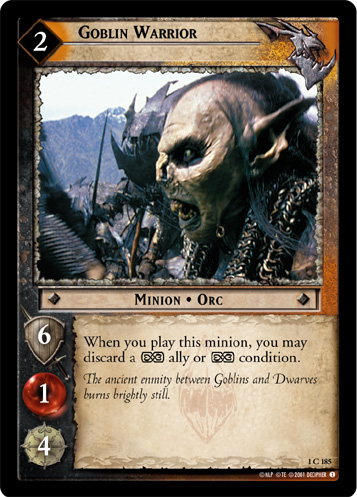
 , Goblin Warrior (1C185)
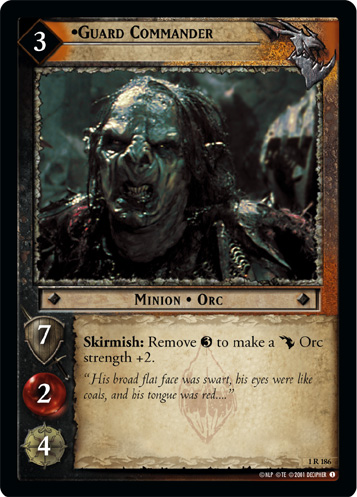
 , Guard Commander (1R186)
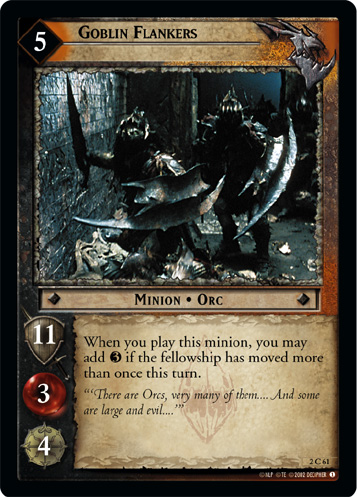
 , Goblin Flankers (2C61)
 , Troll’s Keyward (1R199)
 , Úlairë Enquëa, Lieutenant of Morgul (1U231)
 , and Úlairë Nertëa, Messenger of Dol Guldur (1U234)
 . Some decks include utility cards like Such a Little Thing (3R80)
 , Goblin Domain (1R175)
 , or Relentless (1U194)
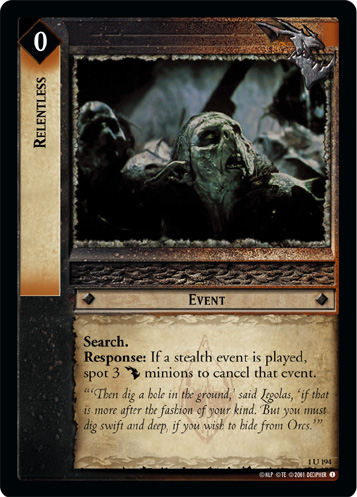 , but all three are chiefly useful exclusively in Fellowship Block.
Some decks also include a few larger minions, to use up any remaining Twilight and put some pressure on higher-strength skirmishers. Be careful about running too many of these, because they can clog up your hand if you can't afford them. The most popular big breakers are the two ![]() Moria monsters, The Balrog, Flame of Udun (2R52)
Moria monsters, The Balrog, Flame of Udun (2R52)
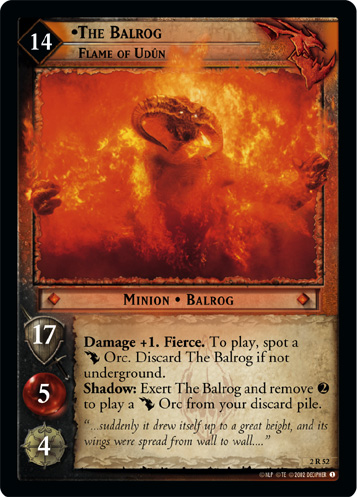 (always a one-of, and almost exclusively in Fellowship Block, and occasionally in conjunction with Goblin Spear (1C182)
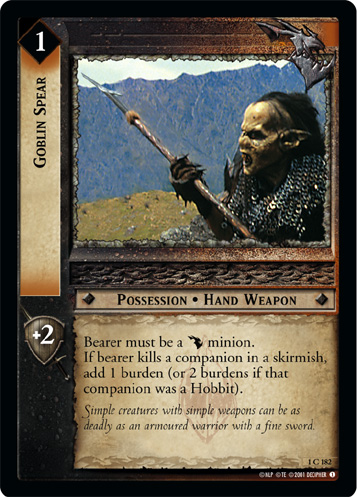 ), Cave Troll of Moria, Scourge of the Black Pit (1R165)
(generally in conjunction with Troll’s Keyward (1R199)
), although any of the Moria Beatdown minions can also serve this role.
), Cave Troll of Moria, Scourge of the Black Pit (1R165)
(generally in conjunction with Troll’s Keyward (1R199)
), although any of the Moria Beatdown minions can also serve this role.
Some important sites in Fellowship Block for ![]() Moria swarm:
Moria swarm:
- Site 4 - Mithril Mine (1U345)
 is very strong, feeding the main engine, but it requires you to have pre-seeded your discard with weapons. Moria Stairway (1U347)
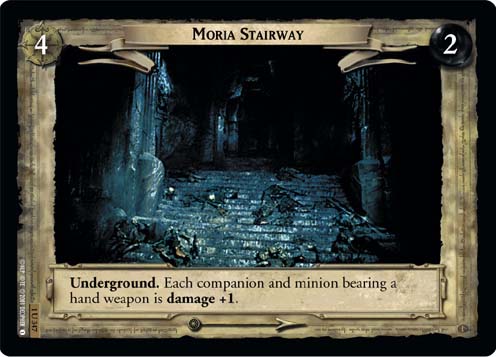 is weaker, but more consistently useful.
 - Site 5 - It's not like you can choose anything but The Bridge of Khazad-dûm (1C349)
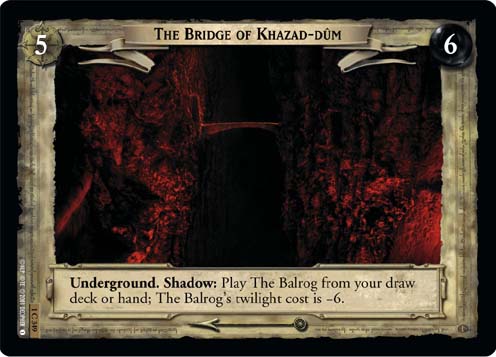 , but the Bridge can be a good reason to include one copy of The Balrog, Flame of Udun (2R52)
.
, but the Bridge can be a good reason to include one copy of The Balrog, Flame of Udun (2R52)
. - Site 6 - Dimrill Dale (1U350)
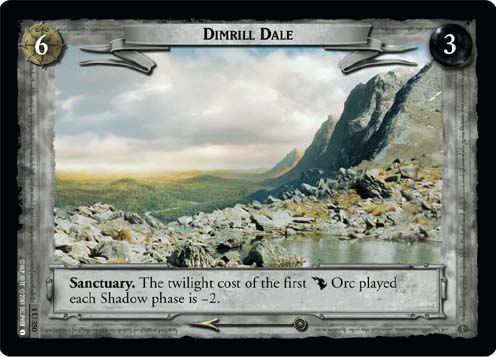 is a reasonably strong effect at a relatively weak site number. Try to avoid getting stuck at Caras Galadhon (3U115)
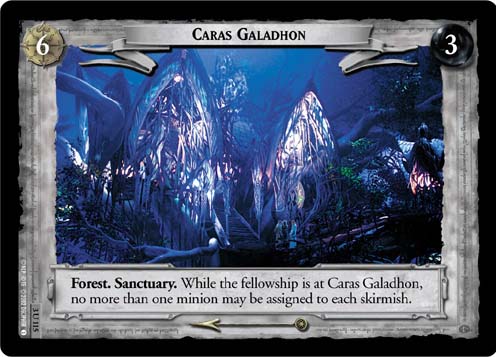 .
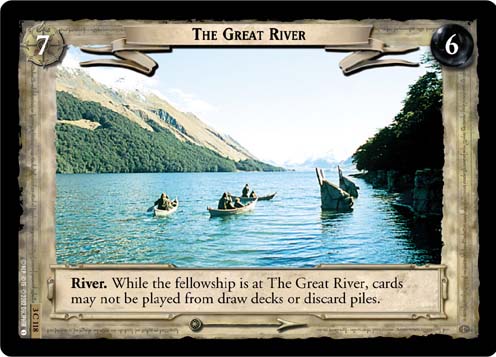
. - Site 7 - This deck has few good tools to deal with allies and archery, so pick your favorite of Anduin Confluence (1U353)
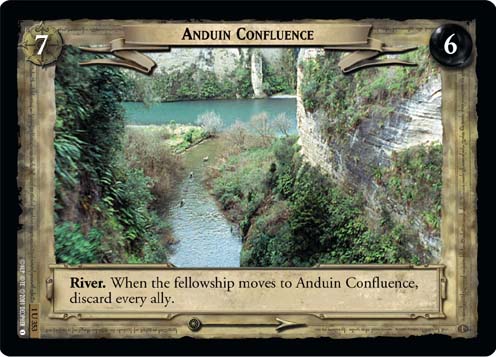 and Anduin Wilderland (1C354)
 . Try to avoid The Great River (3C118)
 .
. - Site 8 - Shores of Nen Hithoel (1U359)
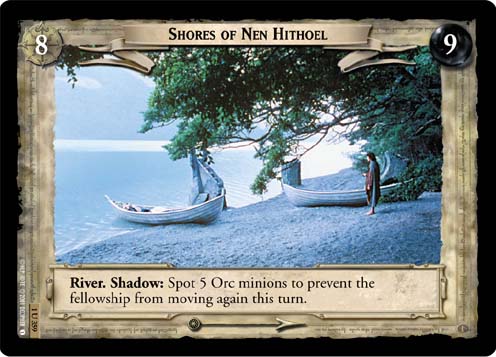 can stop a double move, while Anduin Banks (1C356)
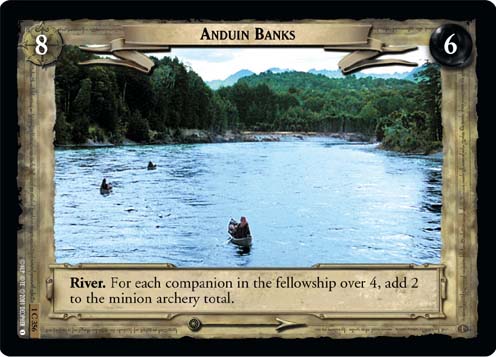 helps whittle down overly large Fellowships (but helps small Fellowships choke).
This deck was more or less unchanged after Fellowship Block, due to a lack of new cards. The only relevant ![]() Moria orc-focused cards introduced after that block are Host of Moria, Legion of the Underdeeps (9R+41)
Moria orc-focused cards introduced after that block are Host of Moria, Legion of the Underdeeps (9R+41)
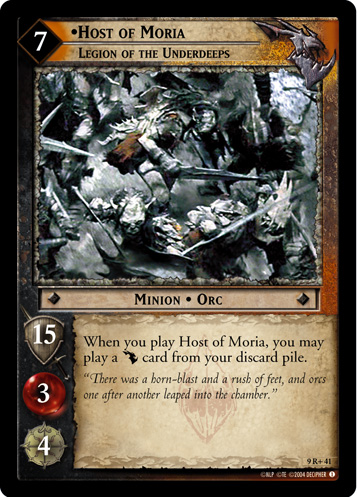 , a minion that makes use of the higher Twilight income in later formats to replace one of your conditions or bring along a weapon or a friend, and Durin’s Tower (6R77)
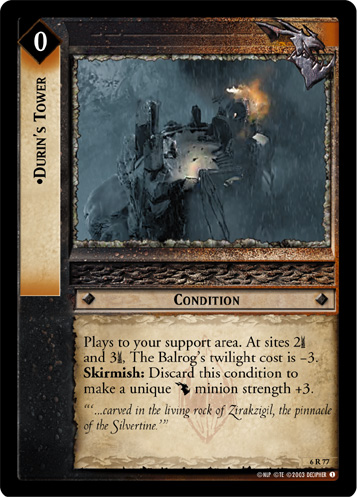 , a pump that applies to so few minions that it's rarely useful. The main new additions after that block involve incorporating new cultures.
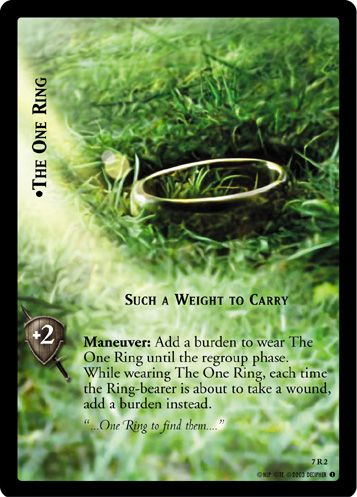
![]() Moria swarm is a traditional swarm deck, so it has the traditional swarm weaknesses. Depending on the format, these can include Defender +1 abilities, versions of The One Ring that give the Ring-bearer strength or Hunter bonuses like The One Ring, Such a Weight to Carry (7R2)
Moria swarm is a traditional swarm deck, so it has the traditional swarm weaknesses. Depending on the format, these can include Defender +1 abilities, versions of The One Ring that give the Ring-bearer strength or Hunter bonuses like The One Ring, Such a Weight to Carry (7R2)
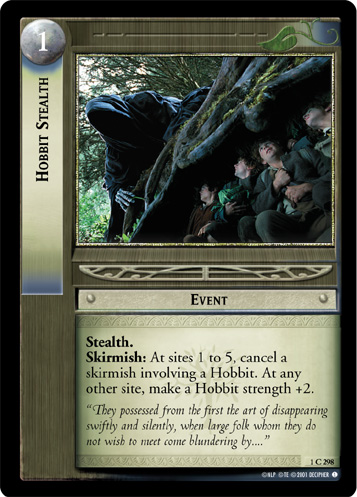
 , skirmish cancellation from cards like Hobbit Stealth (1C298)
 or Gandalf's Staff (2R22)
 , cards that protect characters from being overwhelmed like Bounder (1C286)
 or The Tale of the Great Ring (10U116)
 , alternate Ring-bearers with higher strength scores like Isildur, Bearer of Heirlooms (9R+33)
 , and enough direct wounding or archery to thin out the swarm. There are also specific anti-swarm cards like Caras Galadhon (3U115)
and Power According to His Stature (1R308)
, and enough direct wounding or archery to thin out the swarm. There are also specific anti-swarm cards like Caras Galadhon (3U115)
and Power According to His Stature (1R308)
 .
. ![]() Moria swarm is also reliant on its conditions, so condition removal from cards like Secret Sentinels (2R20)
Moria swarm is also reliant on its conditions, so condition removal from cards like Secret Sentinels (2R20)
 , Bilbo, Well-spoken Gentlehobbit (2U96)
 , and Sleep, Caradhras (1C84)
 can wipe out your support area and limit the power of the engine.
Variants[edit]
Lost to the Goblins (1R189)
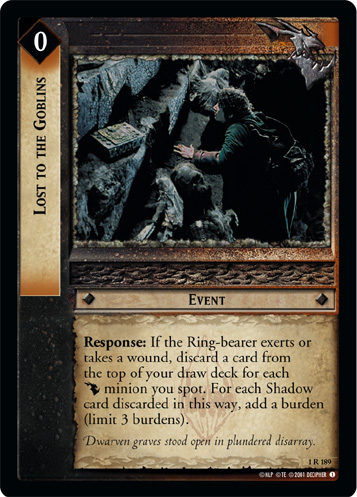 is a variation of the swarm deck that includes four copies of Lost to the Goblins (1R189)
. After you've filtered out all of the Free Peoples cards from your deck, you can drop a few minions then slam down all four copies at once, placing up to 12 burdens if you've filtered your deck well. Goblin Scout
is a variation of the swarm deck that includes four copies of Lost to the Goblins (1R189)
. After you've filtered out all of the Free Peoples cards from your deck, you can drop a few minions then slam down all four copies at once, placing up to 12 burdens if you've filtered your deck well. Goblin Scout
 and a Free Peoples side that helps you filter or place cards on the bottom of your deck (possibly with Gimli, Dwarf of Erebor (1U12)
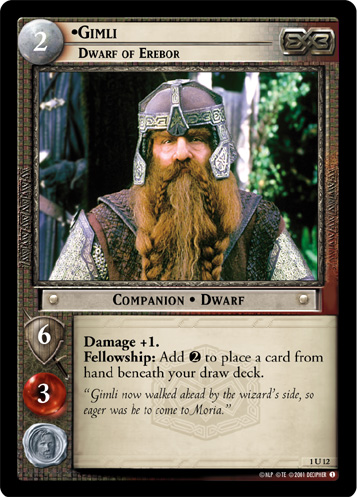 or Glóin, Son of Groin (15R6)
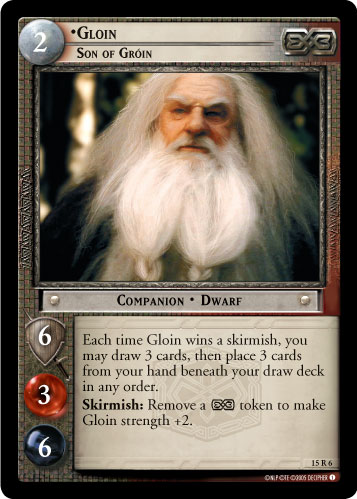 ) can help you set up your deck perfectly. It's an all-or-nothing strategy, because
 ![]() Moria has no other worthwhile cards that place burdens, and it comes at a cost, because those copies of LTTG clog up your hand. But it can serve as a backup plan for winning games you'd otherwise lose.
Moria has no other worthwhile cards that place burdens, and it comes at a cost, because those copies of LTTG clog up your hand. But it can serve as a backup plan for winning games you'd otherwise lose.
Fool of a Took! (1R170)
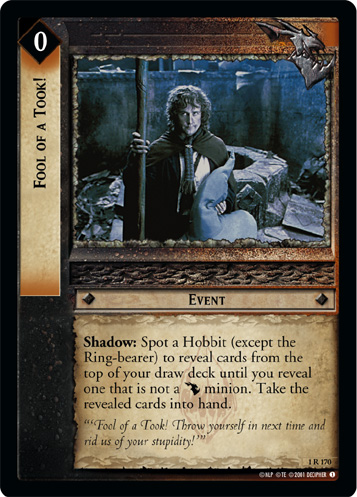 is a poor card in most formats, but in Expanded you can use it in a bomb deck similar to Lost to the Goblins. FOAT can spot Ted Sandyman, Chief's Men's Ally (18U75)
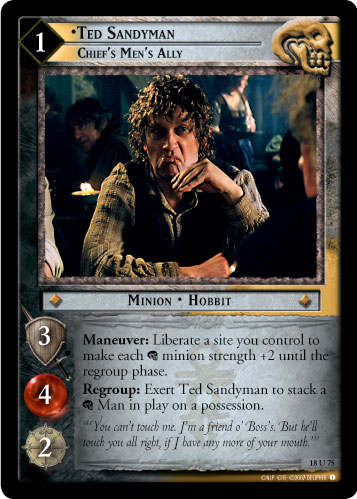 . Just like the LTTG deck, you filter the Free Peoples cards out of your deck, drop down Ted, drop multiple copies of FOAT, and draw a huge number of
 ![]() Moria minions all at once. Unfortunately, this strategy is not very compatible with the usual
Moria minions all at once. Unfortunately, this strategy is not very compatible with the usual ![]() Moria engine, because all of the scimitars, conditions, and events will stop your FOAT draw. As a result, it's a gimmicky deck that is not very effective when the bomb doesn't go off.
Moria engine, because all of the scimitars, conditions, and events will stop your FOAT draw. As a result, it's a gimmicky deck that is not very effective when the bomb doesn't go off.
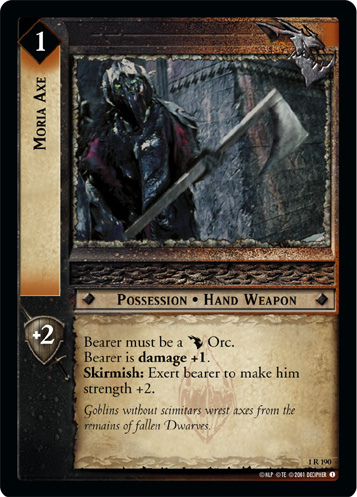
Moria Beatdown uses the core engine but marries it to larger minions, often equipped with a copy or two of Moria Axe (1R190)
 and/or Goblin Spear (1C182)
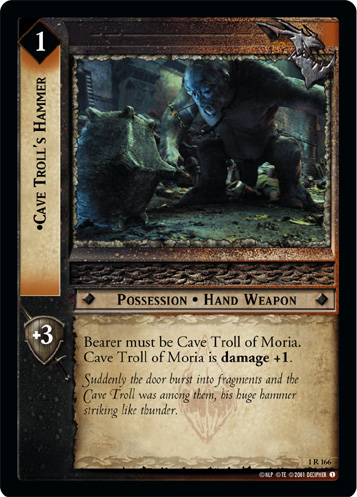
. This deck is less concerned with swarming and overwhelming the Ring-bearer, and just wants to win skirmishes, often aiming to overwhelm key companions with a single large minion. A beatdown deck is, of course, going to run the Cave Troll and Balrog, and is more likely to run their weapons, like Cave Troll's Hammer (1R166)
and/or Goblin Spear (1C182)
. This deck is less concerned with swarming and overwhelming the Ring-bearer, and just wants to win skirmishes, often aiming to overwhelm key companions with a single large minion. A beatdown deck is, of course, going to run the Cave Troll and Balrog, and is more likely to run their weapons, like Cave Troll's Hammer (1R166)
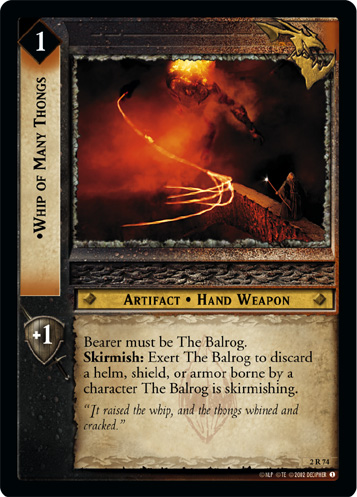
 and Whip of Many Thongs (2R74)
 . It's more prone to run Guard Commander (1R186)
, Goblin Flankers (2C61)
, Troll’s Keyward (1R199)
, Host of Moria, Legion of the Underdeeps (9R+41)
, and the utility Nazgul Úlairë Enquëa, Lieutenant of Morgul (1U231)
and Úlairë Nertëa, Messenger of Dol Guldur (1U234)
. Because you're using higher-vitality minions, Moria Axe (1R190)
and Threat of the Unknown (1C197)
are more viable, and because you're running more non-orc minions, Goblin Spear (1C182)
is more useful. Moria Beatdown benefits more than most
. It's more prone to run Guard Commander (1R186)
, Goblin Flankers (2C61)
, Troll’s Keyward (1R199)
, Host of Moria, Legion of the Underdeeps (9R+41)
, and the utility Nazgul Úlairë Enquëa, Lieutenant of Morgul (1U231)
and Úlairë Nertëa, Messenger of Dol Guldur (1U234)
. Because you're using higher-vitality minions, Moria Axe (1R190)
and Threat of the Unknown (1C197)
are more viable, and because you're running more non-orc minions, Goblin Spear (1C182)
is more useful. Moria Beatdown benefits more than most ![]() Moria decks from Dark Places (2C55)
Moria decks from Dark Places (2C55)
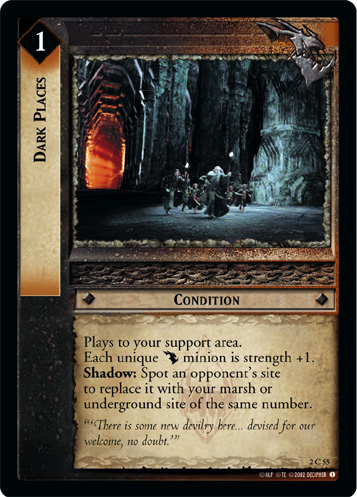 , Plundered Armories (1C193)
, and Durin’s Tower (6R77)
. It's hard to say whether Moria Beatdown is a separate deck per se: there's nothing stopping you from running a few of these cards in a regular swarm deck to give it a little extra muscle at the cost of worse swarming and cycling.
, Plundered Armories (1C193)
, and Durin’s Tower (6R77)
. It's hard to say whether Moria Beatdown is a separate deck per se: there's nothing stopping you from running a few of these cards in a regular swarm deck to give it a little extra muscle at the cost of worse swarming and cycling.
Moria Archery is another pure ![]() Moria variant. This deck still uses the scimitar/armories engine, but supplements the swarm with Archer minions. This bypasses some of the swarm weaknesses, but gives you worse cycling, a slightly worse matchup against choke, and leaves you vulnerable to strong archery hate cards like Hosts of the Last Alliance (2U18)
Moria variant. This deck still uses the scimitar/armories engine, but supplements the swarm with Archer minions. This bypasses some of the swarm weaknesses, but gives you worse cycling, a slightly worse matchup against choke, and leaves you vulnerable to strong archery hate cards like Hosts of the Last Alliance (2U18)
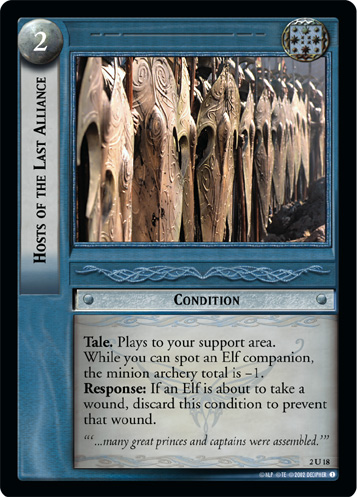 or Mithril-coat (2R105)
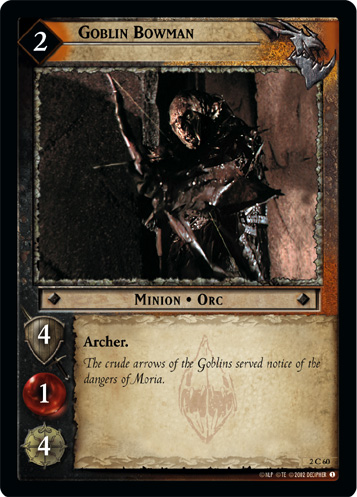
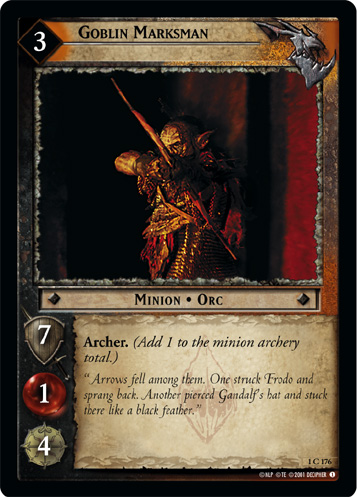
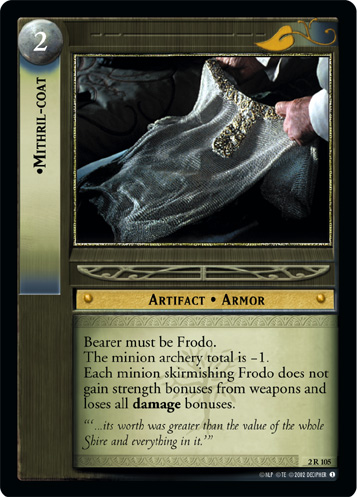 . The end result is a slightly weaker deck overall, but with different matchups. Instead of the usual cheap efficient skirmishers, it uses cheap efficient archer minions, like Goblin Bowman (2C60)
 , Goblin Marksman (1C176)
 , Archer Commander (2R49)
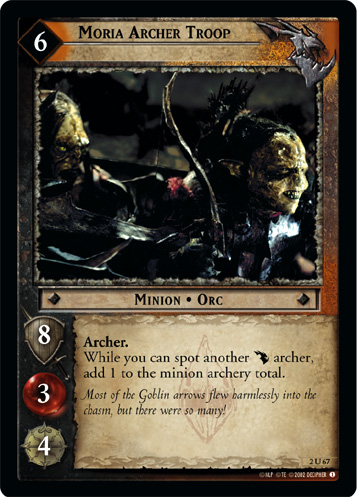
 , and Moria Archer Troop (2U67)
 . (Goblin Archer (1R172)
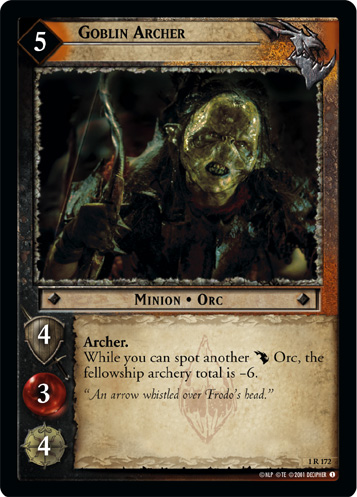 is rarely used due to its high cost and low efficiency.) It can also make use of Bitter Hatred (1U164)
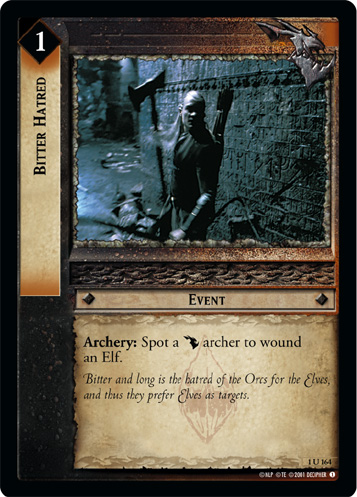 and Pinned Down (1C192)
 . It also likes some different sites than regular swarm: Great Chasm (2U118)
 is fine (about on par with the Mithril Mine) and Brown Lands (1U357)
 are great, but Anduin Wilderland (1C354)
is miserable.
are great, but Anduin Wilderland (1C354)
is miserable.
Moria Navy combines the ![]() Moria engine above with cheap Corsair
Moria engine above with cheap Corsair ![]() Raiders and Under Foot (10C52)
Raiders and Under Foot (10C52)
 to make a different kind of swarm. Cultural enforcement means this deck is a little less reliable than vanilla
 ![]() Moria, but the stronger and more versatile Corsairs make the deck more potent when it goes off.
Moria, but the stronger and more versatile Corsairs make the deck more potent when it goes off.
Any ![]() Moria deck in later formats can add a
Moria deck in later formats can add a ![]() Gollum splash, sometimes consisting of no more than one copy of Gollum, three or four copies of Captured by the Ring (7C53)
Gollum splash, sometimes consisting of no more than one copy of Gollum, three or four copies of Captured by the Ring (7C53)
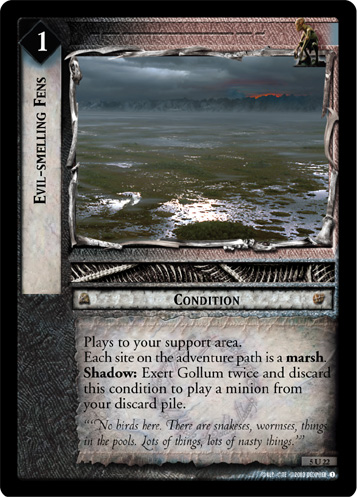
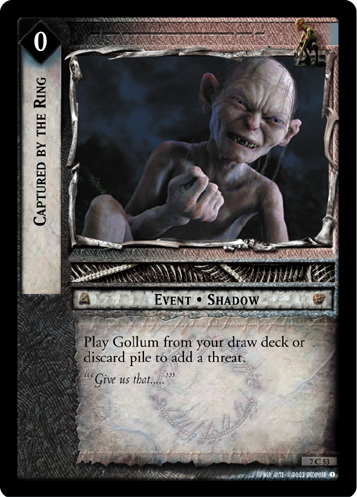 , and possibly a few copies of Evil-smelling Fens (5U22)
 and/or Fat One Wants It (7R57)
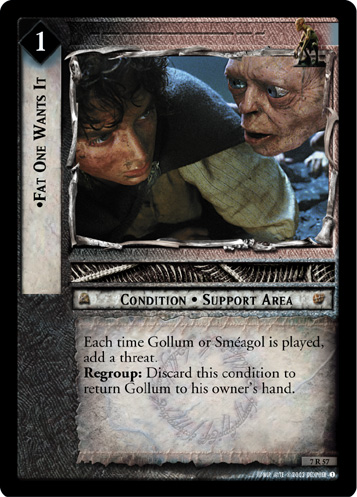 . A handful of threats and an extra body are always welcome.
The Balrog[edit]
See also: Balrog
The Balrog stands more or less on his own, but can't sustain a deck on its own. Think of it more as something you splash into a deck to supplement its main strategy, even if you're splashing it into a ![]() Moria deck. It's most popular in Fellowship Block, where it can be downloaded at site 5, The Bridge of Khazad-dûm (1C349)
, but can't be played at any other site except some versions of site 4. If you do use it, use The Balrog, Flame of Udun (2R52)
for
Moria deck. It's most popular in Fellowship Block, where it can be downloaded at site 5, The Bridge of Khazad-dûm (1C349)
, but can't be played at any other site except some versions of site 4. If you do use it, use The Balrog, Flame of Udun (2R52)
for ![]() Moria goblin swarm, and The Balrog, Durin's Bane (2C51)
Moria goblin swarm, and The Balrog, Durin's Bane (2C51)
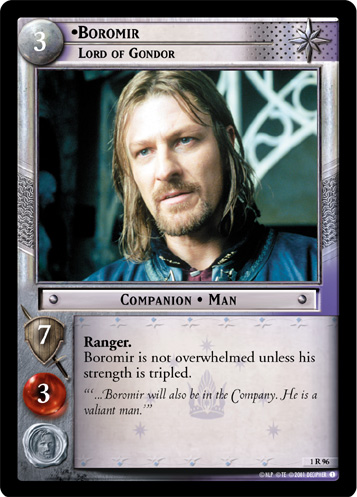
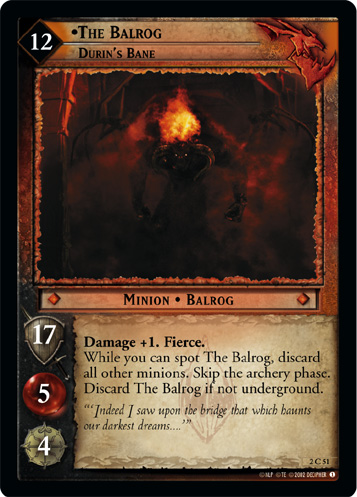 for any other deck. The main reason not to is because the counters to the Balrog are powerful and versatile cards in their own right: Hobbit Stealth (1C298)
, Boromir, Lord of Gondor (1R96)
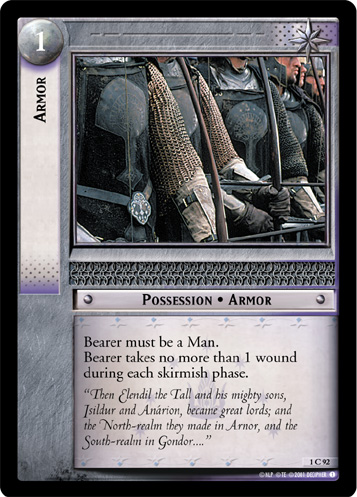
for any other deck. The main reason not to is because the counters to the Balrog are powerful and versatile cards in their own right: Hobbit Stealth (1C298)
, Boromir, Lord of Gondor (1R96)
 , Armor (1C92)
 , Gimli's Helm (1R15)
 , and Filibert Bolger, Wily Rascal (2C101)
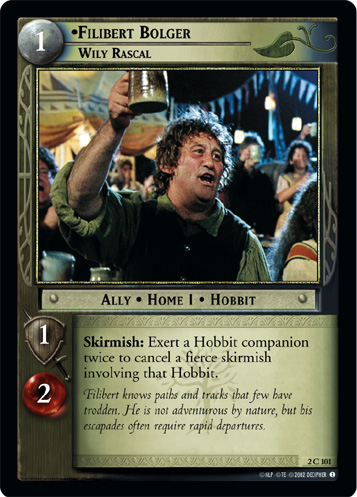 . Even if your opponent doesn't have a counter, they may just be able to sacrifice a used-up support character like Sam, Son of Hamfast (1C311)
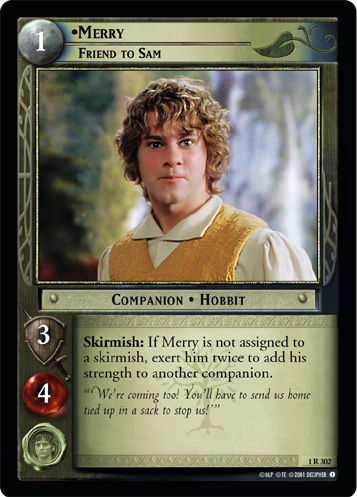
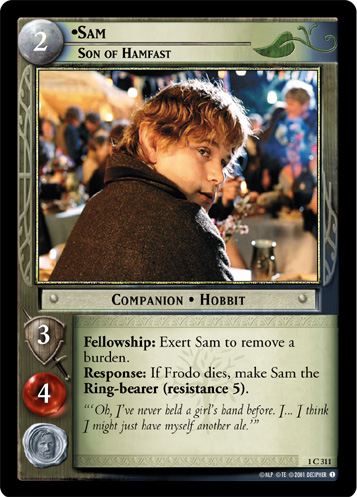 or Merry, Friend to Sam (1R302)
 . Whip of Many Thongs (2R74)
counters some of these cards, but not all of them, and it's useless unless you already have it in your hand when your opponent gets to site 5.
. Whip of Many Thongs (2R74)
counters some of these cards, but not all of them, and it's useless unless you already have it in your hand when your opponent gets to site 5.
In later blocks, the Balrog just isn't very useful. Decipher tried to address its weaknesses, but there are too few Underground sites and its Twilight cost stayed far too high for too long, scuttling those attempts. (Compare Troll of Cirith Gorgor (10R101)
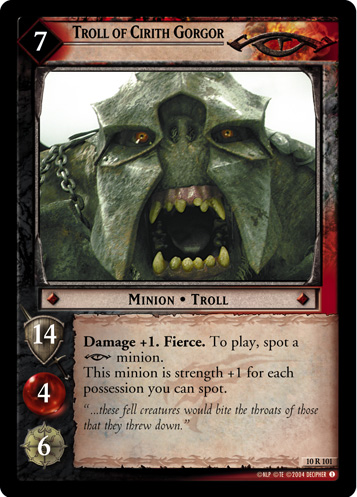 to The Balrog, Terror of Flame and Shadow (6R76)
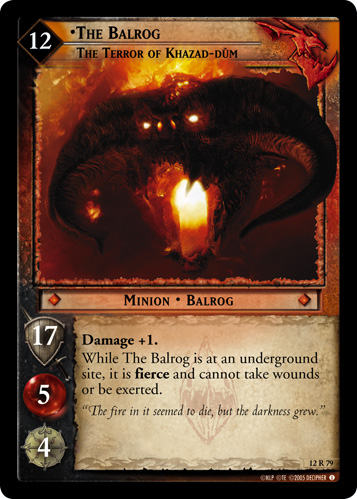
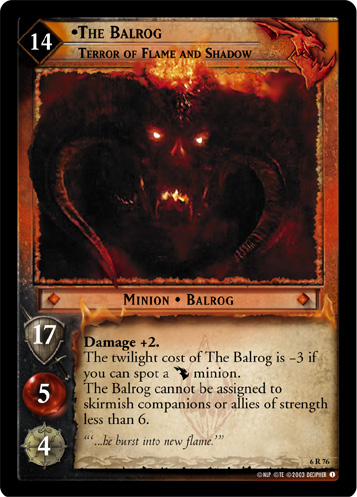 and The Balrog, The Terror of Khazad-dum (12R79)
 .) The Balrog, Demon of Might (19P18)
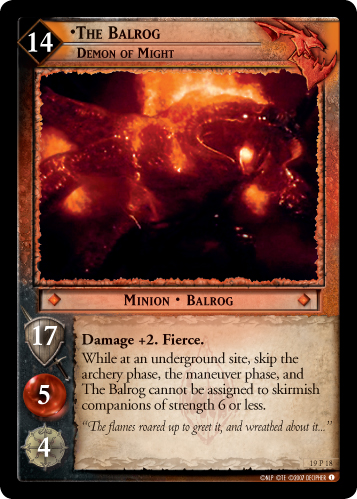 is probably the only one worth seriously considering, as a splash into Underground
 ![]() Orc Lurkers, but even then you'll want to make sure it doesn't interfere with any Maneuver Phase abilities you might want to use.
Orc Lurkers, but even then you'll want to make sure it doesn't interfere with any Maneuver Phase abilities you might want to use.
Tentacles[edit]
See also: Moria Tentacles
Decks focusing on the Watcher in the Water are an archetype of their own. One of these decks is almost completely useless and infamous as a newbie trap, and one of them is just okay but relies on cards from Age's End.
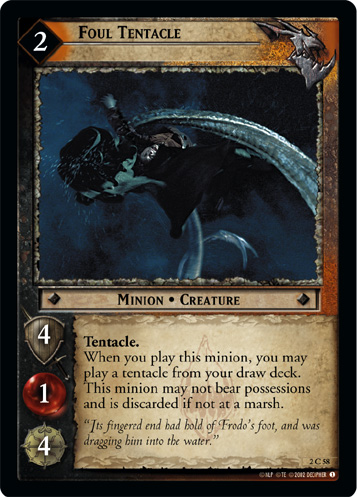
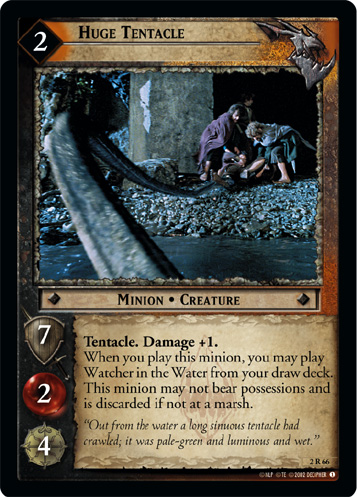
The original tentacle cards -- and the basis of a really quite terrible Shadow deck -- are Foul Tentacle (2C58)
 , Huge Tentacle (2R66)
 , Watcher in the Water, Keeper of Westgate (2R73)
, and Foul Things (2U59)
. Most other
, Watcher in the Water, Keeper of Westgate (2R73)
, and Foul Things (2U59)
. Most other ![]() Moria cards aren't worth playing, or don't work on tentacles. The deck seems attractive at first: Foul Tentacle downloads Huge Tentacle, which downloads the Watcher, which buffs all your tentacles, and you play down any extras to enjoy the buffs. Giant squid fun is had by all (except for your opponents' Fellowship).
Moria cards aren't worth playing, or don't work on tentacles. The deck seems attractive at first: Foul Tentacle downloads Huge Tentacle, which downloads the Watcher, which buffs all your tentacles, and you play down any extras to enjoy the buffs. Giant squid fun is had by all (except for your opponents' Fellowship).
The first problem is that that's not enough cards for a Shadow deck, but it's too many incompatible cards to fit into some other Shadow deck comfortably. You can't play the Watcher at the same time as any other minions besides tentacles. The second problem: these minions kind of suck, actually. Even when the bomb goes off, it's not really that scary. The third, and most pressing, problem is that all of these minions are discarded harmlessly if you play them at a site that isn't a marsh, and there are only two marshes in Fellowship Block: Midgewater Marshes (1U332)
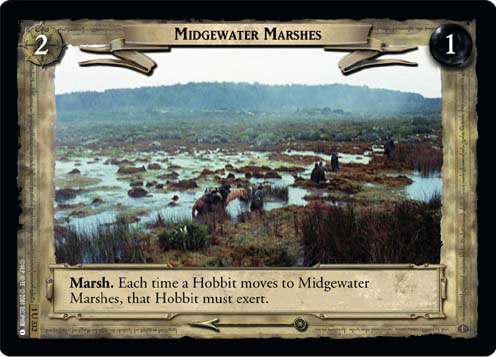 and Moria Lake (1C346)
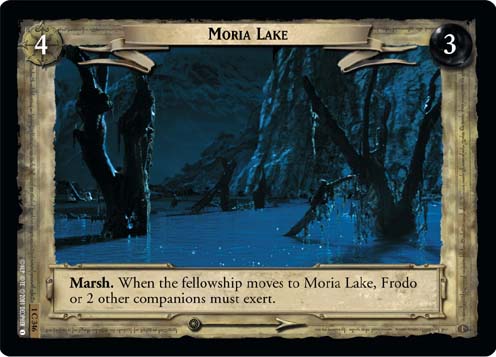 . This means that all of your calamari is useless less than halfway through the game!
Evil-smelling Fens (5U22)
attempted to solve the last problem by making every site a marsh, but once your opponent realizes what you're doing, it's going to be a prime target for condition removal. And power creep meant the tentacles, which were never great to begin with, only got worse over time.
Watcher in the Water, Keeper of Westgate (2R73)
does see some play in a Movie Block corruption bomb combo using Northern Ithilien (7U359)
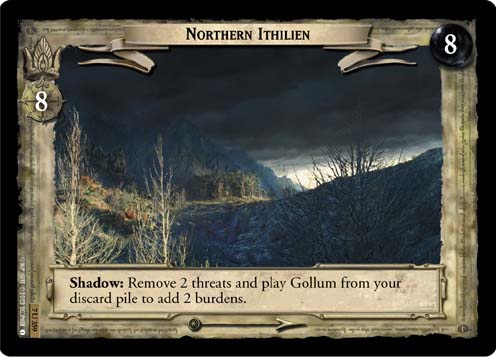 . Play Evil-smelling Fens (5U22)
and stack up threats, either beforehand or on the turn you go off. Once you get to Northern Ithilien (7U359)
, play Gollum, ideally using the site's gametext. (If you don't already have threats stacked beforehand, playing Plotting (7R67)
. Play Evil-smelling Fens (5U22)
and stack up threats, either beforehand or on the turn you go off. Once you get to Northern Ithilien (7U359)
, play Gollum, ideally using the site's gametext. (If you don't already have threats stacked beforehand, playing Plotting (7R67)
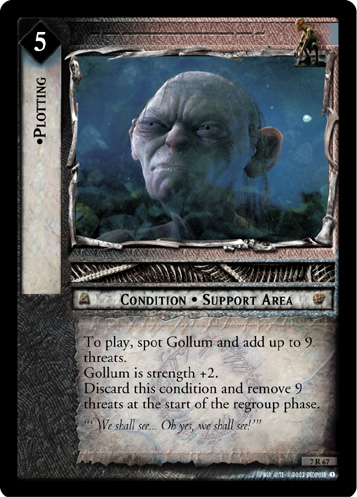 on the turn you plan to go off can help.) Then, play the Watcher, which will discard Gollum. (A second copy of Evil-Smelling Fens can help pull the Watcher out of your discard pile.) At this point, play Gollum over and over using the site's text, placing two burdens and immediately discarding Gollum each time. This combo can stack up as many burdens as you can get threats, usually up to the size of the Fellowship. This combo is generally a secondary strategy in a
 ![]() Gollum-focused deck, since all of the cards are generally useful for other things except for the Watcher itself. However, the combo is not especially reliable, so it's usually not the main focus of a deck.
Gollum-focused deck, since all of the cards are generally useful for other things except for the Watcher itself. However, the combo is not especially reliable, so it's usually not the main focus of a deck.
Tentacles remained a punchline or occasional combo piece until the very last set, Age's End, which introduced Watcher in the Water, Many-tentacled Creature (19P21)
, Reaching Tentacle (19P19)
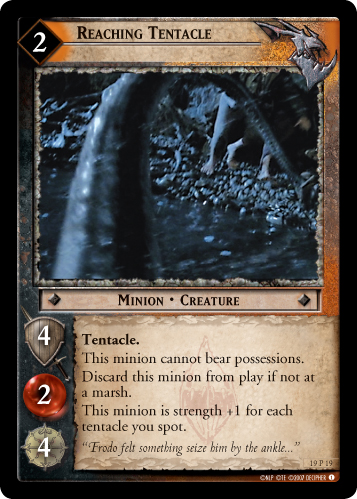 , and Strong Tentacle (19P20)
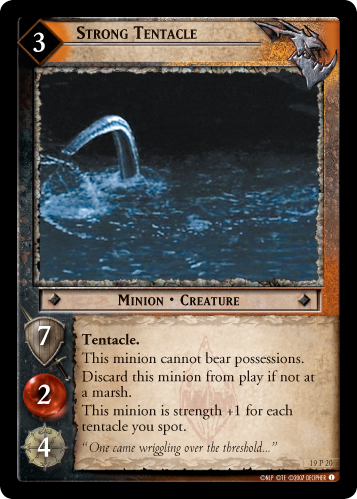 . This new Watcher is a bomb all on its lonesome: you can discard or waste any tentacles you draw until you are ready to drop the bomb. At that point you play the Watcher and use its gametext to play all of those tentacles out of discard. Instant swarm, just add octopus. This deck still benefits from Evil-smelling Fens (5U22)
and the old tentacles like Foul Tentacle (2C58)
and Huge Tentacle (2R66)
, to help you set up, filter your deck, pull even more tentacles out of your deck, or just add bodies to the swarm. It's not an especially strong Shadow side, but the fact that you're discarding tentacles all over the place can intimidate your opponent into skipping double moves even when you didn't have the Watcher in hand. You can freely discard your tentacles to pay other costs or just as part of reconciling, giving the deck strong cycling. It's not a dominant meta force, but you'd be a sucker not to try it at least once.
. This new Watcher is a bomb all on its lonesome: you can discard or waste any tentacles you draw until you are ready to drop the bomb. At that point you play the Watcher and use its gametext to play all of those tentacles out of discard. Instant swarm, just add octopus. This deck still benefits from Evil-smelling Fens (5U22)
and the old tentacles like Foul Tentacle (2C58)
and Huge Tentacle (2R66)
, to help you set up, filter your deck, pull even more tentacles out of your deck, or just add bodies to the swarm. It's not an especially strong Shadow side, but the fact that you're discarding tentacles all over the place can intimidate your opponent into skipping double moves even when you didn't have the Watcher in hand. You can freely discard your tentacles to pay other costs or just as part of reconciling, giving the deck strong cycling. It's not a dominant meta force, but you'd be a sucker not to try it at least once.
| Cultures | |||||||
|---|---|---|---|---|---|---|---|
| Free Peoples | |||||||
| Movie-era Shadow | |||||||
| Shadows-era Shadow | |||||||