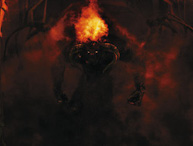
The Balrog, Terror of Flame and Shadow (6R76)
Back to Ents of Fangorn Index |
Durin's Tower (6R77) |
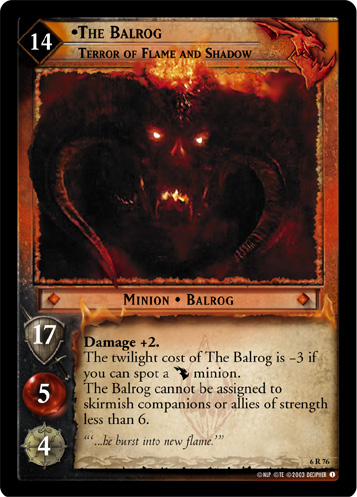
The Balrog, Terror of Flame and Shadow (6R76) is a ![]() Moria Minion from the Ents of Fangorn set. A departure from the The Balrog's iconic text in Fellowship Block, this and all subsequent versions can be played at any site. It is the only version of The Balrog with no affinity for underground sites and no innate way of gaining fierce. It is also the first minion to have an unconditional damage bonus of 2, with only Sauron, The Lord of the Rings (9R+48)
Moria Minion from the Ents of Fangorn set. A departure from the The Balrog's iconic text in Fellowship Block, this and all subsequent versions can be played at any site. It is the only version of The Balrog with no affinity for underground sites and no innate way of gaining fierce. It is also the first minion to have an unconditional damage bonus of 2, with only Sauron, The Lord of the Rings (9R+48)
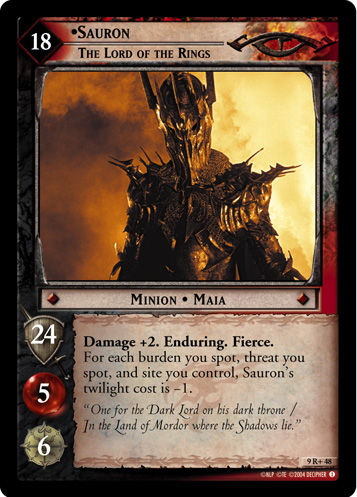 and The Balrog, Demon of Might (19P18)
 sharing the distinction.
| ||||||||||||||||||||||||
| ||||||||||||||||||||||||
| ||||||||||||||||||||||||
| ||||||||||||||||||||||||
| ||||||||||||||||||||||||


Strategy[edit]
Gameplay Strategy[edit]
Its imposing twilight cost makes it difficult for the Shadow player to afford more than The Balrog and a smattering of minor Orcs, so playing The Balrog may only allow the Shadow player to get through 2 or 3 cards in a culture known for playing a dozen minions at once. Under ordinary circumstances this is an inexcusable downside, but when the Shadow player has an extraordinarily weak hand or needs to stall for just one more site, The Balrog can be a minion big enough to hide behind. Its high vitality and strength makes it difficult (though not impossible) to kill, and having it on the table in the regroup phase is sure to weigh heavily on the Free Peoples player's mind. If they had hoped to move again, the prospect of dealing with The Balrog in addition to what may be full turn's worth of the usual dangers will make them think twice.
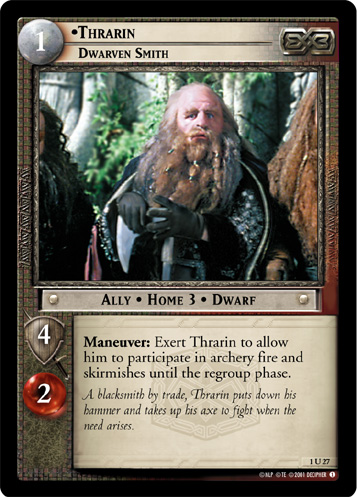
The assignment restriction is based on what the companions strength is during the assignment phase, which makes it impossible for the Free Peoples player to waste The Balrog's one skirmish killing a splashed Hobbit or Thrarin, Dwarven Smith (1U27)
 , and much harder to use Hobbit tricks such as Severed His Bonds (4C319)
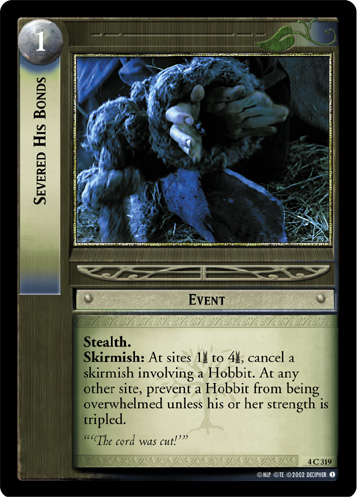 or Swiftly and Softly (4C321)
 to dodge the skirmish altogether. Still, it doesn't necessarily mean that The Balrog will skirmish someone important since most other companions have a base strength of 6 anyway. On rare occasion the restriction can even be used to the Free Peoples player's advantage: if Frodo has less than 6 strength, the Shadow player cannot assign The Balrog to him either.
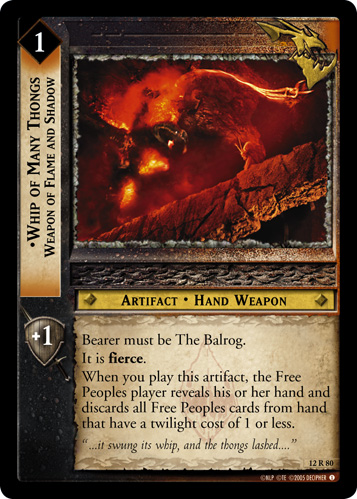
It goes without saying that Terror of Flame and Shadow's damage bonus is its most important feature. If the Free Peoples can mitigate that, they turn a somewhat expensive kill into a very expensive wound. This makes the ability of Whip of Many Thongs (2R74)
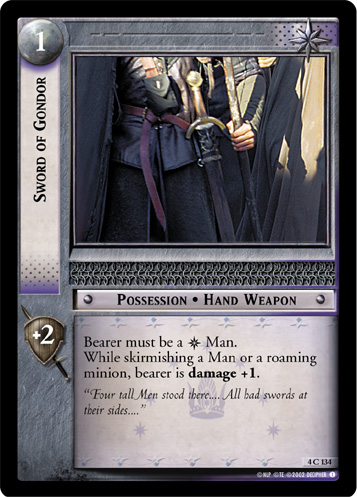
 to strip a companion of many different wound-blocking possessions particularly useful. The extra point of strength makes 9-strength companions vulnerable to being overwhelmed, crucial against Faramir, Son of Denethor (4C117)
 bearing Armor (1C92)
 and Sword of Gondor (4C134)
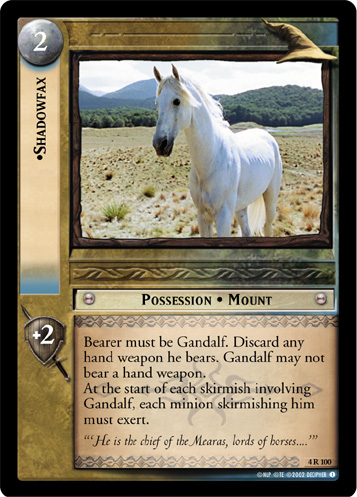
 and, fittingly, Gandalf's 4 vitality (with just Glamdring (1R75)
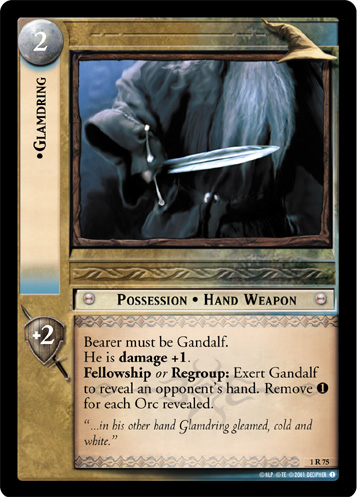 or Shadowfax (4R100)
 , many versions are 9 strength). The Balrog's Sword (2R50)
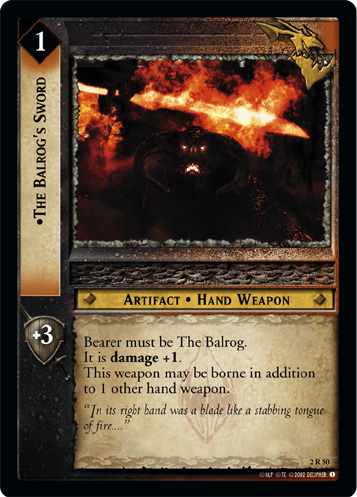 and Final Cry (2R57)
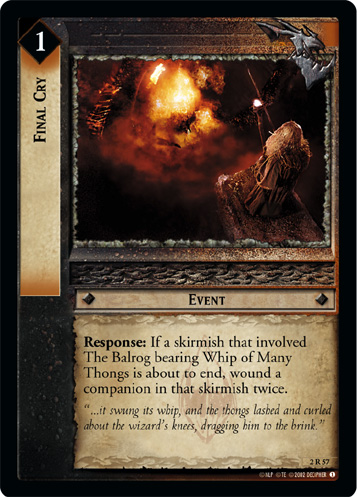 are typically redundant with the innate damage bonus and retain limited value.
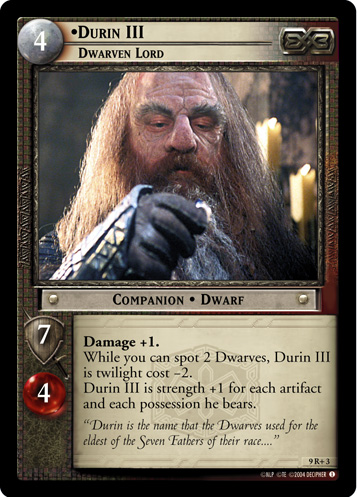
Of course, no caliber of damage bonus matters when skirmishes are not won. Durin III, Dwarven Lord (9R+3)
 , Círdan, The Shipwright (10R8)
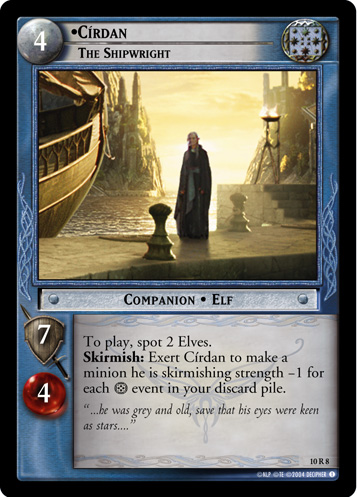 , and Éomer, Third Marshal of Riddermark (4R267)
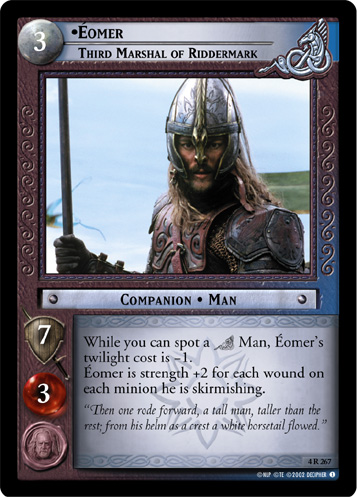 have some of the highest natural skirmish potential in the game. There are no skirmish events for The Balrog, which puts the Shadow player at a distinct disadvantage: the Free Peoples player is always aware of the maximum strength necessary to overcome it, while the Shadow player will not usually know whether the Free Peoples player actually can and may be goaded into wasting Durin’s Tower (6R77)
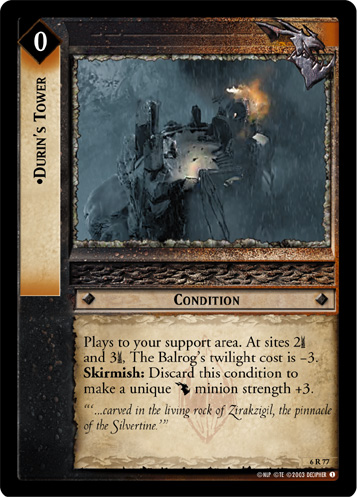 when it won't be enough (or saving it when it would be). Even if The Balrog cannot be bested by strength, the Free Peoples may still be able to kill it with archery or direct wounding in conjunction with effects which exhaust minions. Fill With Fear (2U56)
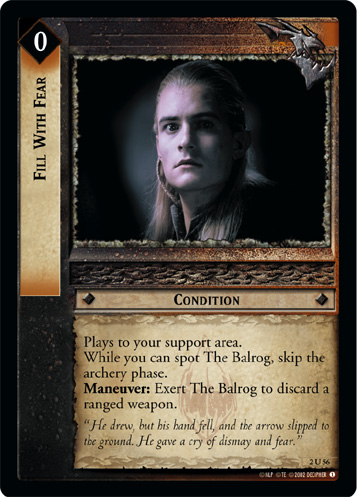 helps alleviate this concern against a wide variety of Free Peoples strategies by both skipping the archery phase and allowing the Shadow player to remove possessions like Gondor Bow (7U94)
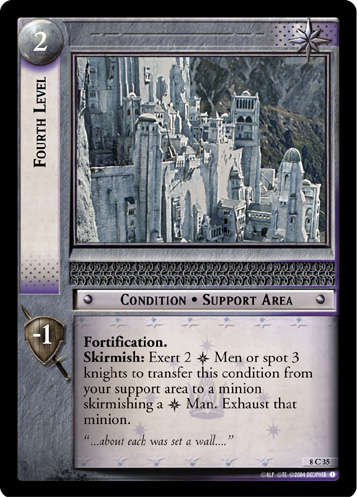
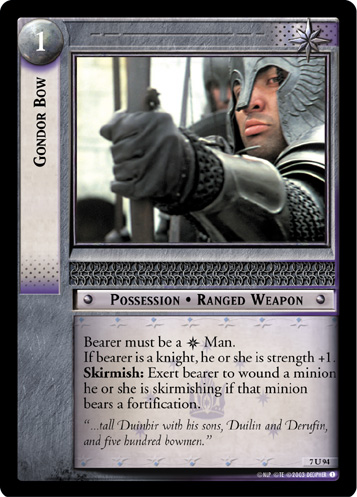 which may be needed to deliver the final wound from Fourth Level (8C35)
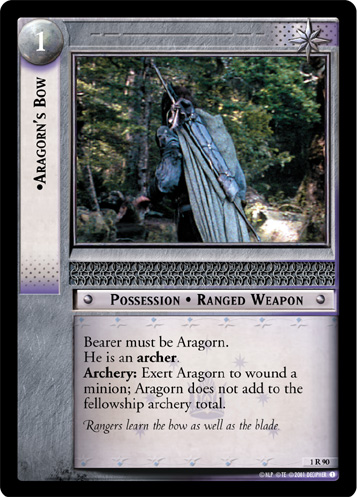
 . Stripping companions of swarm-culling weapons such as Aragorn’s Bow (1R90)
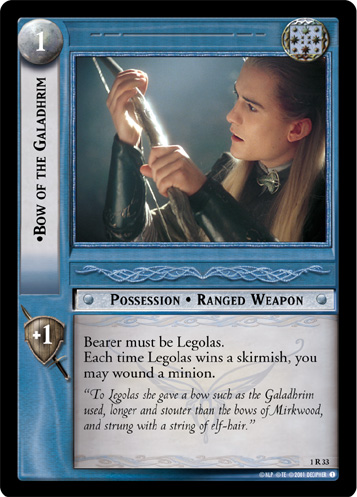
 and Bow of the Galadhrim (1R33)
 could be a long-term boon to a deck including The Balrog as well.
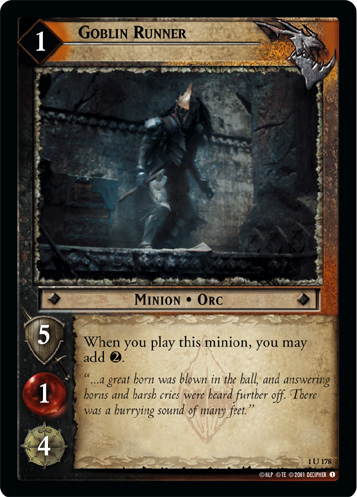
The built-in discount can make this the cheapest version of The Balrog at 11 twilight, though with the cost of the ![]() Moria minion only Goblin Runner (1U178)
Moria minion only Goblin Runner (1U178)
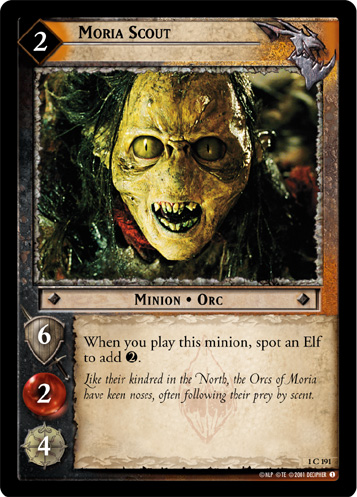
 or Moria Scout (1C191)
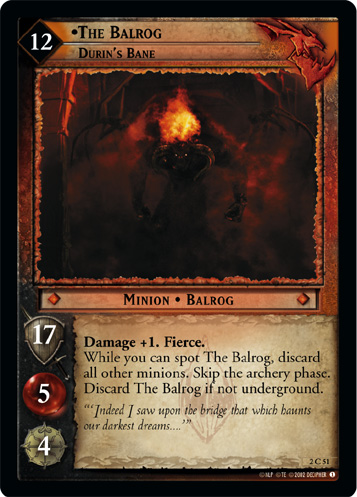
 spotting an Elf make it cheaper in practice than the 12-cost versions The Balrog, Durin's Bane (2C51)
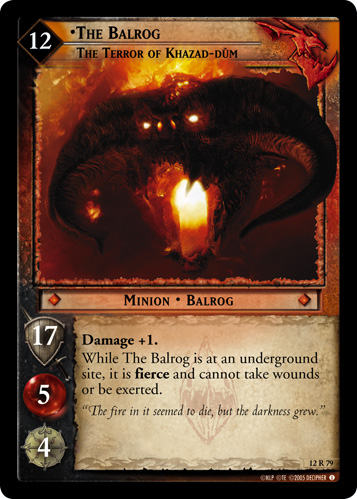
 and The Balrog, The Terror of Khazad-dum (12R79)
 . This also makes it somewhat more awkward to use with Power and Terror (2U70)
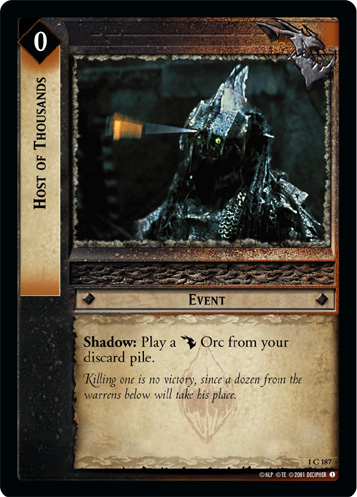
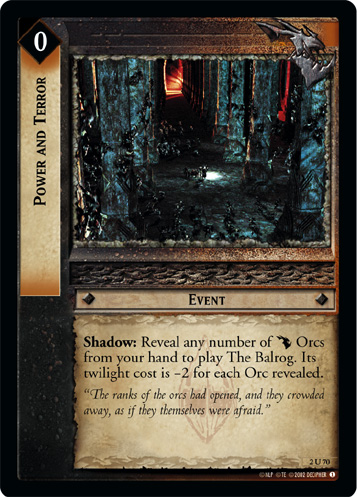 , since the first Orc revealed would probably have made The Balrog cheaper by being played instead. Host of Thousands (1C187)
 and They Are Coming (1C196)
 can be used to put a minion in play without using a minion from hand to mitigate this concern.
Deckbuilding Strategy[edit]
Playing The Balrog leaves the Shadow player hard pressed to put forth any other minions of note, which puts it at odds with swarm and archery strategies whose might depends on the number of minions in play. Since those are the most popular ways of playing Moria, Terror of Flame and Shadow is not usually considered. A single copy thrown into the deck can have some utility, however: its high vitality and strength makes it hard for the Free Peoples player to get rid of it, and may potentially stop the Free Peoples from moving in the regroup phase with an otherwise weak hand and give the Shadow player time to build up something that would have more of an impact.
Since this is the same role Cave Troll of Moria, Scourge of the Black Pit (1R165)
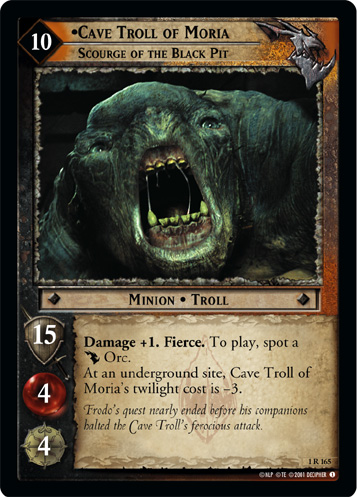 has in those decks, the competition is Fierce. The Cave Troll may be preferred when underground sites are already part of the Shadow player's adventure deck -- 7 twilight is still a lot for a deck determined to play a high number of minions, yet Moria's signature twilight generation may be able to cover most or all of it without sacrificing how many minions appear. Otherwise, the difference between 10 and 11 is minor and The Balrog is more likely to win skirmishes (usually getting kills) or at least stay on the table if back-to-back defeats would be feasible.
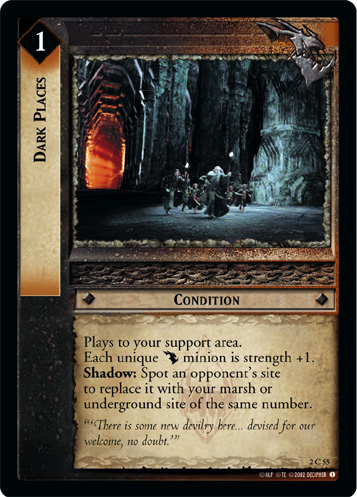
Because its high strength and damage bonus is its entire appeal, there is nothing more disappointing than having it bested by a companion. Shadow players can invest in Dark Places (2C55)
 and Durin’s Tower (6R77)
to keep its strength insurmountable, but doing so is sometimes a lose-lose for the Shadow player: If there's still not enough strength, the Free Peoples player will not only win but waste all the cards that were spent trying to buff up The Balrog. If it is enough, the Free Peoples player will simply kill off their least important companion the same as they would if they didn't have such high skirmish potential anyway, which means the card spots might have been better spent elsewhere. As with the Cave Troll, a single copy of Dark Places in play will allow it to overwhelm companions it may not have. Investing too much in The Balrog's strength may come at the expense of the rest of the deck without producing worthwhile gains.
and Durin’s Tower (6R77)
to keep its strength insurmountable, but doing so is sometimes a lose-lose for the Shadow player: If there's still not enough strength, the Free Peoples player will not only win but waste all the cards that were spent trying to buff up The Balrog. If it is enough, the Free Peoples player will simply kill off their least important companion the same as they would if they didn't have such high skirmish potential anyway, which means the card spots might have been better spent elsewhere. As with the Cave Troll, a single copy of Dark Places in play will allow it to overwhelm companions it may not have. Investing too much in The Balrog's strength may come at the expense of the rest of the deck without producing worthwhile gains.
Unlike the versions of The Balrog from Fellowship block, this copy of The Balrog isn't effectively limited to The Bridge of Khazad-dûm (1C349)
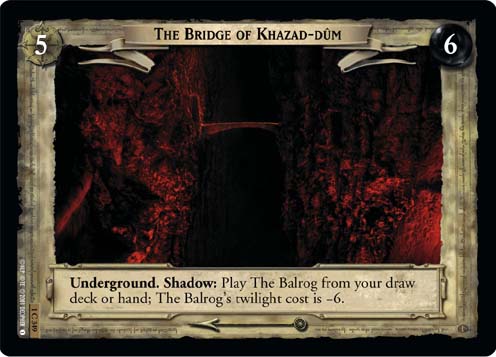 . The Balrog-dependent cards from the block are more appealing as a result, since the Shadow player is not in a crunch to draw them by site 5 or sift through any unplayed (and now useless) cards afterwards. This cuts both ways; the Shadow player is also not guaranteed an opportunity to play The Balrog either, requiring one more card in hand to get anything out of those dependent cards (the Balrog himself). Must Do Without Hope (2U68)
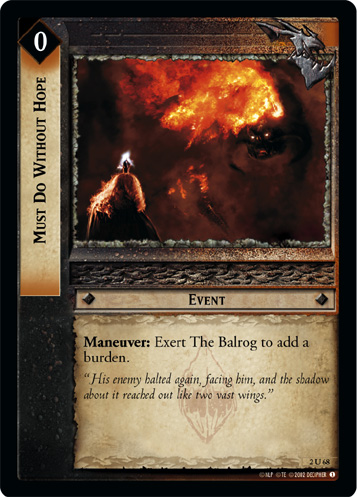 is often less reliable not only because of The Balrog's increased cost, but also because by holding them in hand the Shadow player is less likely to draw The Balrog and unable to play him from the deck. More copies of The Balrog mitigate this, though its high twilight cost usually makes playing it several times difficult and means The Balrog is more likely to be a useless or redundant draw himself.
As with all versions of The Balrog, it is outclassed by The Balrog, Demon of Might (19P18)
in Expanded with no comparative upside. Because there are no other Moria minions to enable the discount in Towers Block, and because nearly every Free Peoples in Movie Block has a way to deal with single-minion dangers, Terror of Flame and Shadow is mostly limited to Towers Standard (where underground sites at 6 and 7 may make The Cave Troll more appealing) or King Standard.
Strengths and Weaknesses[edit]
Synergizes With...[edit]
- Whip of Many Thongs (2R74)
or Whip of Many Thongs, Weapon of Flame and Shadow (12R80)
- Durin’s Tower (6R77)
- Dark Places (2C55)
- Fill With Fear (2U56)
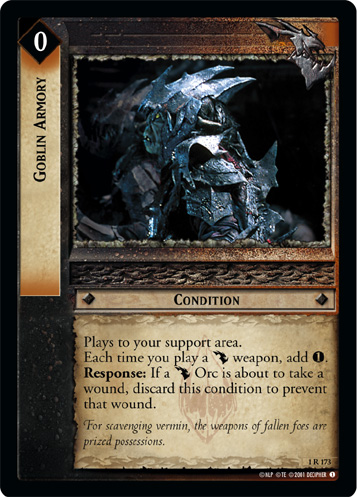
- Any way to make the steep twilight cost affordable: Goblin Runner (1U178)
, Goblin Armory (1R173)
 or Power and Terror (2U70)
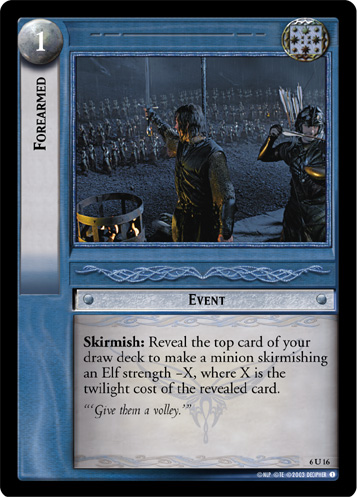
- Forearmed (6U16)
Strong Versus...[edit]
- Companions with 3 vitality
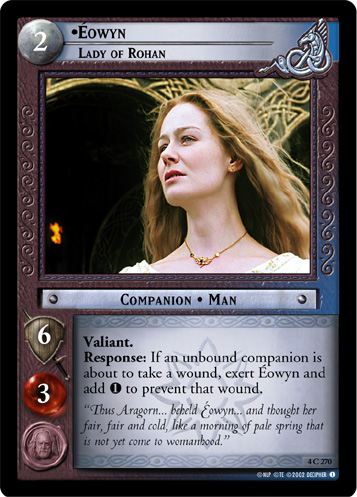
- Limited-use wound prevention such as Éowyn, Lady of Rohan (4C270)
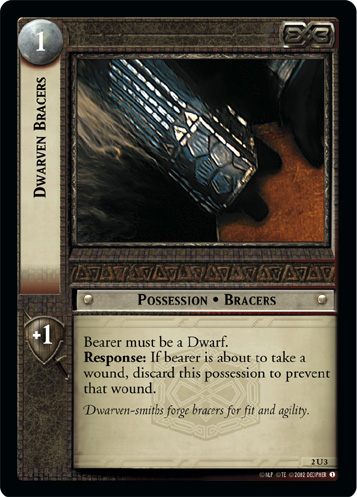
 and Dwarven Bracers (2U3)
- Fellowships with few or no expendable companions above 5 strength
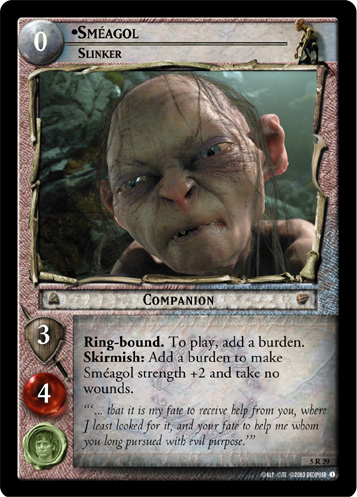
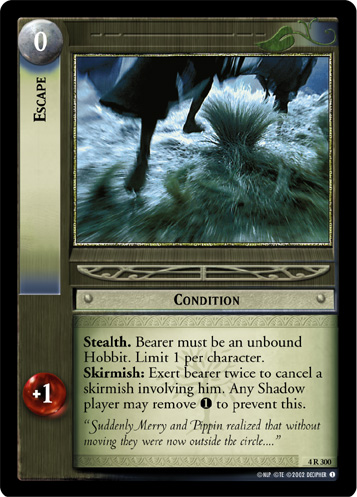
- Fellowships relying on weak companions and tricks to overcome big threats, such as Sméagol, Slinker (5R29)
 or Escape (4R300)
Weak Versus...[edit]
- Armor (1C92)
or similar persistent wound prevention, especially
- Effects which block all wounds, such as Gimli's Helm (1R15)

- Combos which can kill any minion, such as Mablung, Soldier of Gondor (4U127)
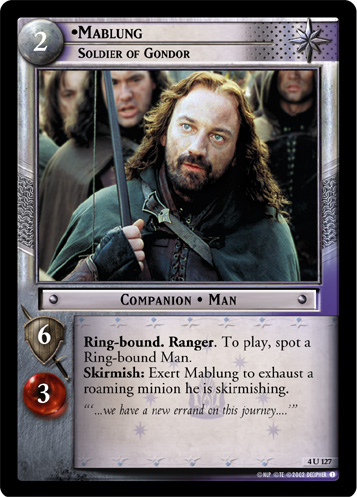 + Ranger's Bow (4C131)
 or Círdan, The Shipwright (10R8)
with many events in the discard pile
or Círdan, The Shipwright (10R8)
with many events in the discard pile - Minion discarding such as What Are They? (1C119)
 + Gondorian Merchant (7R97)

- Companions able to reach 18+ strength
- Fellowships with many expendable companions, where spending 11 twilight to kill one of them may not be the best use of resources
- Fellowships comprised only of Hobbits and Smeagol, which may occasionally not have companions with 6 or more strength during the assignment phase
Alternate Personas[edit]
| Portrait | Name | Game Text |
|---|---|---|
 |
The Balrog, Durin's Bane (2C51)
|
Damage +1. Fierce.
While you can spot The Balrog, discard all other minions. Skip the archery phase. Discard The Balrog if not underground. |
 |
The Balrog, Flame of Udun (2R52)
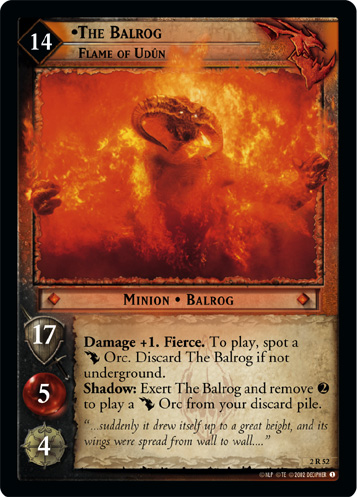
|
Damage +1. Fierce. To play, spot a Discard The Balrog if not underground. Shadow: Exert The Balrog and remove |
 |
The Balrog, The Terror of Khazad-dum (12R79)
|
Damage +1.
While The Balrog is at an underground site, it is fierce and cannot take wounds or be exerted. |
 |
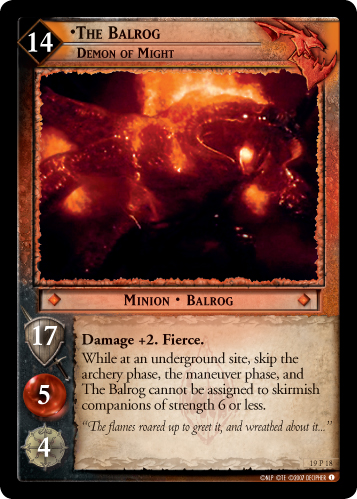
The Balrog, Demon of Might (19P18)
|
Damage +2. Fierce.
While at an underground site, skip the archery phase, the maneuver phase, and The Balrog cannot be assigned to skirmish companions of strength 6 or less. |
 |
The Balrog, Lieutenant of Morgoth (V2_38)

|
Fierce. Damage +1.
Each time a minion takes a wound, you may remove Each time the Free Peoples player uses a skirmish special ability during a skirmish involving the Balrog, you may wound a companion it is skirmishing. |
Rulings[edit]
The assignment restriction is based on what the companions strength is during the assignment phase rather than the printed strength. This means that an unarmed Gandalf bearing Dark Fire (2U54)
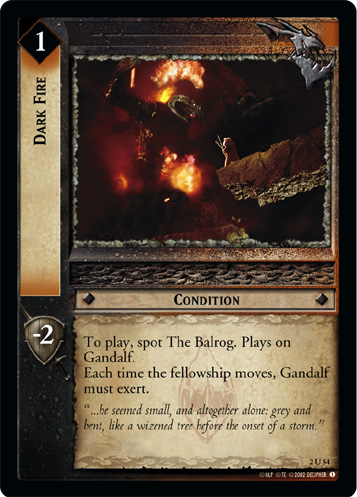 may not be eligible to skirmish (having only 5 strength) while Sam buffed by three copies of A Promise (2R112)
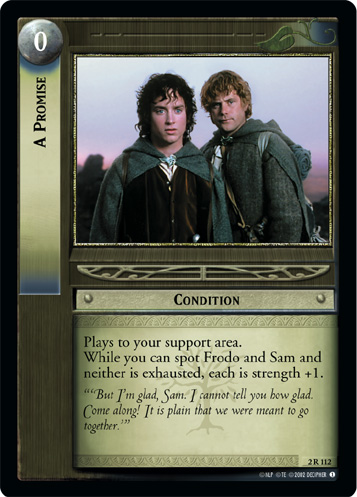 would be (having 6 strength).
See Also[edit]
Decks[edit]
Places to Hide (2003 Worlds top 16 deck)
Format: Towers Standard
Author: Mitch Kimmes
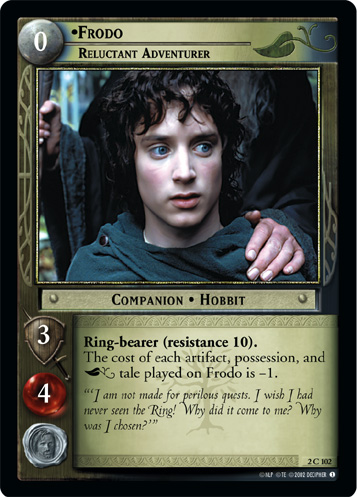
- Ring-bearer: Frodo, Reluctant Adventurer (2C102)
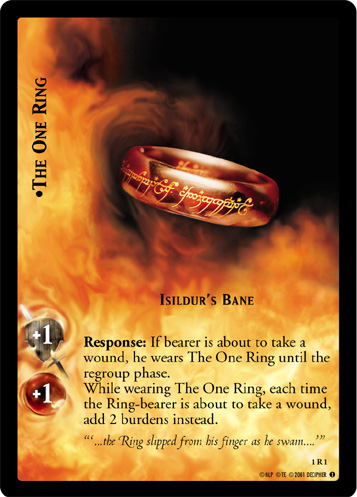
- Ring: The One Ring, Isildur's Bane (1R1)
Adventure deck:
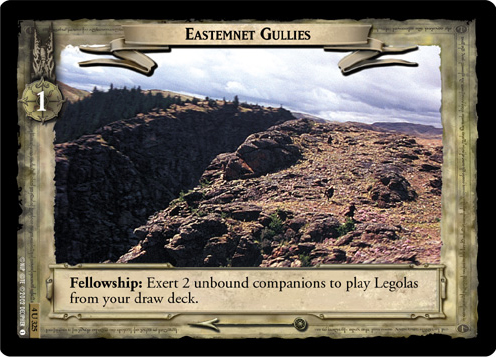
- Eastemnet Gullies (4U325)
- Wold of Rohan (4U336)
- Golden Hall (4U338)
- White Rocks (4U346)

- Hornburg Parapet (4U351)
- Caves of Aglarond (4U352)
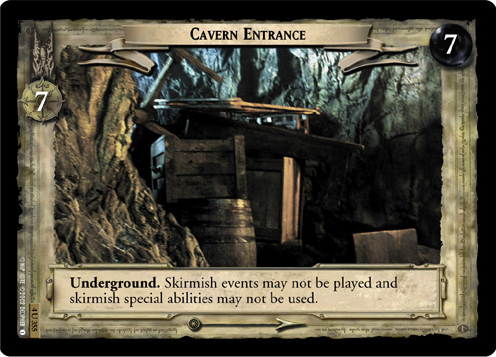
- Cavern Entrance (4U355)
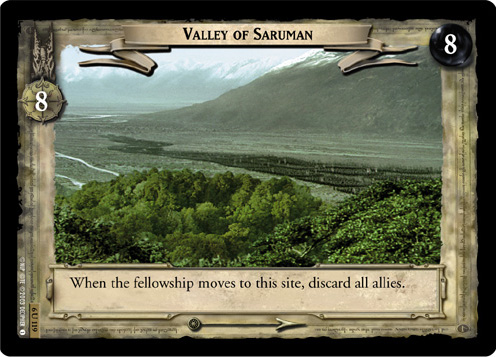
- Valley of Saruman (6U119)
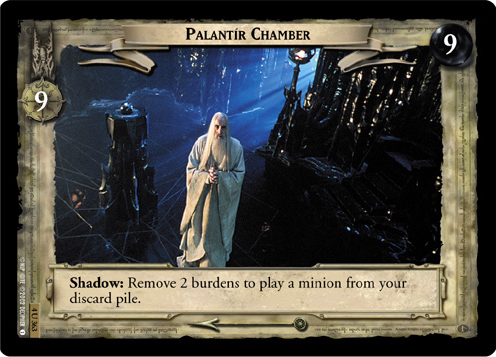
- Palantír Chamber (4U363)
Free Peoples Draw Deck:
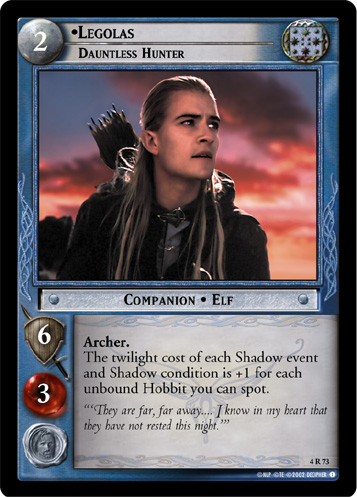
- 1x Legolas, Dauntless Hunter (4R73)
- 1x Aragorn, Ranger of the North (1R89)
- 1x Aragorn, Wingfoot (4P364)
- 1x Boromir, Son of Denethor (1U97)
- 1x Merry, Friend to Sam (1R302)
- 1x Pippin, Hobbit of Some Intelligence (1R307)

- 1x Sam, Son of Hamfast (1C311)
- 2x Elrond, Herald to Gil-galad (3R13)
- 2x Bill the Pony (3U106)
- 1x Frying Pan (3C108)
- 2x Hobbit Sword (1C299)
- 1x Vilya (3R27)
- 1x Mithril-coat (2R105)
- 1x Curse Their Foul Feet! (1R36)
- 2x Foul Creation (1U44)
- 2x Secret Sentinels (2R20)
- 4x Severed His Bonds (4C319)
- 4x Swiftly and Softly (4C321)
- 4x A Promise (2R112)
- 2x A Talent for Not Being Seen (1U316)
- 1x Cliffs of Emyn Muil (4R299)
- 1x Escape (4R300)
- 2x Fearing the Worst (2R100)
- 1x There and Back Again (1C317)
Shadow Draw Deck:
- 1x Gríma, Wormtongue (4R154)
- 3x Cave Troll of Moria, Scourge of the Black Pit (1R165)
- 4x Goblin Runner (1U178)
- 4x Goblin Scavengers (1C179)
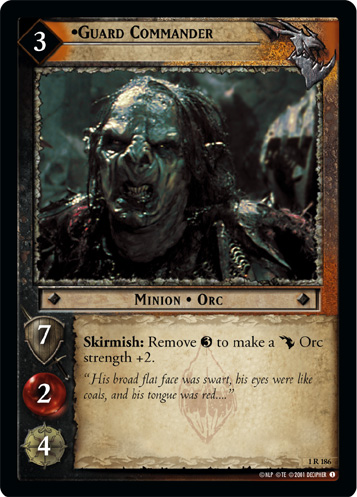
- 1x Guard Commander (1R186)
- 3x Moria Scout (1C191)
- 2x The Balrog, Terror of Flame and Shadow (6R76)
- 1x Troll’s Keyward (1R199)

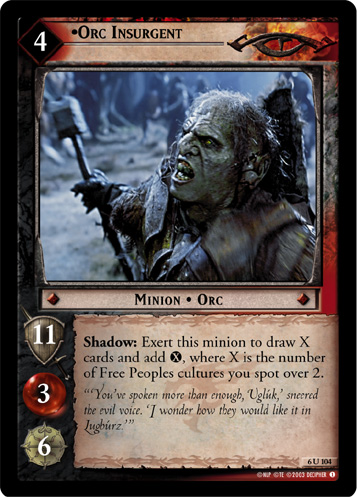
- 2x Orc Insurgent (6U104)
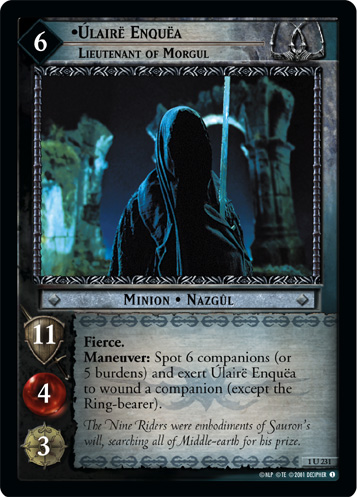
- 3x Úlairë Enquëa, Lieutenant of Morgul (1U231)
- 4x Goblin Scimitar (1C180)
- 1x Dark Places (2C55)
- 2x Durin’s Tower (6R77)
- 1x Fill With Fear (2U56)
- 4x Goblin Armory (1R173)
- 2x Goblin Swarms (1R183)
- 2x They Are Coming (1C196)