Power and Terror (2U70)
Back to Mines of Moria Index |
Throw Yourself in Next Time (2U71) |
Power and Terror (2U70) is a ![]() Moria Event from the Mines of Moria set.
Moria Event from the Mines of Moria set.
| ||||||||||||||||||||||||||||||||||||
| ||||||||||||||||||||||||||||||||||||
| ||||||||||||||||||||||||||||||||||||
| ||||||||||||||||||||||||||||||||||||
| ||||||||||||||||||||||||||||||||||||


Strategy[edit]
Gameplay Strategy[edit]
In Fellowship Block, Power and Terror is dead on arrival. The Bridge of Khazad-dûm (1C349)
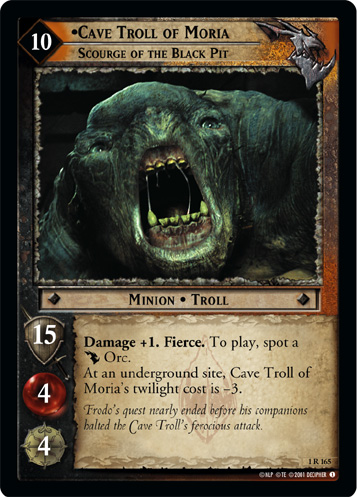
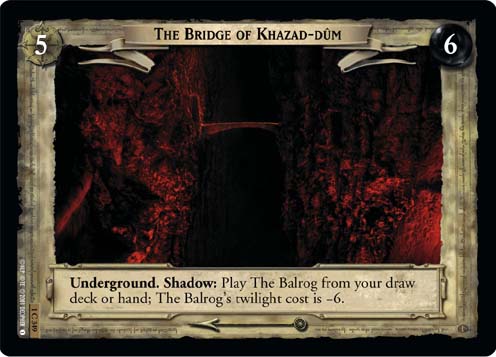 already gives a generous discount while often fetching The Balrog from the deck, is unavoidable as the only site 5, and can't be combined with Power and Terror since they're both phase actions. While in theory Power and Terror could enable The Balrog to terrorize an opponent at both site 4 and site 5, in practice it can, at best, put a minion only marginally more frightening than Cave Troll of Moria, Scourge of the Black Pit (1R165)
 in play for similar amounts of twilight and a host of downsides. The card robs The Balrog of its primary upside in the format (being played from the deck by The Bridge of Khazad-dum at a discount) which in turn robs itself of any place in a deck.
In any format without The Bridge, however, The Balrog's high twilight cost becomes an impediment to playing it at all, especially as power creep adds more and more attractive alternatives in other cultures. In Towers Standard and Movie Block, playing The Balrog, Terror of Flame and Shadow (6R76)
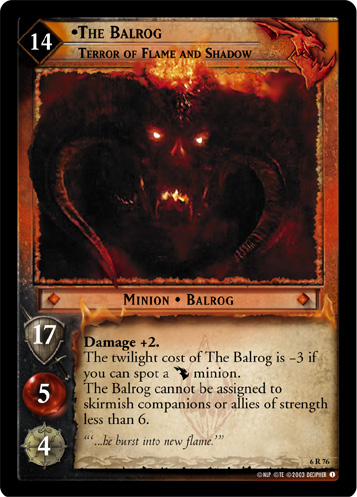 generally means waiting until a site with a high shadow number and only playing The Balrog and an insignificant Orc or two unless the Shadow player has many twilight-generating cards in play. Power and Terror more than just takes the edge off, it allows The Balrog to be played alongside a good Shadow hand rather than instead of one. For beatdown decks this can almost mean two site's worth of danger in one. For archery decks, this tends to cause the Free Peoples to exhaust a supporting character with archery and sacrifice them to The Balrog, decreasing how much vitality the Fellowship can have at site 9. For swarm, however, the lack of fierce tends to limit any impact that The Balrog can have -- those decks rely on the number of minions more than the strength of minions so spending two Shadow cards for one minion, even a very powerful one, can sometimes be a bad deal and is rarely going to be a particularly good one.
Swarm's relationship with The Balrog changes in Expanded with The Balrog, Demon of Might (19P18)
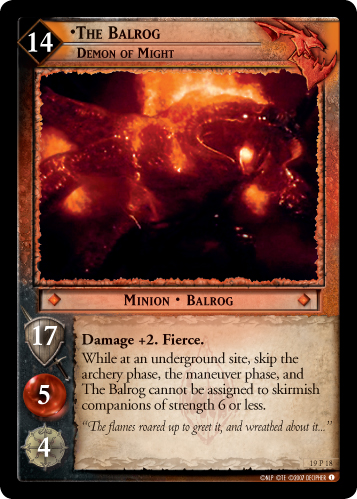 . At an underground site, playing it means skipping two phases and the most common ways the Free Peoples can deal with swarms. Cavern Entrance (11S232)
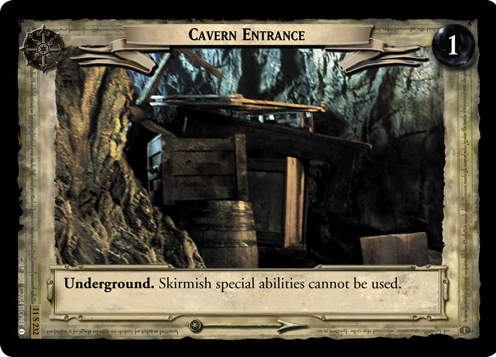 , which happens to be an underground site, will prevent most remaining actions and almost completely lock the Free Peoples out of any response. The Bridge is also reprinted as The Bridge of Khazad-dûm (12U186)
 , with only a mild discount and no fetching effect. In many ways it acts as nothing more than an extra site with a shadow number of 3, but it is not a phase action so the two discounts can be combined. If a player reveals 5
 ![]() Moria Orcs with Power and Terror at The Bridge, Demon of Might costs just 1 twilight.
Moria Orcs with Power and Terror at The Bridge, Demon of Might costs just 1 twilight.
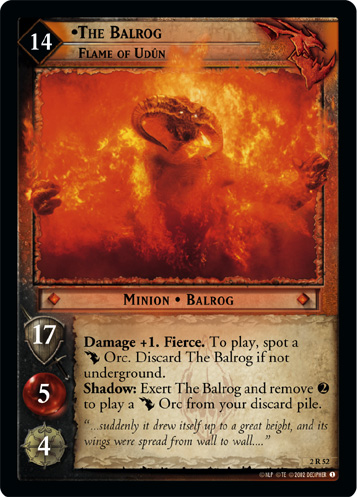
The Balrog, Flame of Udun (2R52)
 and The Balrog, Terror of Flame and Shadow (6R76)
have a more complicated relationship with Power and Terror than other copies, requiring or benefiting from having a
and The Balrog, Terror of Flame and Shadow (6R76)
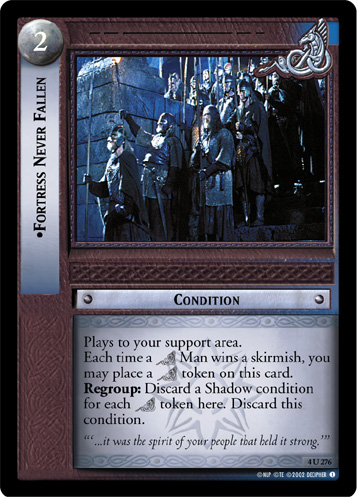
have a more complicated relationship with Power and Terror than other copies, requiring or benefiting from having a ![]() Moria Orc in play first. For Flame of Udun the Shadow player has no choice, but for Terror of Flame and Shadow there are a handful of Orcs that effectively play for less than 1 twilight and wind up saving more twilight when put in play than when revealed from hand. Minions that play for 1 twilight end up costing same whether revealed or not since their twilight cost cuts into The Balrog's innate discount. For them, it is occasionally helpful to reveal them instead of playing them to avoid putting tokens on Fortress Never Fallen (4U276)
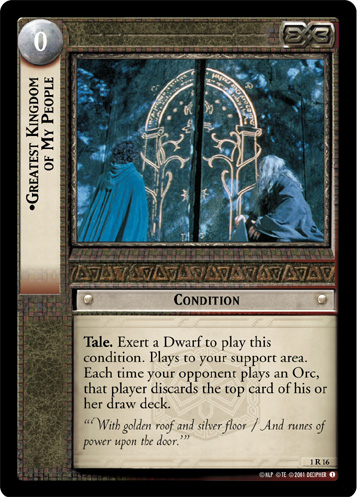
Moria Orc in play first. For Flame of Udun the Shadow player has no choice, but for Terror of Flame and Shadow there are a handful of Orcs that effectively play for less than 1 twilight and wind up saving more twilight when put in play than when revealed from hand. Minions that play for 1 twilight end up costing same whether revealed or not since their twilight cost cuts into The Balrog's innate discount. For them, it is occasionally helpful to reveal them instead of playing them to avoid putting tokens on Fortress Never Fallen (4U276)
 or having cards milled by Greatest Kingdom of My People (1R16)
 . For a more expensive minion, playing it instead of revealing it will come out cheaper provided you have the twilight to afford them both at all. Host of Thousands (1C187)
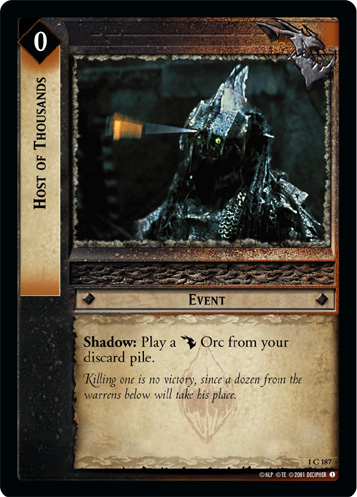 normally works poorly with Power and Terror as a non-minion, however for these two copies of The Balrog it can be used to play the ideal minion from discard without the opportunity cost of "missing out" on a bigger discount. Cards stacked on Goblin Swarms (1R183)
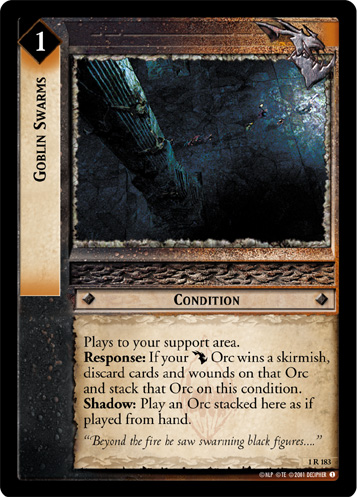 will likewise help these two Balrogs to get the most out of Power and Terror.
Host of Moria, Legion of the Underdeeps (9R+41)
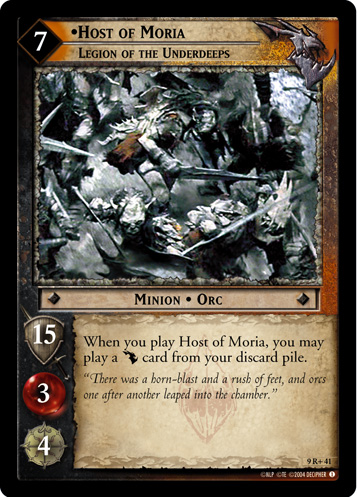 is able to play any
 ![]() Moria card from discard -- including events. Host of Moria is itself able to be played by either Host of Thousands (1C187)
or They Are Coming (1C196)
Moria card from discard -- including events. Host of Moria is itself able to be played by either Host of Thousands (1C187)
or They Are Coming (1C196)
 , this can make Power and Terror a little easier to use without the hand clog from waiting for The Balrog or the right moment. The hefty twilight cost can make doing this impractical much of the time since it's often more comparable to playing Host of Moria for free than The Balrog at a discount, but occasionally this is all that the Shadow player needs. Using Host of Moria this way is especially helpful with a Shadow side utilizing Goblin Sneak (1U181)
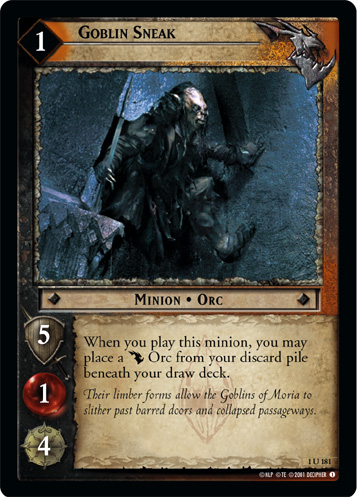 : by stacking the bottom of the deck with many minions, Power and Terror can be sure to hit 6 minions at the end of the game and play The Balrog for just 2 twilight, well worth the up-front investment of Host of Moria. As Host of Moria can be one of the minions stacked by Goblin Sneak, only The Balrog must be kept in hand.
Above all else, remember that Power and Terror doesn't just provide a discount: it provides information. Any cards revealed and not played tell the Free Peoples player what might await in future sites, and what cards to ignore during their Shadow turn. Any cards not revealed and not played also help, as they are likely Free Peoples cards - or at the very least, not minions - and won't be a danger for a double move. While there are ways to deceive players with what is revealed, it is often more effective to simply use Power and Terror with a strong Shadow hand and lay it all on the table. The cards gained by reconciling provide enough mystery and opportunity on their own.
Deckbuilding Strategy[edit]
Power and Terror has a complicated relationship with deckbuilding. It can enable playing The Balrog more often, but cards which need The Balrog to be in play are not minions which would in turn keep Power and Terror from being able to play The Balrog more often in the first place. This makes it harder to use for decks in which The Balrog is a key component, leaving it best as a splashed card which requires a splashed card -- a very unappealing prospect. Any shadow side with relatively few minions can't expect much twilight from the card naturally since at least two Shadow cards (Power and Terror and The Balrog itself) won't contribute: for a hand with 5 Shadow cards, having 1/3rd non-minions will leave you with 2 minions and one other card for the average draw. While 4 twilight can be the difference between playing The Balrog and not, Moria has no shortage of more impactful ways to generate twilight. Most of them involve playing minions or cards otherwise leaving hand, and that lost potential quickly deprives Power and Terror of its power and, well, terror.
That said, even as archery and beatdown decks tend to have fewer minions than swarm decks they are more likely to have to keep minions in hand over several turns due to twilight constraints. This makes all hands a bit more minion-heavy, depending on how They Are Coming (1C196)
is leveraged. Leaning more heavily on the most expensive minions will sometimes save twilight through Power and Terror because of the hand clog they impose, though the implications of this are far-reaching for both your Shadow and Free Peoples sides.
Ultimately, the value of Power and Terror cannot be separated from the value of The Balrog. Since Power and Terror is at best redundant with The Bridge of Khazad-dûm (1C349)
, it is not worth including for any serious Fellowship block deck. When deciding on whether to include this card in a deck for other formats, ask yourself what you want The Balrog to accomplish. In formats without The Balrog, Demon of Might (19P18)
, The Balrog is imposing but manageable, which makes the value of Power and Terror questionable. Where Demon of Might is legal there are often better Shadow sides to pair it with than ![]() Moria.
Moria.
Should you decide that Power and Terror is a good fit, it is obviously not a minion itself duplicates drawn together will either detract from the effect or have to be discarded. While one copy is safest, all Moria decks cycle well so some players may prefer multiples to ensure it comes at the right time. The card is so self-restricting and unpopular that, even after discarding a copy or two, actually playing it will likely take opponents by surprise.
Strengths and Weaknesses[edit]
Synergizes With...[edit]
- The Balrog, Demon of Might (19P18)
- Fill With Fear (2U56)
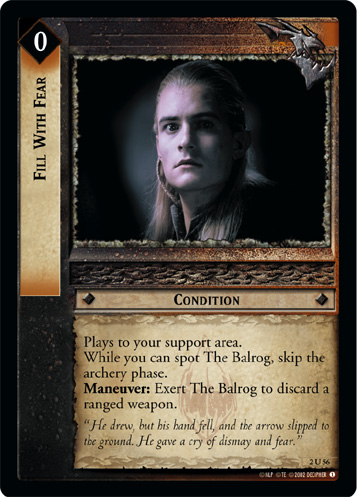 , when using a different Balrog
 - The Bridge of Khazad-dûm (12U186)
- Goblin Sneak (1U181)
- Free Peoples cards that can put Shadow cards back into hand or deck to make draws more minion-heavy, such as Final Account (11C31)
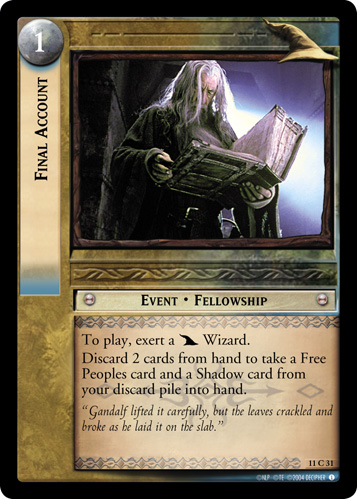 , We Shall Meet Again Soon (8C116)
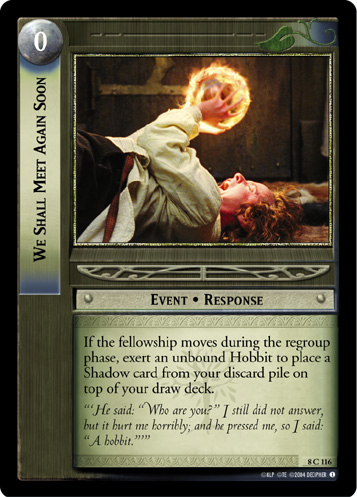 , and Preparations (7R12)
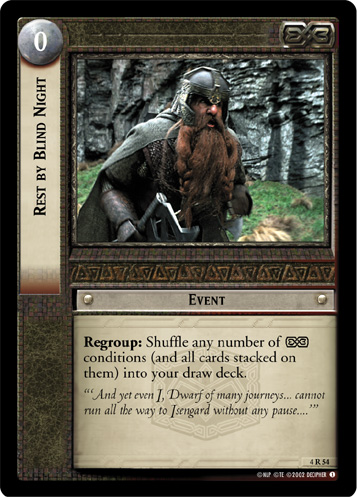
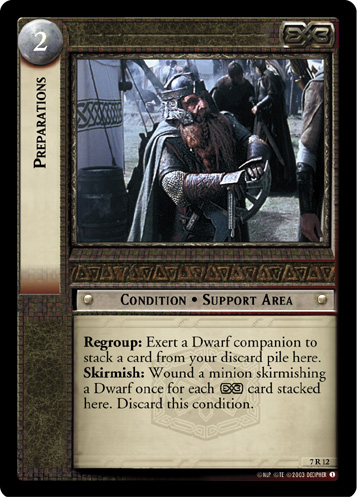 with Rest by Blind Night (4R54)
Strong Versus...[edit]
- Choke strategies, which may struggle to deal with The Balrog and normally deny the twilight necessary to play it
- Decks which rely on the archery or maneuver phases to deal with big swarms, when paired with Demon of Might
- Fellowships with only one competent skirmisher, when used with certain Moria Axe (1R190)
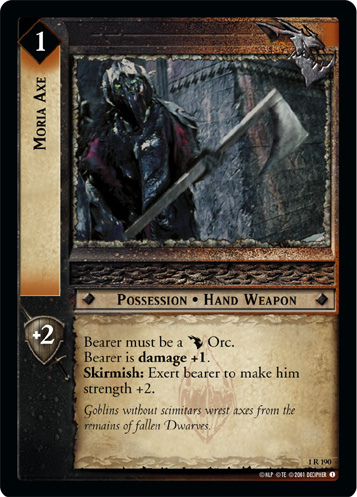 builds
Weak Versus...[edit]
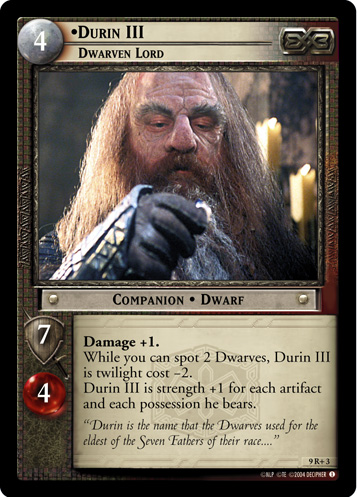
- Strong companions such as Durin III, Dwarven Lord (9R+3)
 or Círdan, The Shipwright (10R8)
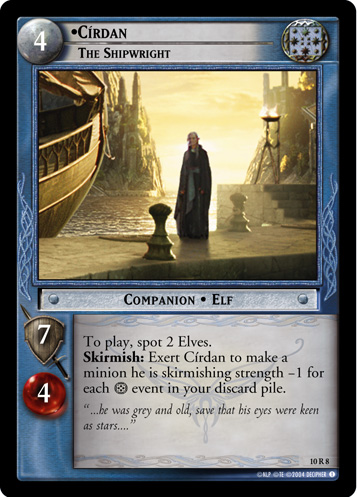 which can easily beat The Balrog -- you'd be better off playing two weaker minions
 - Fellowships with many companions, where the twilight savings are less necessary and killing one of them isn't much of an accomplishment
- When used on any Balrog other than Demon of Might, a host of archery and maneuver phase actions that can get rid of any big minion