|
|
| (52 intermediate revisions by the same user not shown) |
| Line 1: |
Line 1: |
| {{C|Raider}}s are the evil men who live in the domains under Sauron's shadow from the lands to the south and east of Gondor and Rohan. In this game, {{C|Raider}} culture is one of two [[Shadow Alignment|Shadow]] [[culture]]s of evil [[Man|man]] [[minion]]s, and is itself split into three [[subculture]]s: the ambushing, oliphaunt-riding archers of the [[Southron]] Haradrim, the disciplined, ferocious warriors of the [[Easterling]]s, and the larcenous piratical [[Corsair]]s of Umbar. Dark-skinned, evil, stereotypes of vaguely Persian or Turkic invaders who subscribe to an evil foreign religion is not a concept that has aged terribly well, but, hey, playing them means sometimes you get to step on Legolas with a giant war elephant or send an unkempt Peter Jackson to single-handedly crush the entire Fellowship, so you take the good with the bad.
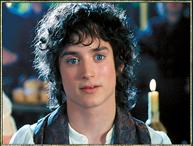
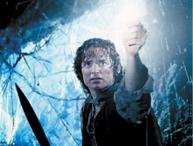
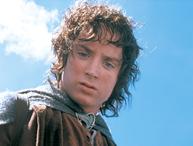
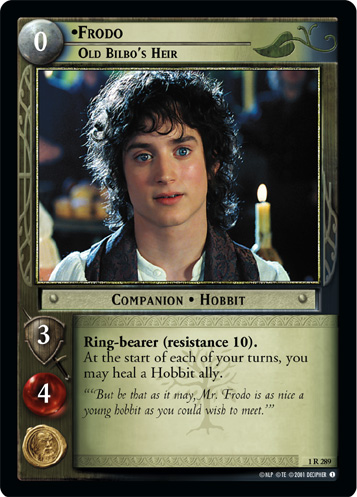
| | Frodo is one of the protagonists of ''The Lord of the Rings'', the [[hobbit]] who steadfastly carries [[the One Ring]] from the Shire to Mount Doom, where it is destroyed by [[Gollum]]. In this game, he is the default [[ring-bearer]] [[companion]], and indeed was the only ring-bearer until [[Reflections|the ninth expansion set]]. Except for his unusually high [[resistance]], his low [[strength]] (3) and relatively high [[vitality]] (4) are typical of hobbits, but generally make him the most vulnerable part of your [[Fellowship]]. |
|
| |
|
| {{C|Raider}} culture as a whole was first introduced in [[The Two Towers]], alongside another, separate faction of evil men, {{C|Dunland}}. Initially, {{C|Raider}}s only included the first two subcultures, Southrons and Easterlings. Both subfactions received more cards and developed over the course of [[Tower Block]], but really came into their own with [[The Return of the King]]. Then [[Siege of Gondor]] introduced [[Corsairs]] and their boats, introducing what would remain a top-tier strategy in [[Movie Block]] to this day.
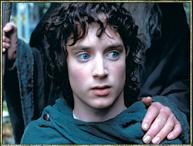
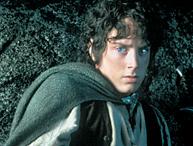
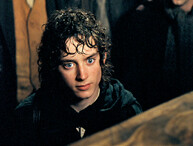
| | Frodo has a suite of special rules to his name. He's always [[ring-bound]], even if it doesn't say so on his card. Except in the case of {{Card|Frodo, Frenzied Fighter}}, he's always your [[ring-bearer]] if he's in your deck, and thus costs zero [[twilight]]. Until [[Reflections]], he was the only possible [[ring-bearer]] at the start of the game, and (along with [[Sam]]) was one of only two characters with a [[resistance]] score. |
|
| |
|
| All three {{C|Raider}} subcultures were retired after [[King Block]]. The 11th set, [[Shadows]], reorganized and consolidated the Shadow cultures. All of {{C|Raider}} culture was combined with the other evil [[Man|men]] to make {{C|Men}} culture.
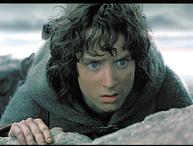
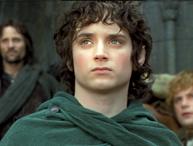
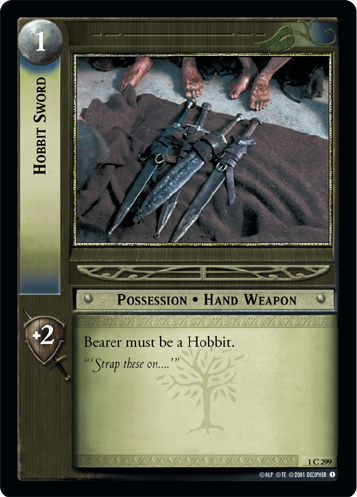
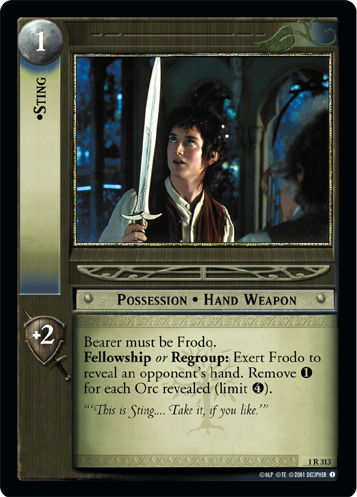
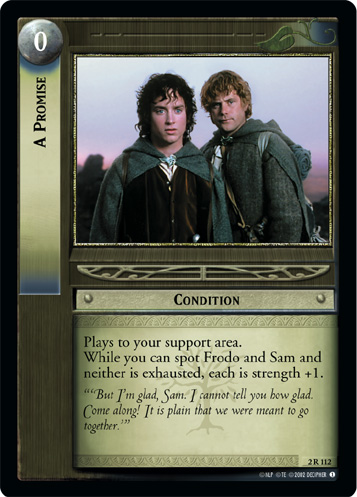
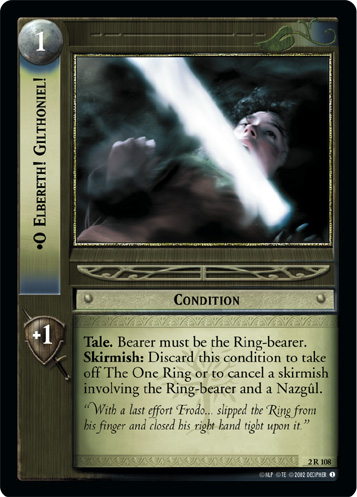
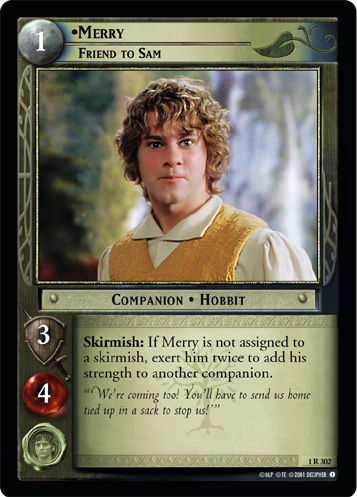
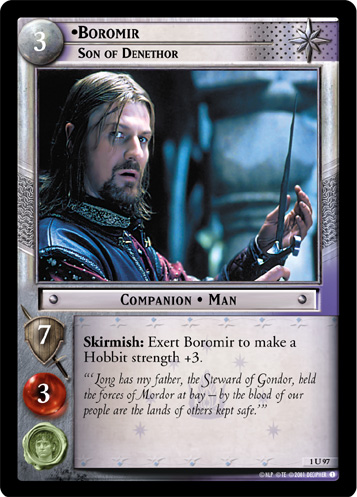
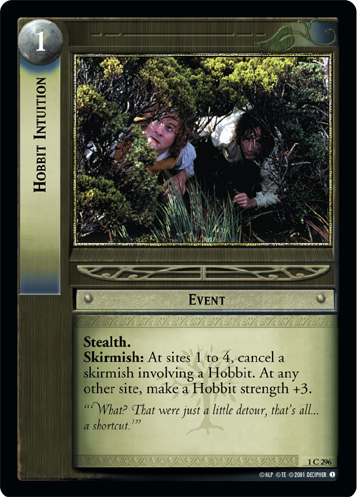
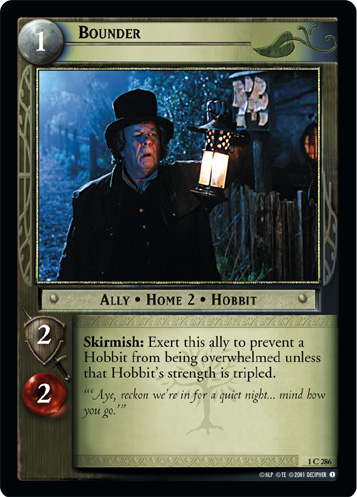
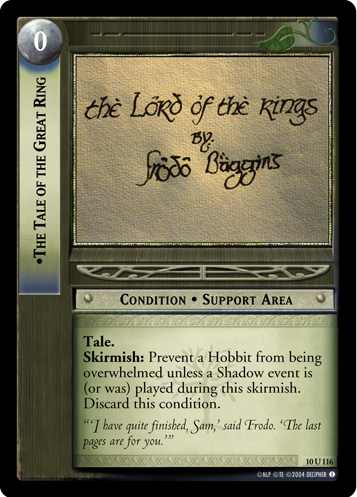
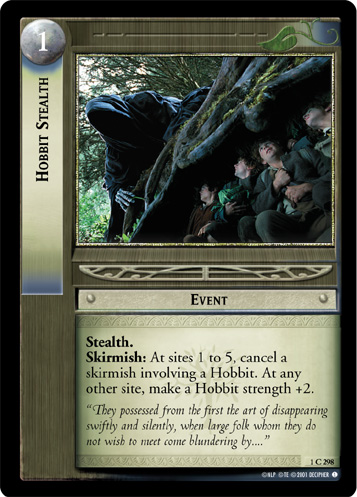
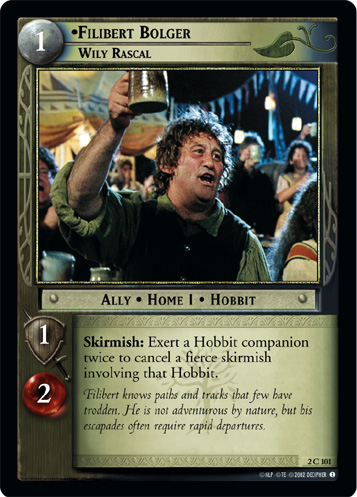
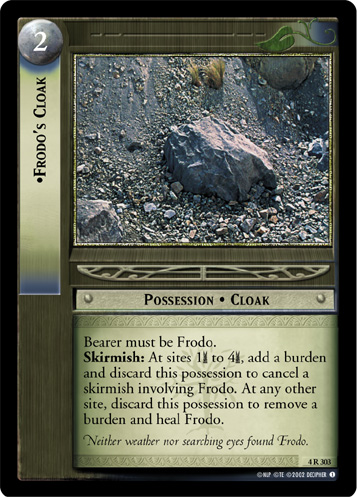
| | Because he is almost always your ring-bearer and so vulnerable to being [[overwhelm]]ed in a skirmish, getting the most out of Frodo involves protecting him, ideally keeping him away from [[skirmish]]es altogether. He has [[the One Ring]], but in most cases that is a poor defense against being overwhelmed. [[Swarm|Some decks]] will drag him into a skirmish anyway, however. To make him a bit safer, you can give him something to boost his strength. Permanent buffs include {{Card|Hobbit Sword}}, some version of {{Card|Sting}}, {{Card|A Promise}}, or {{Card|O Elbereth! Gilthoniel!}}. You can also [[pump]] his strength temporarily, especially with {{Card|Merry, Friend to Sam}}, {{Card|Boromir, Son of Denethor}}, or {{Card|Hobbit Intuition}}. You can protect him from being overwhelmed, with cards like {{Card|Bounder}} or {{Card|The Tale of the Great Ring}}. Or, in early formats like [[Fellowship Block]] and [[Towers Standard]], you can simply cancel his skirmish, with cards like {{Card|Hobbit Stealth}}, {{Card|O Elbereth! Gilthoniel!}}, {{Card|Filibert Bolger, Wily Rascal}}, or {{Card|Frodo's Cloak}}. |
|
| |
|
| ==Shared attributes and shared cards==
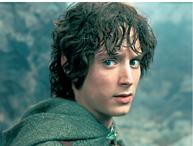
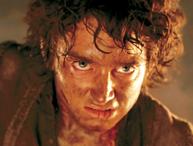
| | Frodo has three different roles in three different periods of the game. For the first eight sets, you have to play him, but you can [[Skirmish Cancellation|cancel his skirmishes]]. There's no way around it in [[Fellowship Block]], [[Towers Standard]], [[Towers Block]], or [[King Standard]]: you have to find a way to protect Frodo. |
| The entire culture is one culture, but the way it's split into three means that most decks pick a [[subculture]] and stick with it, only using cards from other subcultures to supplement their strategy. In this way, {{C|Raider}} culture resembles {{C|Isengard}}, although the [[Cultural Enforcement|subcultural enforcement]] isn't nearly so strong. Part of the looseness of this subcultural enforcement is that some cards are weakly aligned with one subfaction or another. A card like {{Card|Discovered}} meshes well with the Easterling plan of placing and [[spot]]ting [[burden]]s, but it's a useful tool for all three subcultures.
| |
|
| |
|
| {{C|Raider}}s have powerful but generally expensive [[event]] cards. Case in point, {{Card|Discovered}} is a staple of {{Card|Raider}} decks. That isn't as memorable as the flashy, expensive, and risky cards to unexpectedly remove troublesome companions: {{Card|Whirling Strike}}, {{Card|Red Wrath}}, and {{Card|Fierce in Despair}}. In theory, these three cards are meant to enable a strategy where you use the Southron signature keyword [[Ambush]] to pay for these powerful events, but the most popular Ambush card isn't an Southron card anyway! In practice, they're mostly used to soak up extra twilight from an opponent who has [[flood]]ed, which is common in [[Movie Block]]. This predilection for expensive events also extends to many of their more mundane effects: non-Corsair subcultures have relatively overpriced [[pump]] events, {{Card|On the March}} and {{Card|New Strength Came Now}}. These are rarely played; instead, players tend to use the many {{C|Raider}} utility [[condition]]s like {{Card|Under Foot}}, {{Card|Small Hope}}, and {{Card|Field of the Fallen}} that have pump effects attached to their main effect.
| | == Versions of Frodo == |
| | {{PersonaTable|Frodo}} |
|
| |
|
| Speaking of which, {{C|Raider}}s have powerful support area cards to enable [[cycling]]. {{C|Under Foot}} is a keystone of [[swarm]]ing strategies (often multicultural or [[rainbow]] strategies like [[Moria Navy]] or [[Stupid Swarm]]). {{Card|Ships of Great Draught}} not only allows you to never have to worry about a [[Hand Clog|hand clogged]] with Shadow cards, but also lets you retrieve a situational card or play a particularly troublesome card over and over again. With the addition of {{Card|Corsair War Galley}}, this can also give you a near-continuous hold on [[Initiative]], needed to enable certain Southron and Corsair strategies.
| | == Cards which mention Frodo by name == |
|
| |
|
| In theory, {{C|Raider}}s also have strong shared possessions that you play on minions, like {{Card|Raider Bow}} and {{Card|Raider Polearm}}. In practice, both of these cards are only common in one single subculture, and neither one is popular in the culture it's styled after! Both of them appear below along with the corresponding decks.
| | ''to-do'' |
|
| |
|
| Most {{C|Raider}} minions are too tightly integrated into their subculture to really work in any deck that isn't devoting significant space to {{C|Raider}} cards. There's one exception: {{Card|Desert Lord}}. He's great for [[exhaust]]ing annoying characters that need to [[exert]] to use their abilities, like {{Card|Legolas, Greenleaf}}, {{Card|Cirdan, the Shipwright}}, and {{Card|Eowyn, Lady of Ithilien}}. You can just slam him down, get two [[direct wound]]s out of him, and maybe even get a third one when he goes to [[skirmish]]. He's just a really great value card that fits into a variety of decks.
| | == See Also == |
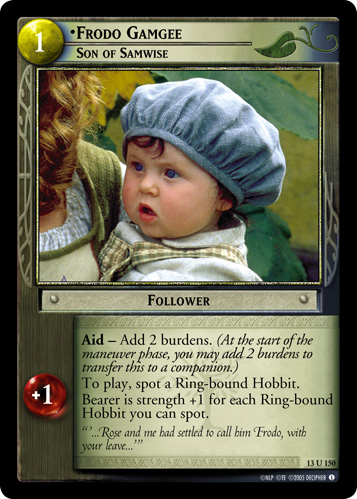
| | * {{Card|Frodo Gamgee, Son of Samwise}} |
|
| |
|
| ==Southrons==
| | [[Category:Unique Characters]] |
| ''See also: [[Southron]]''
| |
| | |
| Southrons have turbans and bows and they're sneaky ambushing desert warriors but also they have oliphaunts. I guess they're sneaky giant war elephants. Southrons want to have lots of [[twilight]] sloshing around after the [[Shadow Phase]] to pay for expensive events and minion abilities. They also want to have [[initiative]], they like to generate and spot and consume [[threat]]s, and occasionally they [[Site Capture|capture sites]]. They also notably dislike overly large or [[rainbow|multicultural]] [[Fellowship]]s. Their subcultural enforcement is sometimes tricky: if a card mentions "a {{CultureIcon|Raider}} archer" or "a mounted {{CultureIcon|Raider}} Man" then it's a card for Southrons, since they have (almost) all of the {{C|Raider}} archers and all of the {{C|Raider}} mounts. They have three sets of basic tools plus some utility cards that appear in a variety of Southron decks, and these come together to make about two and a half common decks.
| |
| | |
| The first tool is the the signature Southron keyword, but also the least-successful {{C|Raider}} gimmick overall. [[Ambush]] generates twilight when minions are assigned. In theory, you'd use it to fund the expensive {{C|Raider}} events, or conditions like {{Card|Howl of Harad}} or {{Card|Harsh Tongues}}, or some of the other gimmicks below. In practice, the Ambush numbers are too small to pay for very much, and the minions with Ambush are largely too weak to be worth bothering with. Insofar as Ambush is used in Southron decks at all, it's largely in support of Southron direct wounding, or just a little extra on a card that's good enough to use anyway.
| |
| | |
| The second main gimmick is [[direct wounding]]. Cards like {{Card|Desert Warrior}} and {{Card|Desert Sneak}} trigger at the beginning of a skirmish, either consuming twilight or looking for [[initiative]] to cause a wound. Of these, the initiative cards are the most successful, in decks using {{Card|Corsair War Galley}} (or, sometimes, {{Card|Harsh Tongues}}) to seize initiative. There are a number of options to spend twilight to trigger wounds later in the turn as well, like {{Card|Howl of Harad}} or {{Card|Cast Unto the Winds}}, or the expensive wounding events like {{Card|Whirling Strike}} and {{Card|Red Wrath}}. (There are a number of other similar cards that pay twilight later in the turn for various effects, such as {{Card|Army of Haradrim}} or {{Card|Dark Tidings}}, but most of these effects are overcosted and less useful than direct wounding, and as such are rarely played.) As mentioned before, you're theoretically meant to pay for these cards with Ambush, but the only Ambush card really worth using to generate twilight is {{Card|Raider Bow}}.
| |
| | |
| The third and final one is [[archery]]. Southron archery aren't quite as dirt-cheap as {{Card|Moria}}'s: the cheapest ones are {{Card|Southron Bowman}} and {{Card|Southron Archer}}, followed by {{Card|Elite Archer}}. But they also have archer minions with enough strength to skirmish decently well, with {{Card|Desert Lord}}, {{Card|Haradrim Marksman}}, and {{Card|Southron Marksmen}}. (This is a dynamic that will be familiar to anyone who has played [[Uruk Archery]].) There are some more-expensive archers that can exploit a heavily flooded twilight pool, but they are overpriced and not popular.
| |
| | |
| Then there's the shared Southron bag of tricks. Southrons love to have a bunch of [[threat]]s sloshing around, and {{Card|Rallying Call}} can generate those threats cheaply. These threats can be turned into wounds by killing a companion, or used to fund cards like {{Card|Southron Marksmen}} or {{Card|Ships of Great Draught}}. Southrons can also turn unexpectedly large or get an unexpected extra use of their exertion or Ambush abilties, with cards like {{Card|Mumak}}, {{Card|Seasoned Leader}}, and {{Card|Field of the Fallen}}. Combine two or three of these cards to turn even relatively meek minions into skirmishing behemoths. (There's even a very dirty [[combo]] where you recycle an {{Card|Under Foot}} in your discard pile over and over with {{Card|Seasoned Leader}} to turn 1 threat and 1 twilight into +2 strength, until you run out of threats or twilight.) They also have some above-average [[hate]] cards for [[Rule of 6|overly large]] or [[rainbow]] Fellowships, such as {{Card|Southron Leader}} and {{Card|Southron Veterans}}. All of these cards are fairly situational, but that's fine! As long as you have {{Card|Ships of Great Draught}}, you can pitch them into discard easily, or retrieve them later at your convenience.
| |
Frodo is one of the protagonists of The Lord of the Rings, the hobbit who steadfastly carries the One Ring from the Shire to Mount Doom, where it is destroyed by Gollum. In this game, he is the default ring-bearer companion, and indeed was the only ring-bearer until the ninth expansion set. Except for his unusually high resistance, his low strength (3) and relatively high vitality (4) are typical of hobbits, but generally make him the most vulnerable part of your Fellowship.
Frodo has a suite of special rules to his name. He's always ring-bound, even if it doesn't say so on his card. Except in the case of Frodo, Frenzied Fighter (13R149)
 , he's always your ring-bearer if he's in your deck, and thus costs zero twilight. Until Reflections, he was the only possible ring-bearer at the start of the game, and (along with Sam) was one of only two characters with a resistance score.
Because he is almost always your ring-bearer and so vulnerable to being overwhelmed in a skirmish, getting the most out of Frodo involves protecting him, ideally keeping him away from skirmishes altogether. He has the One Ring, but in most cases that is a poor defense against being overwhelmed. Some decks will drag him into a skirmish anyway, however. To make him a bit safer, you can give him something to boost his strength. Permanent buffs include Hobbit Sword (1C299)
 , some version of Sting (1R313)
 , A Promise (2R112)
 , or O Elbereth! Gilthoniel! (2R108)
 . You can also pump his strength temporarily, especially with Merry, Friend to Sam (1R302)
 , Boromir, Son of Denethor (1U97)
 , or Hobbit Intuition (1C296)
 . You can protect him from being overwhelmed, with cards like Bounder (1C286)
 or The Tale of the Great Ring (10U116)
 . Or, in early formats like Fellowship Block and Towers Standard, you can simply cancel his skirmish, with cards like Hobbit Stealth (1C298)
 , O Elbereth! Gilthoniel! (2R108)
, Filibert Bolger, Wily Rascal (2C101)
, O Elbereth! Gilthoniel! (2R108)
, Filibert Bolger, Wily Rascal (2C101)
 , or Frodo's Cloak (4R303)
 .
.
Frodo has three different roles in three different periods of the game. For the first eight sets, you have to play him, but you can cancel his skirmishes. There's no way around it in Fellowship Block, Towers Standard, Towers Block, or King Standard: you have to find a way to protect Frodo.
Versions of Frodo[edit]
| Portrait |
Name |
Game Text
|
|
|
Frodo, Old Bilbo's Heir (1R289)
|
Ring-bearer (resistance 10).
At the start of each of your turns, you may heal a Hobbit ally.
|
|
|
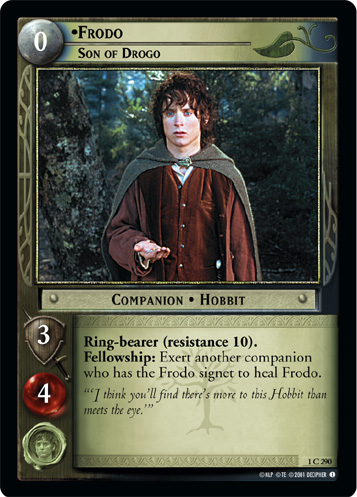
Frodo, Son of Drogo (1C290)
|
Ring-bearer (resistance 10).
Fellowship: Exert another companion who has the Frodo signet to heal Frodo.
|
|
|
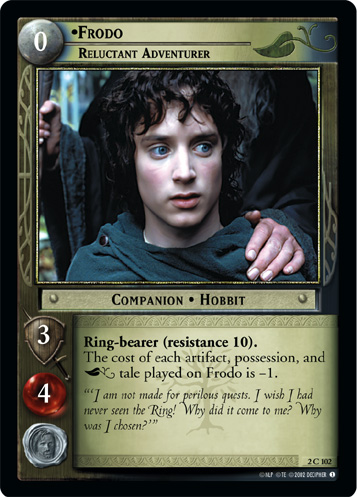
Frodo, Reluctant Adventurer (2C102)
|
Ring-bound. Ring-bearer (resistance 10).
The cost of each artifact, possession, and  tale played on Frodo is -1. tale played on Frodo is -1.
|
|
|
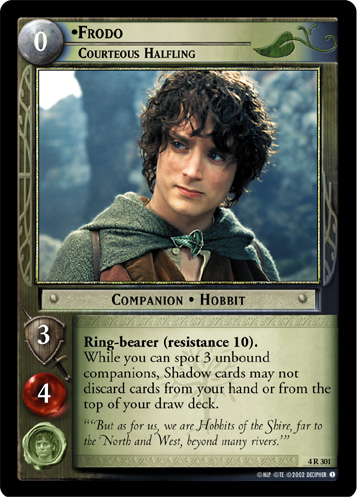
Frodo, Courteous Halfling (4R301)
|
Ring-bearer (resistance 10).
While you can spot 3 unbound companions, Shadow cards may not discard cards from your hand or from the top of your draw deck.
|
|
|
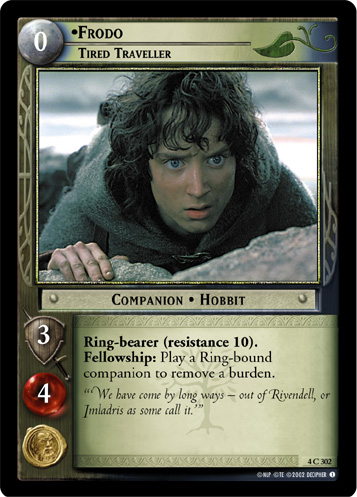
Frodo, Tired Traveller (4C302)
|
Ring-bearer (resistance 10).
Fellowship: Play a Ring-bound companion to remove a burden.
|
|
|
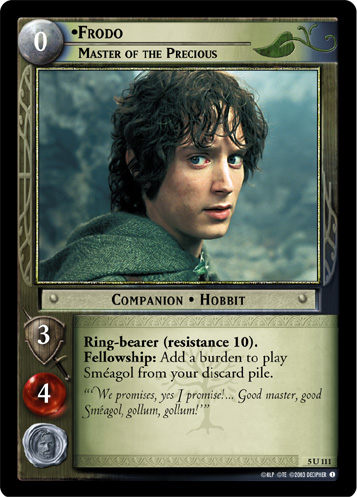
Frodo, Master of the Precious (5U111)
|
Ring-bearer (resistance 10).
Fellowship: Add a burden to play Sméagol from your discard pile.
|
|
|
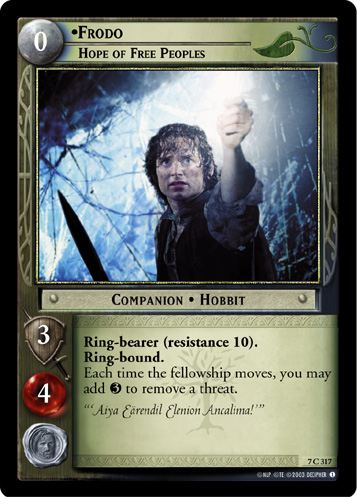
Frodo, Hope of Free Peoples (7C317)
|
Ring-bearer (resistance 10).
Ring-bound.
Each time the fellowship moves, you may add  to remove a threat. to remove a threat.
|
|
|
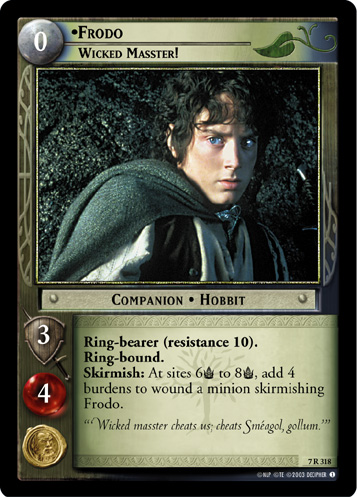
Frodo, Wicked Masster! (7R318)
|
Ring-bearer (resistance 10).
Ring-bound.
Skirmish: At sites 6 to 8, add 4 burdens to wound a minion skirmishing Frodo. to 8, add 4 burdens to wound a minion skirmishing Frodo.
|
|
|
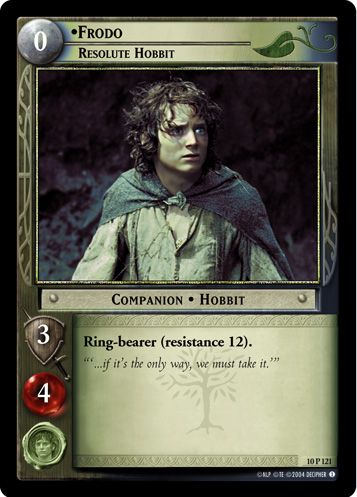
Frodo, Resolute Hobbit (10P121)
|
Ring-bearer (resistance 12).
|
|
|
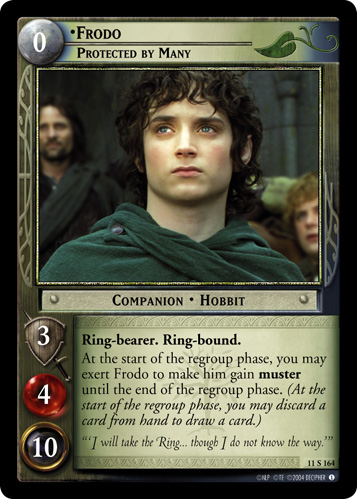
Frodo, Protected by Many (11S164)
|
Ring-bearer. Ring-bound. At the start of the regroup phase, you may exert Frodo to make him gain muster until the end of the regroup phase. (At the start of the regroup phase, you may discard a card from hand to draw a card.)
|
|
|
Frodo, Frenzied Fighter (13R149)
|
Ring-bound.
While you can spot more minions than companions, Frodo cannot be overwhelmed unless his strength is tripled.
Skirmish: If Frodo is not assigned to a skirmish, exert Frodo to have him replace a Ring-bound companion skirmishing a minion.
|
|
|
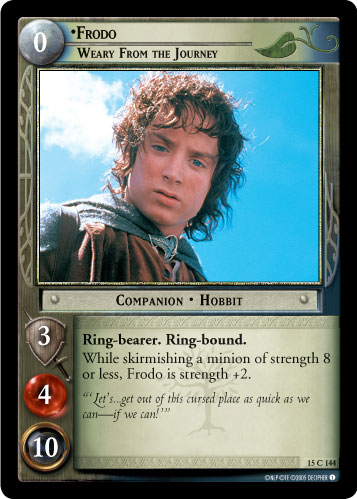
Frodo, Weary From the Journey (15C144)
|
Ring-bearer. Ring-bound.
While skirmishing a minion of strength 8 or less, Frodo is strength +2.
|
|
|
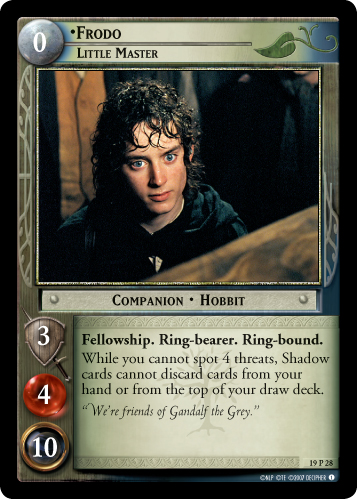
Frodo, Little Master (19P28)
|
Fellowship. Ring-bearer. Ring-bound.
While you cannot spot 4 threats, Shadow cards cannot discard cards from your hand or from the top of your draw deck.
|
|
|
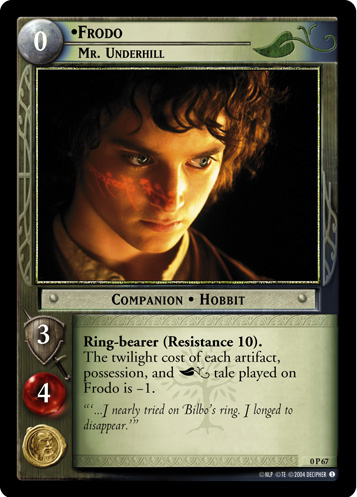
Frodo, Mr. Underhill (0P67)
|
Ring-bound. Ring-bearer (resistance 10).
The cost of each artifact, possession, and tale played on Frodo is -1.
|
|
|
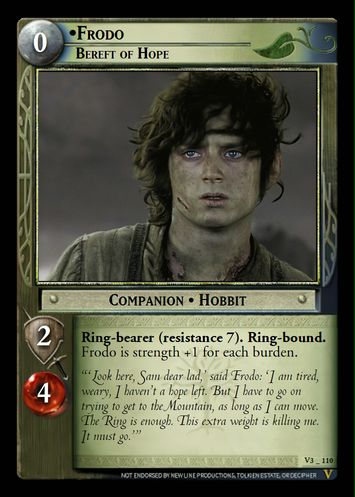
Frodo, Bereft of Hope (V3_110)
|
Ring-bearer (resistance 7). Ring-bound.
Frodo is strength +1 for each burden.
|
Cards which mention Frodo by name[edit]
to-do
See Also[edit]