Fill With Fear (2U56)
Back to Mines of Moria Index |
Final Cry (2R57) |
Fill With Fear (2U56) is a ![]() Moria Condition from the Mines of Moria set.
Moria Condition from the Mines of Moria set.
| ||||||||||||||||||||||||||||||||||||
| ||||||||||||||||||||||||||||||||||||
| ||||||||||||||||||||||||||||||||||||
| ||||||||||||||||||||||||||||||||||||
| ||||||||||||||||||||||||||||||||||||


Strategy[edit]
Gameplay Strategy[edit]
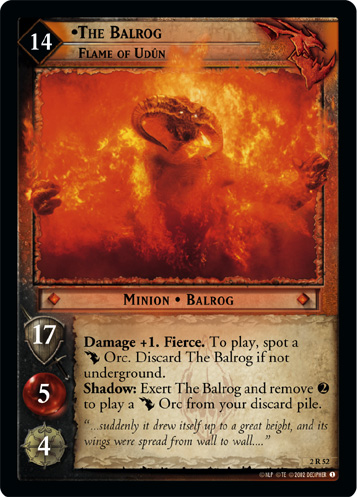
Fill With Fear is a card which seems tailor made for The Balrog, Flame of Udun (2R52)
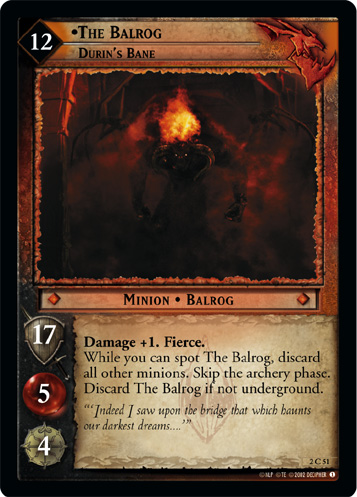
 . And in many ways, it is: The Balrog, Durin's Bane (2C51)
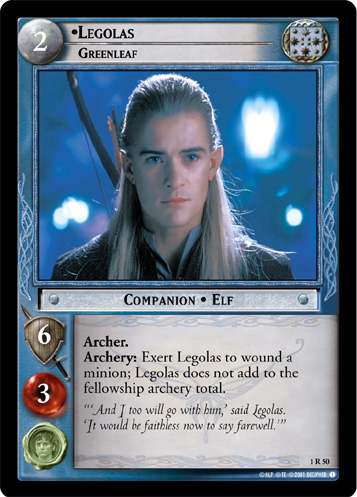
 already skips the archery phase, while using Flame of Udun's ability makes it an easy target for Legolas, Greenleaf (1R50)
 or Aragorn’s Bow (1R90)
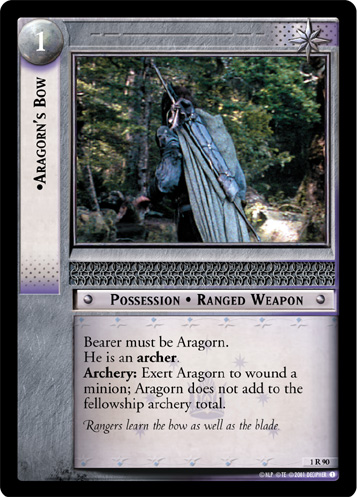 (both very popular cards in Fellowship block). Playing Flame of Udun also means
 ![]() Moria Orcs, which have characteristically low vitality and are often picked off in the archery phase. Fill With Fear attempts to address these shortcomings and allows a player to get the most out of Flame of Udun and the accompanying swarm.
Moria Orcs, which have characteristically low vitality and are often picked off in the archery phase. Fill With Fear attempts to address these shortcomings and allows a player to get the most out of Flame of Udun and the accompanying swarm.
For all its potential, Fill With Fear falls short in Fellowship block for many reasons. First, it can almost never have an impact outside of site 5, which requires either quite a bit of luck or an unhealthy devotion. Likewise, opponents may not have a chance to find their ranged weapons yet, or may simply hold onto them until the move to site 6 if it is played first. Second, condition discarding is a key pillar of the meta and Secret Sentinels (2R20)
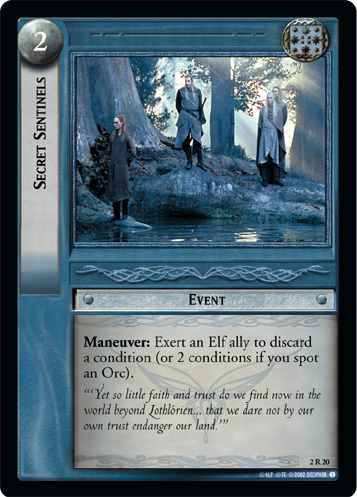 in particular will leave you high and dry if you rely on skipping the archery phase to cover exertions on The Balrog. Finally, wound prevention in a pinch is already provided for Moria Orcs by Goblin Armory (1R173)
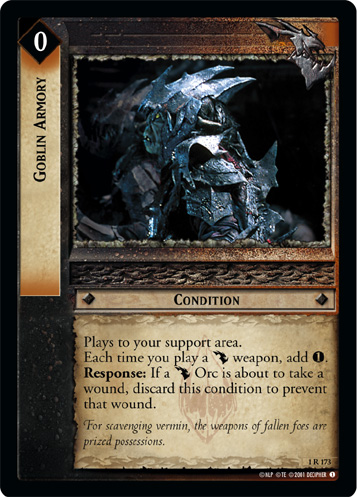 , and there is little reason for a player not to include 4 copies of that card if they are able.
Using its ability to discard ranged weapons can have a long term benefit, although between skipping the archery phase at site 5, the low Shadow number of site 6, and potentially skipping the archery phase at site 7 with Anduin Wilderlands
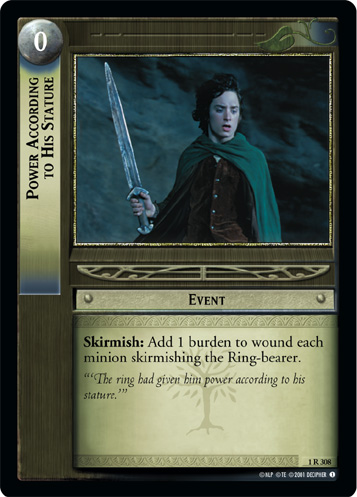
 , a Free Peoples that depends on them may have plenty of opportunity to play other copies by the time archery can be used again at site 8. Unless there is reason to think a particular ranged weapon can't be replaced, it is usually best to prioritize exerting Flame of Udun with his own ability and use Fill With Fear with any vitality leftover. Even if the archery phase is skipped, remember that other direct wounding such as Power According to His Stature (1R308)
 or an overlooked Bow of the Galadrhim
can still deliver a finishing blow to The Balrog!
or an overlooked Bow of the Galadrhim
can still deliver a finishing blow to The Balrog!
The Balrog, Terror of Flame and Shadow (6R76)
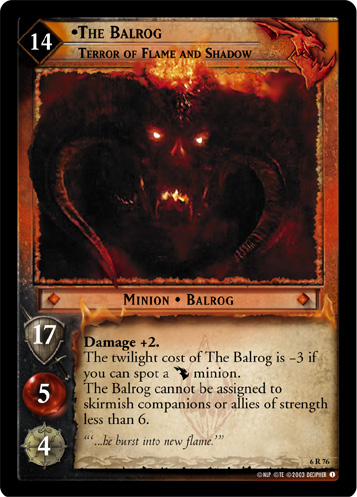 redeems it somewhat in Towers -- since this version of The Balrog can appear any time and typically has vitality to spare, Fill With Fear looks a bit more appealing. Elves also fall from popularity in Towers, so their maneuver phase condition discarding is less prevalent. However, his high cost tends to relegate him to a beatdown splash in a swarm deck, intended to stop the Free Peoples player while the Shadow player can rearm to swarm in the next site. Decks which don't have a focus on playing The Balrog will gain little from this card and should instead devote deckspace to the key function of the Shadow side.
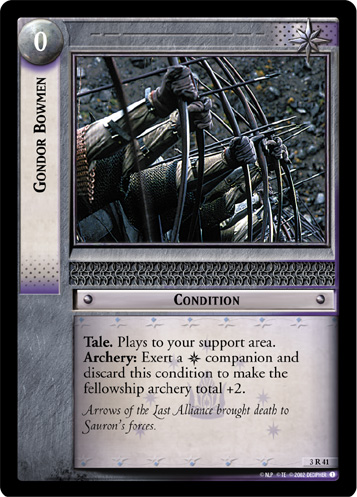
The less common Moria Beatdown strategy can benefit much more, though it doesn't have the same weakness to archery thanks to the high minion vitality. While the card will be important in keeping The Balrog safe from mass archery from Gondor Bowmen (3R41)
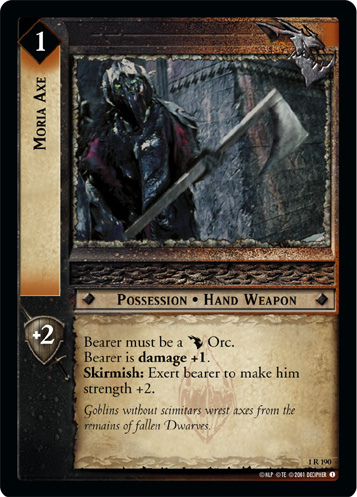
 later on the sitepath, beatdown decks will gain the most out of the maneuver phase action to remove ranged weapons, either meaning fewer archery wounds and more vitality open for Moria Axe (1R190)
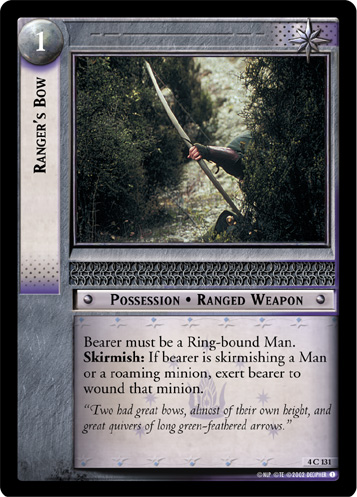
 or the loss of strength bonuses or phase actions that help companions win skirmishes like Naith Bow
and Ranger's Bow (4C131)
or the loss of strength bonuses or phase actions that help companions win skirmishes like Naith Bow
and Ranger's Bow (4C131)
 .
.
Deckbuilding Strategy[edit]
The Balrog can only really be played at The Bridge of Khazad-dûm (1C349)
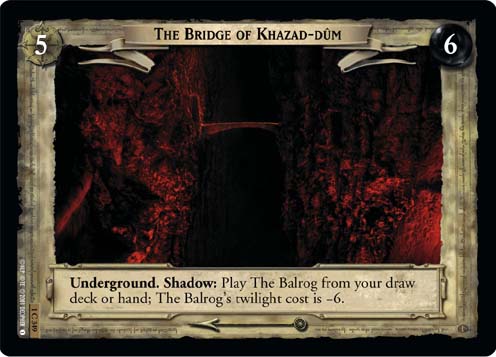 in Fellowship block, which puts it in the awkward position of needing enough copies to draw early and be used, but not so many copies that later sites are impeded by copies of the now-useless card. Of course there is no way to balance these two needs, making Fill With Fear a rare sight. Decks which can afford to lose a little consistency later are typically efficient enough not to need what it offers, while decks that hinge on having this card in play are typically inefficient enough that it won't make as much difference as trimming the deck down or adding cards with more reliable value would.
In Towers and King formats, The Balrog, Terror of Flame and Shadow (6R76)
can benefit from it as often as he can be played -- a deck that aims to get him out often will often rely on it to stave off massed archery. Beatdown decks also gain the most from the maneuver action: any ranged weapon discard means either weaker companions or fewer wounds the Free Peoples can inflict, allowing Moria Axe (1R190)
to reach its maximum potential.
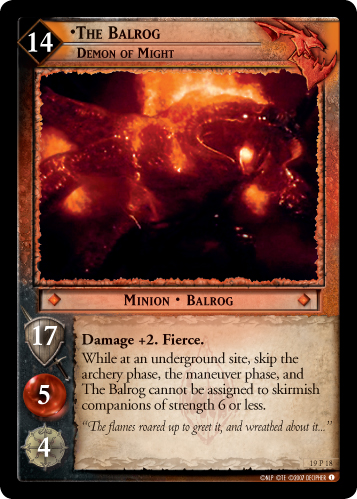
Later formats include much stronger versions of The Balrog, each of which has its own way to avoid archery wounds. The Balrog (and especially The Balrog, Demon of Might (19P18)
 ) is also often a splash or silver bullet than a core strategy thanks to the Shadows culture reorganization orphaning it in the Moria culture, so there's little incentive to add cards for it specifically. Where The Balrog is a meaningful piece of a strategy is corruption, using Whip of Many Thongs, Weapon of Flame and Shadow (12R80)
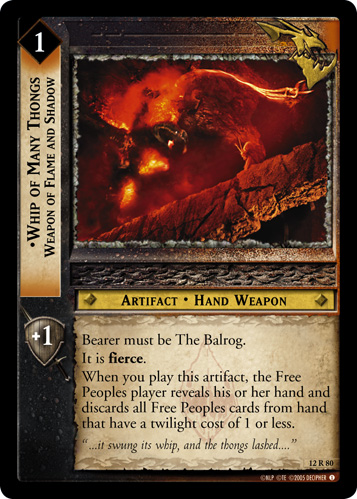 alongside Bound to its Fate (11U110)
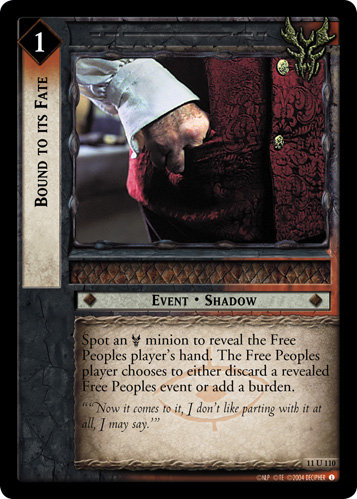 -- a deck which has little care for the archery phase.
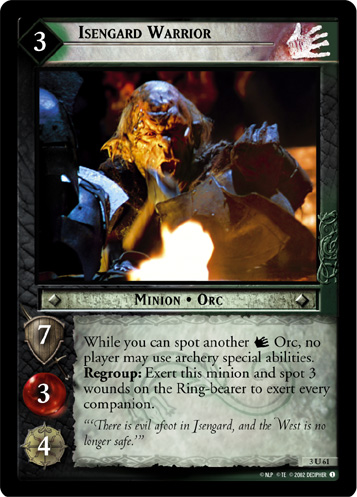
For swarming strategies, Isengard Warrior (3U61)
 and another
 ![]() Isengard Orc are substantially cheaper and easier to incorporate. They also enable access to Saruman's Snows (1C138)
Isengard Orc are substantially cheaper and easier to incorporate. They also enable access to Saruman's Snows (1C138)
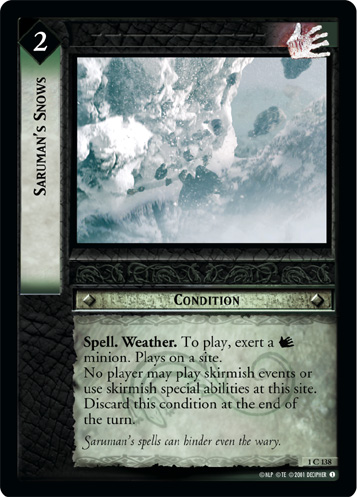 , which shuts out the other primary phase in which the Free Peoples can hope to deal with the excess minions. Since swarm decks tend to try to take down the Ring-bearer directly, there's less need to discard ranged weapons anyway: if the Free Peoples is relying on Archery to deal with the swarm, the whole phase is already going to be skipped (and Isengard Smith (3U60)
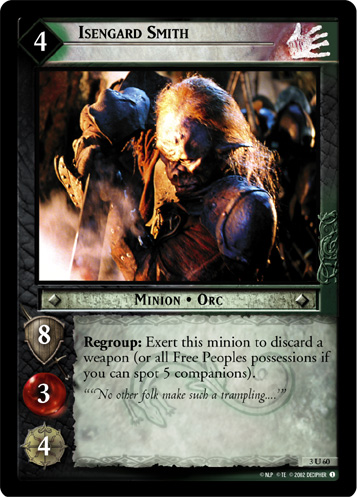 may be included if there is a particular need); if the Free Peoples is not relying on archery, then there probably aren't ranged weapons to threaten the swarm anyway.
Strengths and Weaknesses[edit]
Synergizes With...[edit]
- The Balrog, Flame of Udun (2R52)
and The Balrog, Terror of Flame and Shadow (6R76)
, the only two versions of The Balrog that have no built-in archery protection
 Moria decks, which consist of either many swarming minions with 1 vitality or a few strong minions hoping to reserve as much vitality as possible for Moria Axe (1R190)
- Relentless (1U194)
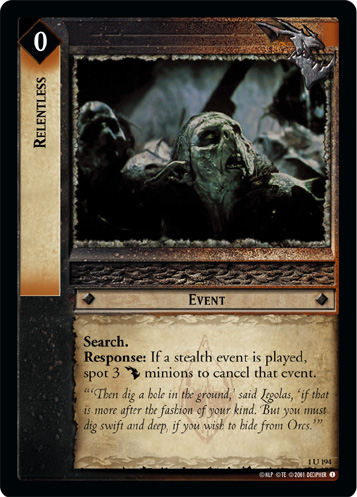 -- skipping the archery phase and blocking skirmish cancelling shuts down the ways many decks plan to handle a swarm
Strong Versus...[edit]
- Archery decks of all stripes
- Naith elves, which rely on Naith Bow
for any hopes of skirmishing prowess
- Ring-bound Rangers, which often use Ranger's Bow (4C131)
and especially with Mablung, Soldier of Gondor (4U127)
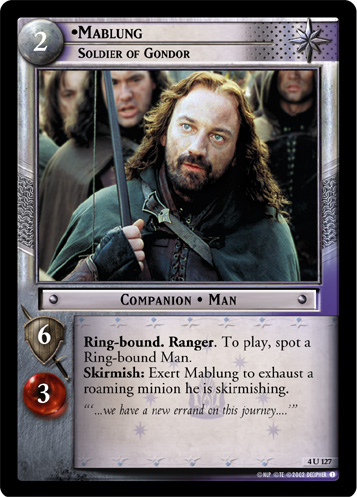 to kill minions regardless of vitality
 - Knights, which use Gondor Bow (7U94)
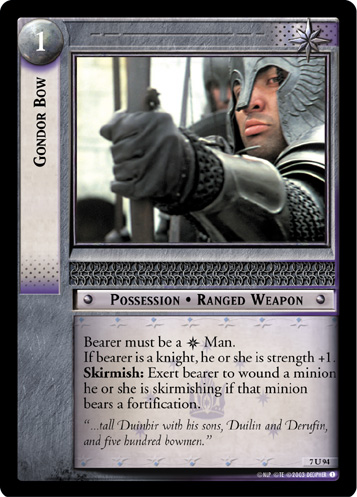 and Fourth Level (8C35)
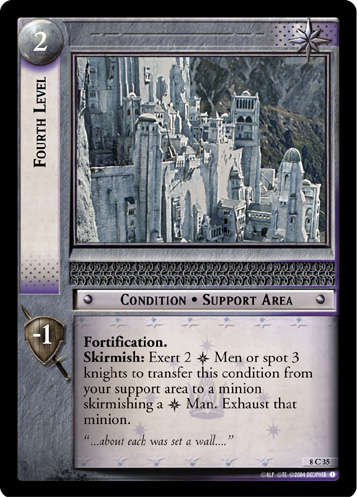 in the same way
Weak Versus...[edit]
- Maneuver phase condition discarding such as Secret Sentinels (2R20)
and Vilya (3R27)
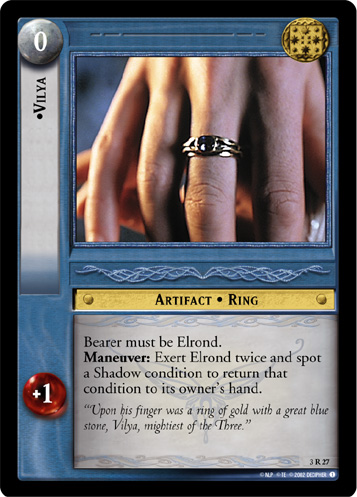 , which can remove the card before it can have any impact
 - Non-archery wounding in an archery deck (particularly common in Towers and beyond), which may be enough to kill The Balrog anyway after the Shadow player exerts it
- Relies on an expensive minion to have any effect, and is especially at risk of becoming a dead card in Fellowship block.