DecipherArchive:lotrtcg.decipher.com/articles/Leaving the Shire: Deckbuilding Basics
Leaving the Shire
Volume 1, March 16, 2005
Deckbuilding Basics
By Zach "Rubber Chicken" Shephard
Greetings, fellow gamers, and welcome to The Lord Of The Rings Online TCG! My name is Zach "Rubber Chicken" Shephard, and I've been playing this game since it was in its early stages. In this column, entitled "Leaving the Shire," I'll be bringing some basic advice to those of you that are just starting out with your online accounts. If you're already very familiar with The Lord Of The Rings Online TCG, you need not read any further (unless you're looking for the subliminal messages that I didn't actually include in this article. <!subliminal>Worship Rubber Chicken!</!subliminal>). If you're new to the game, this article was designed for you to help you get started.
With that in mind, let's get things underway with the first-ever installment of Leaving the Shire!
So you've just started an account on The LOTR Online Trading Card Game, you tore open that starter deck and a handful of boosters, and you're ready to jump into the battlefield head first (make sure you wear a helmet for that last part).
Sadly, as with most trading card games, you can't just charge into the fray with your entire collection of cards -- you need to pick and choose what exactly you'll be using.
Today I'm going to provide you with some basic tips on deckbuilding. Sure, you know the rules and restrictions on building a deck (and if you don't, here's a brief summary: Your draw deck must be a minimum of sixty cards with no more than 4 copies of any one card and an equal number of Free Peoples and Shadow cards. You also need an Adventure Deck of nine site cards (no repeats on your sites) and a Ring-bearer and One Ring), but you don't know the rules. By that, I mean that you may not know certain guidelines that are generally followed in constructing a quality deck. That's where I come in to help.
Let's kick things off with a look at the Free Peoples side of your deck.
BUILDING THE FREE PEOPLES SIDE OF YOUR DRAW DECK

First and foremost, you have to decide which cultures you're going to be playing with. Generally speaking, the Free Peoples half of any given deck tends to stick at three cultures or less. The reason for this is synergy -- if you have an event that makes a ![]() Gondor companion strength +3, and your fellowship consists of a Rohan man, an Elf, a Dwarf, and your toaster; then that event is going to be useless until you draw and play a Gondor companion. By staying at three cultures or less, you can ensure that your weapons and events have a valid target the majority of the time.
Gondor companion strength +3, and your fellowship consists of a Rohan man, an Elf, a Dwarf, and your toaster; then that event is going to be useless until you draw and play a Gondor companion. By staying at three cultures or less, you can ensure that your weapons and events have a valid target the majority of the time.
Ok, once you've decided on which cultures are your strongest (when your collection is just getting started, this will probably be determined simply by the quantity of cards you own in any given culture. Every starter gives you a good foundation for at least one Free Peoples culture) you can get to the building.
FREE PEOPLES STEP #1: Stick Close to Thirty Cards
Since your Free Peoples and Shadow cards need to be equal in number, this step applies to the Shadow side as well. You're going to want your deck to end up around sixty cards (thirty per side), because a thin deck is a consistent deck. Far too often I see new players with 120-card decks complaining about how they can't draw Faramir (or any other specific card). When Faramir is one card in a 120-card deck, you can't expect to draw him early every game -- heck, you may not draw him at all. So try to stay close to thirty cards per side, and don't go any higher than thirty-five.
FREE PEOPLES STEP #2: Use Nine Companions.
Including your Ring-bearer, you'll want a total of nine companions in your deck. Companions are the greatest resource for the Free Peoples player, in that they provide unique abilities, absorb wounds, fight skirmishes, and keep the Ring-bearer from being assigned to dangerous minions (by providing more 'volunteers' for blocking hungry Balrogs). So you're going to want to max out on these, but be sure not to go over nine. Once you've played nine different companions, the extras will become useless since the 'Rule of 9' limits you to 9 companions in your fellowship (and dead companions count against this limit, so you can't keep adding more cannon fodder to the lineup). If there's one thing you don't want in your deck, it's useless cards.
Be sure to note, however, that including multiple copies of a unique companion doesn't count towards your nine. For example, if you have eight companions in your deck so far, feel free to add up to four copies of Gandalf, Leader of the Company (11S33)
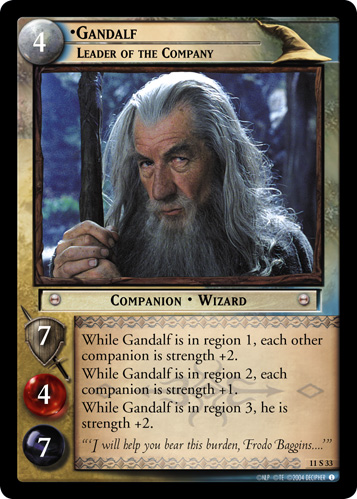 -- if he's essential to your deck strategy. Multiple copies give you a better chance of drawing and playing him sooner and excess copies can always be used for healing (remember, you can discard a copy of a unique companion or ally from your hand during the Fellowship phase to heal a copy that is in play). If I ever have a companion that's a central part of my main strategy, I try to put that companion in my starting fellowship or include four copies in my deck so that I can draw him or her within the first few sites.
As far as your Ring-bearer, if you can get one that shares a culture with the other companions in your deck, that's great, and really helps for deck synergy. For example, if you're running a lot of Gondor cards, Isildur, Bearer of Heirlooms (9R+33)
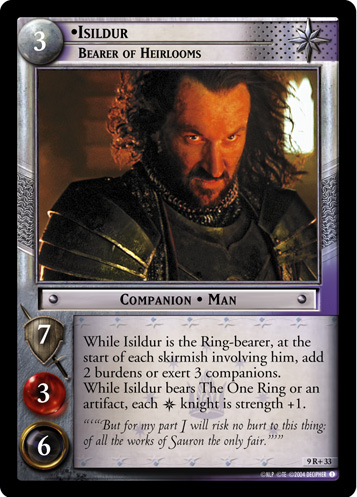 would be an excellent Ring-bearer, because all of the strength-boosts used on your other companions can be used on him as well.
In addition to your Ring-bearer, you'll need a starting fellowship (quick reminder: you are allowed to have up to 4 twilight cost of companions in your starting fellowship. Note also that a few companions like Gandalf, Leader of Men (8R15)
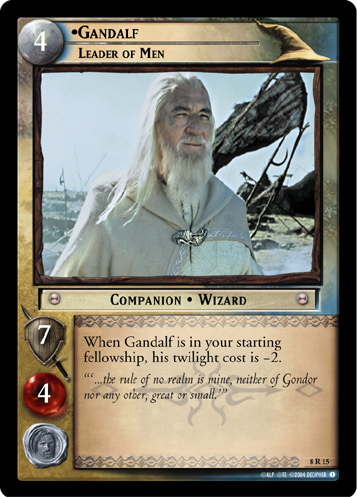 are less twilight cost than usual when played in your starting fellowship). It's good to decide what this will be early on in the deckbuilding process, as it gives you a better idea of who the central characters in your deck will be. Also, the majority of the time, you won't want extra copies of companions that are in your starting fellowship -- those card slots can be better spent on other things.
FREE PEOPLES STEP #3: Arm Your Warriors.
As cool as I think Aragorn is, I know he's just not going to be slaying Orcs with his fists. You're going to want permanent strength boosts for your companions -- these come in the form of possessions, conditions, and artifacts. Generally speaking, permanent strength boosts are better than one-time pumps (from events), simply because they're permanent. You can have strength +2 for eight sites in a row if you draw a Gondorian Blade (11U59)
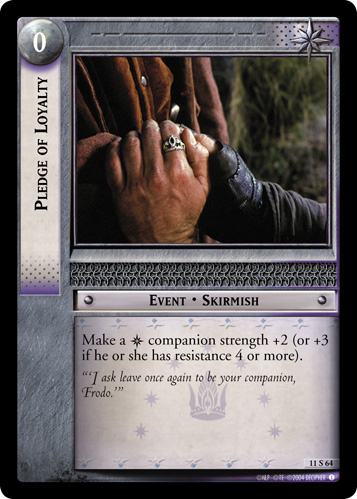
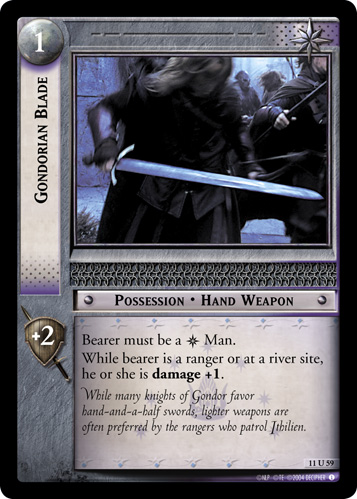 early, or you can have strength +3 once from a Pledge of Loyalty (11S64)
 . I think it's pretty clear why the permanents are better.
That being said, try to have a weapon for each companion in your fellowship. If you're running three Gondor companions, include three Gondorian Blade (11U59)
. On top of that, keep in mind that characters can hold multiple possessions, so long as they're not the same possession type (for example, a companion can't bear two hand weapons unless the cards specifically say they can, like Knife of the Galadhrim (9R+17)
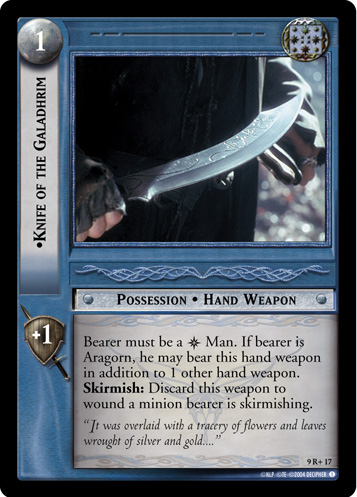 ). A
). A ![]() Rohan companion can't hold two spears, but he or she can simultaneously use a Rider's Spear (4C288)
Rohan companion can't hold two spears, but he or she can simultaneously use a Rider's Spear (4C288)
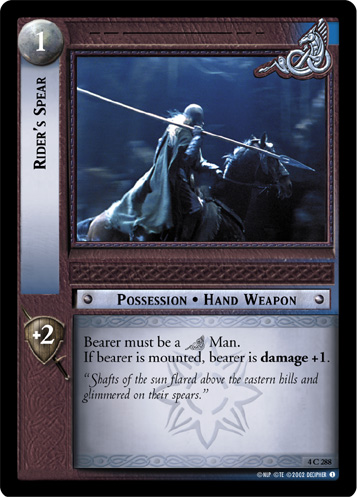 (hand weapon) and a Riddermark Javelin (11U151)
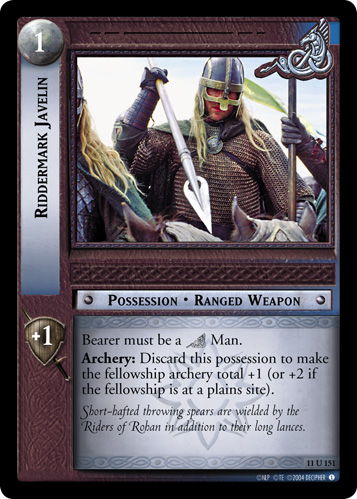 (ranged weapon), both of which provide a permanent strength bonus.
It should be noted that it's also fine to run two copies of a weapon that only one companion can use -- especially if it means protecting your Ring-bearer. For example, if your Ring-bearer is Frodo and he's your only Hobbit, you don't want to have only one Hobbit Sword (1C299)
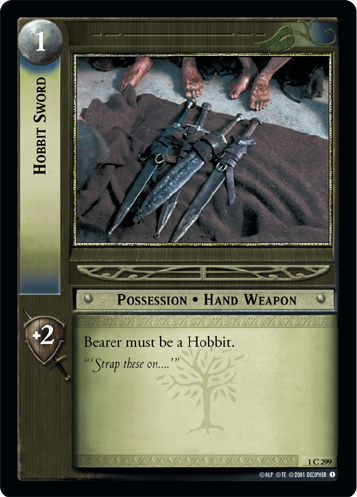 in your deck -- include a second copy so that you have a decent chance of drawing it.
FREE PEOPLES STEP #4: Fill Out With Events.
Now that you have nine companions, enough weapons to arm everyone and maybe even a few conditions that add permanent strength boosts (such as G for Grand (11S32)
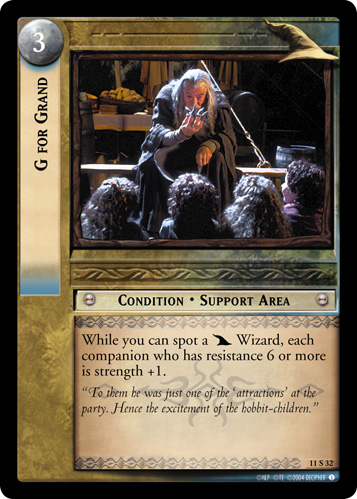 ), it's time to really make sure you can win some skirmishes. Having a base strength of twelve is nice and all, but it won't help against that fifteen-strength Troll. Try to include a large percentage of skirmish events in your beginning decks to get over the hump and take down those larger minions. Twelve skirmish events should be fine (or less, if you doubled-up on possessions for your companions, like the Spear/Javelin example), and make sure that some of those help to protect your Ring-bearer (as it's pretty important to keep him alive).
After adding weapons, conditions, companions, and skirmish events, you should hopefully still have some room left in your 30-35--card Free Peoples side. If you do, this is your chance to go nuts and do whatever you want (note: when "going nuts," always be sure to wear your seatbelt -- safety first). Use those extra card slots to experiment with different support cards (events and conditions) that <a href="http://web.archive.org/web/20061024175718/http://lotrtcg.fanhq.com/TCG/Card.aspx?gameID=7&cardID=4610" target="_new">heal</a>, <a href="http://web.archive.org/web/20061024175718/http://lotrtcg.fanhq.com/TCG/Card.aspx?gameID=7&cardID=4604" target="_new">prevent wounds</a>, or have any number of other effects. If you want, add more skirmish events or maybe some cards that <a href="http://web.archive.org/web/20061024175718/http://lotrtcg.fanhq.com/TCG/Card.aspx?gameID=7&cardID=4620" target="_new">remove burdens</a> or <a href="http://web.archive.org/web/20061024175718/http://lotrtcg.fanhq.com/TCG/Card.aspx?gameID=7&cardID=4629" target="_new">discard conditions.</a> Basically, have fun. After playing the deck several times, you'll get an idea of what its strengths and weaknesses are, and you'll be able to adjust accordingly.
Now, with that out of the way, we can get to the <a href="http://web.archive.org/web/20061024175718/http://lotrtcg.fanhq.com/TCG/Card.aspx?gameID=7&cardID=3560" target="_new">bad guys of Middle-earth</a> -- let's work on making a basic Shadow side.

BUILDING THE SHADOW SIDE OF YOUR DRAW DECK
Similarly to the Free Peoples half of your deck, the first thing to do is pick a culture for your Shadow side. Note that I said culture, not cultures. More often than not, Shadow sides tend to feature only a single culture, so that's definitely the best way to start. Once you've decided which culture to use (as with your Free Peoples, see which Shadow culture you own the most of. Your starter(s) will provide you with a solid foundation for making a Shadow side of cards from a single culture), you can get started on building your army of antagonists.
SHADOW STEP #1: Finding the Right Minion-Count.
Generally speaking, I like to have a little more than half of my Shadow cards be minions. In a thirty-card deck, for example, seventeen seems to be just about the right number. Of course, this varies based on what kind of minions you're using. If all of your Shadow characters are high-cost, massive brutes, consider using less minions. The last thing you want is to have six minions that cost seven twilight in your hand, only to be given thirteen twilight by your opponent. If you can only play one Shadow card, you can't draw as many on your reconcile, and this affects your Free Peoples hand. So, if you're sticking with all very large minions (five-cost or more), you can drop a few out and go with some more support cards ("support cards" being anything that's not a minion). Try to make sure that your Shadow side is at least half-full of minions, however, because you don't want to be in a position where you just can't draw a minion to save your life (or end the life of the opposing Ring-bearer, as it may be).
SHADOW STEP #2: Find Your Theme.
More so than Free Peoples cultures, Shadow cultures tend to have a very apparent theme. For example, the new Uruk-hai culture has many cards that <a href="http://web.archive.org/web/20061024175718/http://lotrtcg.fanhq.com/TCG/Card.aspx?gameID=7&cardID=4793" target="_new">key off of companions with low resistance</a>, while the Nazgul <a href="http://web.archive.org/web/20061024175718/http://lotrtcg.fanhq.com/TCG/Card.aspx?gameID=7&cardID=4814" target="_new">love seeing Forest sites on the site path</a>. Try to find out what the theme of your deck is by looking at your minions' game texts. Then add support cards to enable and enhance those powers. Uruk-hai like companions to have low resistances, so throw in some copies of <a href="http://web.archive.org/web/20061024175718/http://lotrtcg.fanhq.com/TCG/Card.aspx?gameID=7&cardID=4787" target="_new">Our Foes Are Weak</a> to lower resistances and trigger those minion's powers; Nazgul key off of Forest sites, so include some <a href="http://web.archive.org/web/20061024175718/http://lotrtcg.fanhq.com/TCG/Card.aspx?gameID=7&cardID=4803" target="_new">Lost in the Woods</a> to maximize the bonus of those Forests. If anything fits directly into your theme (as the two aforementioned cards do for their respective decks), including four copies is the way to go.
SHADOW STEP #3: Start Filling Out.
Shadow sides tend to be built more quickly than Free Peoples sides, simply because you fill out half of your deck with minions in the first step. With that in mind, we're already at the "extras" section. This is where, once again, you get to experiment with more fun cards. To start off, just include whatever you think looks good -- after you get some good playtesting in, you'll figure out what kind of support cards you need to make a winning deck. Having trouble winning skirmishes? Include some weapons and/or events to boost your minions' strengths. Opponents running over you with large fellowships? Include some "crowd control" (cards that give you a bonus if you can spot a large number of companions in the fellowship, such as <a href="http://web.archive.org/web/20061024175718/http://lotrtcg.fanhq.com/TCG/Card.aspx?gameID=7&cardID=5510" target="_new">Great Cost</a>). If your opponent keeps beating you with <a href="http://web.archive.org/web/20061024175718/http://lotrtcg.fanhq.com/TCG/Card.aspx?gameID=7&cardID=2468" target="_new">Noble Leaders</a>, toss a copy or two of <a href="http://web.archive.org/web/20061024175718/http://lotrtcg.fanhq.com/TCG/Card.aspx?gameID=7&cardID=5589" target="_new">Minas Morgul Answers</a> into your Wraith deck.

BUILDING YOUR ADVENTURE DECK
Now that you've got the Free Peoples and Shadow sides down, you still need an Adventure Deck. Assuming you're creating a Standard-format deck (easily the most popular format, and the best place to start), there are a few deckbuilding rules you'll have to remember. First of all, your sites all need to be Standard-legal. To find Standard-legal sites in the deckbuilder, put the set/block filter on "War of the Ring Block." The sites listed will all be ones you're able to use.
Secondly, keep in mind that you can't use more than three sites with any one Shadow number (the number in the black circle). For example, you can have three sites with one for their Shadow number, but you can't have a fourth.
With those rules in mind, let's take a look at building your adventure deck.
ADVENTURE DECK STEP #1: Pick Sites that Benefit Your Deck.
Seems simple, and... well, it is. If you've got a copy of <a href="http://web.archive.org/web/20061024175718/http://lotrtcg.fanhq.com/TCG/Card.aspx?gameID=7&cardID=1834" target="_new">Faramir, Son of Denethor</a> and you aren't putting him in your starting fellowship, throw in <a href="http://web.archive.org/web/20061024175718/http://lotrtcg.fanhq.com/TCG/Card.aspx?gameID=7&cardID=4847" target="_new">The Prancing Pony</a> to pull him out. If your Shadow side keys off of companion resistances, include <a href="http://web.archive.org/web/20061024175718/http://lotrtcg.fanhq.com/TCG/Card.aspx?gameID=7&cardID=4849" target="_new">Slag Mounds</a> to add burdens when people die. Also make sure to pay special attention to bold keywords on your sites, such as "Forest" and "Mountain." There will be various Free Peoples and Shadow cards that key off of a particular type of site (such as <a href="http://web.archive.org/web/20061024175718/http://lotrtcg.fanhq.com/TCG/Card.aspx?gameID=7&cardID=5535" target="_new">Eored Warrior</a> at a Battleground or Plains site, or the Wraith cards previously mentioned getting bonuses from Forests), and these are the type of things you want to keep in mind when creating your adventure deck.
Now, you may not be able to find nine sites that fit the theme of your Free Peoples and Shadow sides, and that's where the filler comes in.
ADVENTURE DECK STEP #2: Filling Out.
Once you've got the sites that will help out either side of your deck, go with the all-around useful sites. Personally, I think that <a href="http://web.archive.org/web/20061024175718/http://lotrtcg.fanhq.com/TCG/Card.aspx?gameID=7&cardID=4823" target="_new">Cavern Entrance</a> should go into every adventure deck, because it can cost your opponent the game when you've got a hefty Shadow hand ready to go. <a href="http://web.archive.org/web/20061024175718/http://lotrtcg.fanhq.com/TCG/Card.aspx?gameID=7&cardID=4825" target="_new">Crags of Emyn Muil</a> is useful for its ability to stop your opponent if you can't draw a minion. These sites are examples of cards that may not fit the theme of your deck, but can be very effective anyway.
If you've got all of the sites that benefit your deck and everything that you've deemed would be an all-around useful site, but still have some slots left, go with some sites that have high Shadow numbers. These sites will allow you to have better control over how much twilight is added to the pool when your opponent moves, thus allowing you to play your Shadow cards more efficiently.
Ok, your deck is almost done, but there's still one task left -- choosing a One Ring.
CHOOSING YOUR RING
In the beginning, you'll probably be using the <a href="http://web.archive.org/web/20061024175718/http://lotrtcg.fanhq.com/TCG/Card.aspx?gameID=7&cardID=4593" target="_new">The One Ring, The Ruling Ring</a>, as it comes with every starter deck. Every other version of the One Ring is either rare or rare+, so they'll be a little harder to obtain, but make no mistake -- they're worth it!
The choice of which Ring to use really comes down to preference. Anyone can argue how one Ring would be better than another in any given situation, so you'll just have to decide for yourself. As a general rule of thumb, however, if you're using an alternate Ring-bearer (that being any Ring-bearer that isn't Frodo), you'll want the <a href="http://web.archive.org/web/20061024175718/http://lotrtcg.fanhq.com/TCG/Card.aspx?gameID=7&cardID=4592" target="_new">The One Ring, Ring of Rings</a>. Alternate Ring-bearers tend to have lower resistance and higher strength, so the lack of strength-boost from the <a href="http://web.archive.org/web/20061024175718/http://lotrtcg.fanhq.com/TCG/Card.aspx?gameID=7&cardID=4592" target="_new">The One Ring, Ring of Rings</a> isn't a problem, and the increase in resistance can really help.
And there you have it: you've constructed your first deck! Keep in mind, however, that this is just the foundation -- this article was intended to guide you through the beginning process of deckbuilding. Once you've played several games and tweaked your deck a bit, don't be afraid to break free from these guidelines and do some experimenting. After all, half of the fun of this game is coming up with creative decks. Good luck, and stay tuned to Leaving the Shire for more advanced deckbuilding techniques!
-Zach "Rubber Chicken" Shephard
Questions? Comments? Would you like to see a particular subject covered in future installments of Leaving The Shire? Email leavingtheshire@worlds-apart.com and let us know!